
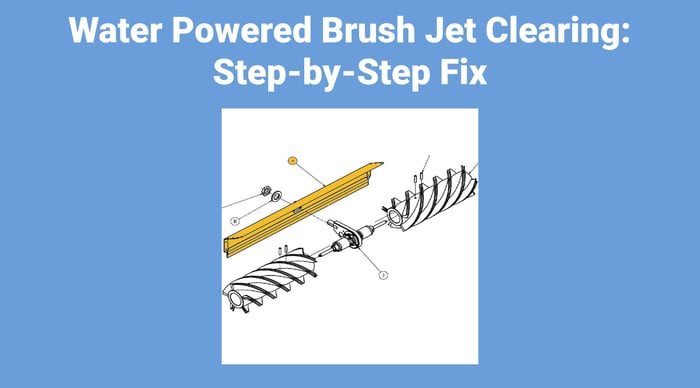
Water Powered Brush 32 and 39in Jet Clearing Steps

A clogged jet on a water powered brush kills spin speed and streaks panels. Debris from hard water scale, DI resin fragments, or sediment that slips past a worn pre-filter is almost always the cause. The fix takes about ten minutes with an allen wrench and a thin metal pin. This guide covers water powered brush jet clearing on the ProTool 24in, 32in, and 39in rotary brushes.
What You Need
- Allen wrench sized to fit the jet bore
- A small brad, sewing needle, or similar thin metal pin
- An M22 fitting and garden hose for bench-testing (optional but recommended)
Step 1 — Remove the Brass Fitting
-remove-the-brass-fitting-bvvcr1-m7clr-flzet.jpg)
Unscrew the brass fitting from the brush assembly. You do not need to pull the bristles off first, but removing them gives you a better grip if the fitting is tight.
Step 2 — Locate the Jet Inside the Fitting
-remove-the-brass-fitting---out-s68nz2-vdn5g-jvifu.jpg)
-note-the-jet-in-end-of-fitting-diead3-ymizz-y5wyk.jpg)
With the fitting out, look into the threaded end. The jet is the small orifice recessed inside. Find an allen wrench that slips snugly into the jet bore — you will use it in the next step to push the jet out.
Step 3 — Extract the Jet
-remove-the-jet-with-an-allen-wrench-zgqrq4-ybn98-u07re.jpg)
-jet-is-removed-from-the-brass-fitting-diead5-eyjdx-rimqo.jpg)
Insert the allen wrench from the threaded end and push the jet out through the smooth side. Do not hammer it — steady pressure is enough. Once the jet is free, inspect it for visible debris.
Step 4 — Clear the Obstruction
-clearing-the-obstruction-push-from-smooth-side-out-to-threaded-end-zgqrq6-qr8fy-wefsj.jpg)
-jet-obstruction-cleared-ekuhx7-drrvx-8tbe5.jpg)
Push a small brad or pin into the smooth end of the jet and drive the debris out through the threaded end. Always clear in this direction — pushing from threaded to smooth can wedge the clog tighter. Hold the jet up to light after clearing to confirm the bore is open.
Step 5 — Reassemble and Test
-jet-reinstallation-into-brass-fitting-smd7r8-pkaq5-djt9f.jpg)
-attaching-m33-fitting-for-testing-cfkl49-3vbxo-gvaqg.jpg)
-testing-the-jet-n8gpi10-rjy23-wyh7l.jpg)
Press the jet back into the brass fitting smooth-side first, then thread the fitting onto an M22 adapter connected to a garden hose. Turn on the water and confirm a clean, even spray pattern. If the stream is still weak or off-axis, repeat Step 4 or replace the stainless steel nozzle.
Step 6 — Reinstall the Fitting on the Brush
-re-install-the-brass-fitting-with-jet-cleared-into-brush-assembly-ekuhx11-9n1p8-uvxcd.jpg)
-hand-tighten-fittling-till-just-more-than-snug-yu0ma12-hxkoy-usgdr.jpg)
Thread the brass fitting back into the brush housing by hand, then snug it with a wrench — about a quarter-turn past hand-tight. Over-torquing can crack the plastic housing or strip the brass threads. If you replaced bristles, reattach those before the final tighten.
Preventing Future Clogs
Jet clogs almost always trace back to the water supply. A few cheap precautions eliminate most callbacks:
- Pre-filter your supply. A 40-micron stainless mesh pre-filter catches sediment before it reaches the brush.
- Flush before connecting. Run 10 seconds of water through the pole hose before threading on the brush. This clears any loose resin or scale sitting in the line.
- Inspect jets seasonally. A quick visual check at the start of each season takes 30 seconds and avoids mid-job surprises.
- Replace worn nozzles. If a jet has been cleared multiple times and still sprays erratically, the orifice is likely deformed. Replacement stainless nozzles are inexpensive.
Replacement Parts for ProTool Rotary Brushes
If the jet itself is damaged beyond clearing, or you need other wear items, these are the most common replacement parts for the 32in and 39in water powered brushes:
- Stainless Steel Nozzle for 32in & 39in Brush
- Replacement Hose for Rotating Brush
- Bearing for 32in & 39in Rotary Brush
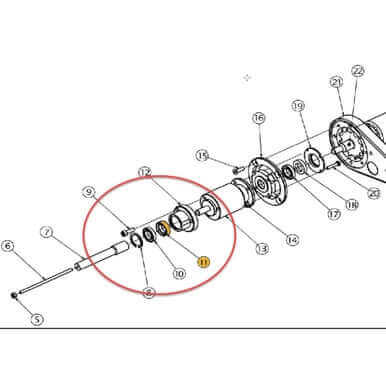
- Oil Seal for 32in & 39in Water Powered Brush
- Standard White Replacement Bristles
Products Mentioned
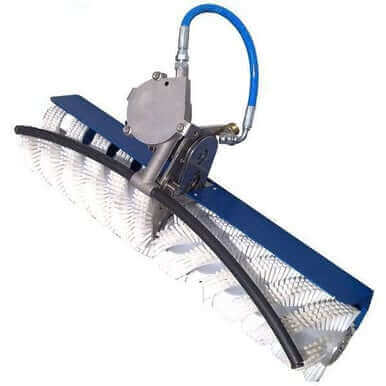 Rotary Brush 24 in (60cm) Water Powered SKU: Z159-134 | 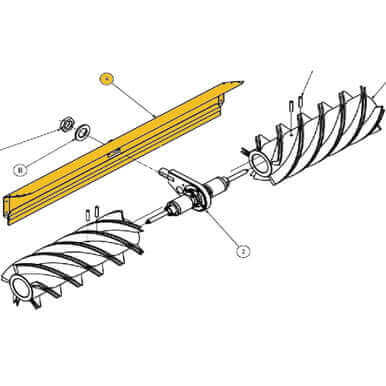 ProTool Guard for Rotary Brush 32in 80cm 2 Hole SKU: 159-140 | 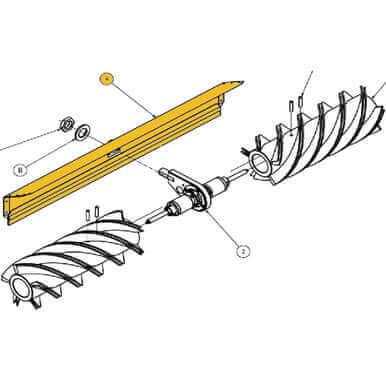 ProTool Guard for Rotary Brush 39in 100cm 2 Hole SKU: 159-1409 |
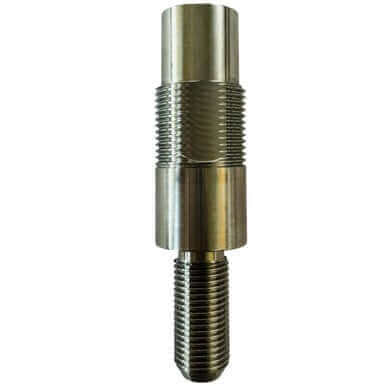 Nozzle SS for32 and 39in Brush SKU: 159-190 | 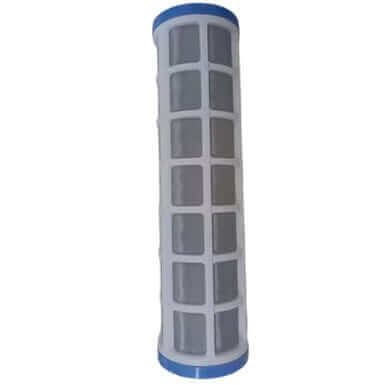 Mesh Screen Pre-Filter 10in SS 40 Micron SKU: 150-004 | 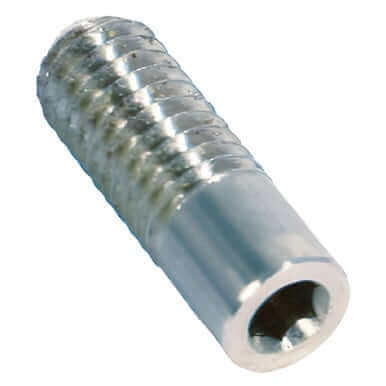 Nozzle Tip Stainless Steel 06 Size M4 SKU: 159-191 |
Nozzle SS for32 and 39in Brush SKU: 159-190 | 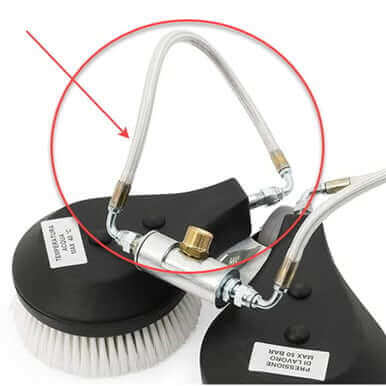 ProTool Hose Replacement for Rotatiing Brush SKU: 159-161 | 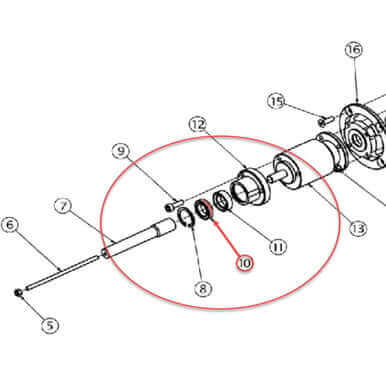 ProTool Bearing for 32in and 39in Rotary Brush SKU: 159-165 |
 ProTool Oil Seal for 32in and 39in Water Powered Rotary Brush SKU: 159-166 | 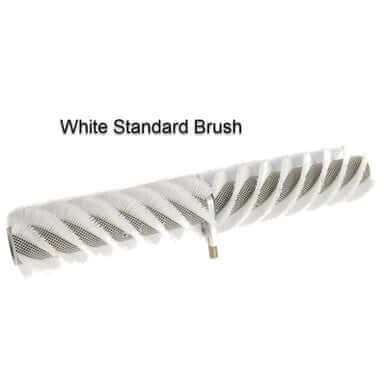 Bristles Standard, White Rotary Brush SKU: 159-149M |