Detailed Guide: Wiring Pumps Through a Bus Bar and Circuit Breaker

Every 12V pump system on a cleaning skid — water fed, soft wash, solar — depends on clean, reliable wiring. Wiring pumps through a bus bar and circuit breaker is the professional standard because it centralizes power distribution, simplifies troubleshooting, and protects your equipment from overcurrent damage. Get it wrong and you get voltage drop, melted connectors, or a pump that dies mid-job. Here's how to wire it right.
Why a Bus Bar and Breaker — Not Direct Wiring or Fuses
Direct-wiring each pump back to the battery works on a single-pump setup, but once you add a second pump, a controller, a reel rewinder, or a TDS meter, the battery terminals become a rat's nest. A ProTool Power Distribution Bus Bar gives you a single, organized distribution point. Every positive lead leaves from the red bus; every negative returns to the black bus. Clean, traceable, serviceable.
Fuses work, but they're a consumable. A blown fuse on a roof or halfway through a fleet lot means downtime while you dig through your truck for a replacement of the right amperage. A ProTool 40-amp 12V breaker trips on overload, resets with a push, and doubles as a manual disconnect for maintenance. That alone justifies the switch.
Materials You Need
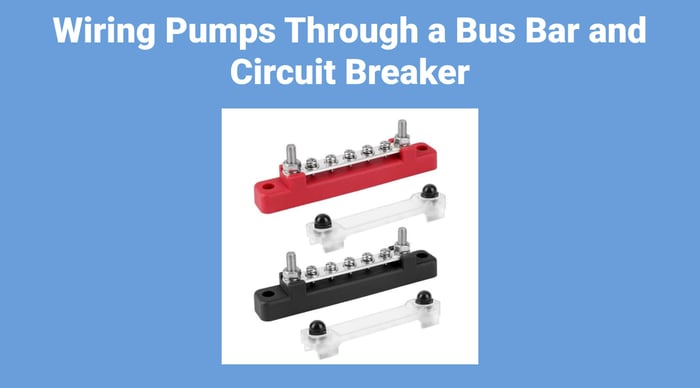
- Bus bar (red and black pair) — ProTool Power Distribution Bus Bar
- Circuit breaker, 40 amp 12V — ProTool Breaker Switch
- 4–6 AWG wire — battery-to-bus-bar trunk lines (red and black)
- 12 AWG wire — bus bar to breaker, breaker to pump
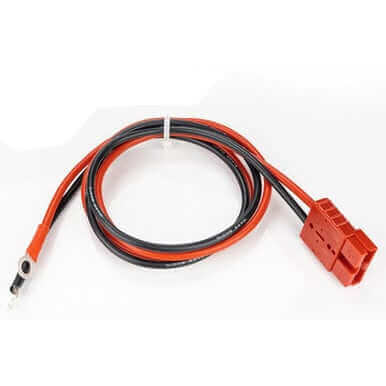
- 12V power cables — ProTool 12V Power Cables (pre-terminated for pump connections)
- Ring terminals, heat-shrink connectors, crimping tool
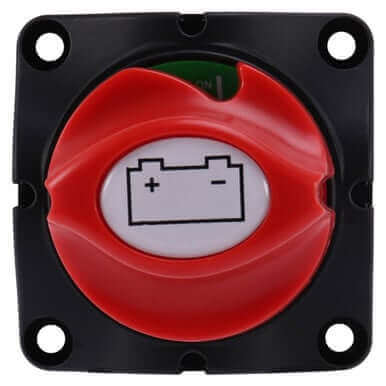
- Battery disconnect switch — Battery Disconnect Switch (recommended master kill switch)
Step 1: Run the Trunk Lines — Battery to Bus Bar
The trunk lines between the battery and the bus bar carry the full combined draw of everything downstream. Size them for worst-case: two 5-GPM pumps pulling 20 amps each is 40 amps continuous. At that load, 4 AWG is the minimum; 6 AWG is acceptable only on very short runs under 3 feet.
- Run a red 4–6 AWG wire from the battery positive terminal to the red bus bar. Use a ring terminal crimped and heat-shrunk at each end.
- Run a black 4–6 AWG wire from the battery negative terminal to the black bus bar. Same termination standard.
- Keep both trunk lines as short as practical. Every extra foot of wire adds resistance and voltage drop — and at 12V, you feel every tenth of a volt.
If your skid sits more than 6 feet from the battery, step up to 4 AWG or add a 12V Battery Monitor so you can see voltage sag in real time.
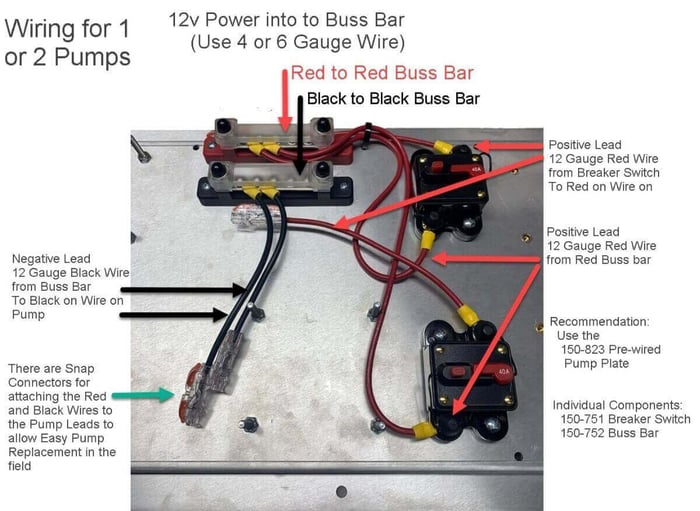
Step 2: Bus Bar to Circuit Breaker
- From the red bus bar, run a 12 AWG red wire to the input terminal of the circuit breaker. Each pump gets its own breaker — do not daisy-chain two pumps behind a single breaker unless the breaker is rated for the combined draw plus a 25% safety margin.
- From the output terminal of the breaker, run a 12 AWG red wire to the pump's positive terminal.
A 40-amp breaker is correct for a single high-draw pump like the ProTool 90psi 5.0 GPM Regulated Pump. For smaller delivery pumps drawing under 10 amps, a lower-rated breaker provides tighter protection — match the breaker to the pump's max draw, not to the wire.
Step 3: Ground Return — Bus Bar to Pump
- Run a 12 AWG black wire from the black bus bar directly to the pump's negative terminal. The ground side does not pass through the breaker — breakers protect the hot side only.
- Terminate with ring terminals. No wire nuts, no butt splices hanging in free air. Every connection should be crimped, heat-shrunk, and secured against vibration.
Step 4: Adding a Second Pump
Repeat the same pattern: a dedicated 12 AWG red lead from the red bus bar → its own breaker → the second pump's positive terminal. A dedicated 12 AWG black lead from the black bus bar → the second pump's negative terminal. The bus bar is the star point — every device fans out from it independently. That way, if one pump trips its breaker, the other keeps running.
For skids running two high-draw pumps plus a V16 HC Pump Controller and a Reel Rewinder Controller, the bus bar approach is the only sane way to keep the wiring manageable.
Common Wiring Mistakes
- Undersized trunk lines. Using 12 AWG from battery to bus bar on a two-pump skid is the most common failure. The wire heats, connectors oxidize, voltage drops, and the pump starves. Go 4–6 AWG on the trunk — always.
- Missing battery disconnect. Without a master disconnect, the bus bar is live whenever the battery is connected. A stray wrench across the bus bar terminals creates a dead short with no kill switch. Install one.
- Loose ring terminals. Vibration on a truck or trailer will work a loose terminal free within weeks. Crimped, heat-shrunk, and bolt-torqued is the standard.
- Running ground through the breaker. The breaker sits on the hot (red) side only. Routing the ground through a breaker creates a floating ground condition when the breaker trips — the pump frame stays energized.
Breakers vs. Fuses — The Field Case
Both protect the circuit. The difference is operational. A breaker trips and resets in seconds. A fuse blows and now you need the exact replacement amperage from your truck — or you're done for the day. On a multi-pump skid where you might trip protection during a hard prime or a momentary stall, resettable breakers eliminate a category of downtime that fuses don't.
The only scenario where fuses still make sense is an ultra-compact single-pump build where space and cost are the constraints. Everywhere else, breakers win.
Recommended Components
J.Racenstein carries the full electrical kit for 12V skid wiring:
- ProTool Power Distribution Bus Bar (Red/Black) — centralized power distribution
- ProTool 40-Amp 12V Breaker Switch — resettable overcurrent protection
- ProTool 12V Power Cables — pre-terminated pump leads
- Battery Disconnect Switch — master kill switch
- 12V Battery Monitor with Bracket — real-time voltage monitoring
- Red Plug for 12V Cable and Red Plug with 8-Gauge Pigtail — clean quick-disconnect connections
Products Mentioned
 ProTool Power Distribution Buss (2) Red-Black12v SKU: 150-752 |  ProTool Breaker Switch 40amp 12v SKU: 150-751 |  Power Cables 12V for pumps SKU: 150-753 |
 Battery Disconnect Switch SKU: 150-7511 | 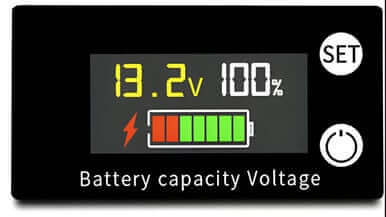 Battery Monitor 12v with Bracket SKU: 150-755 |  ProTool Pump 90psi 5.0gpm Pump Regulated SKU: 150-0856 |
 Pump Controller V16 HC WFP Link Long Range Remote Control 35amp 12v SKU: 150-5453 |  Controller, Reel Rewinder With Remote Button Pendant SKU: 150-5449 | 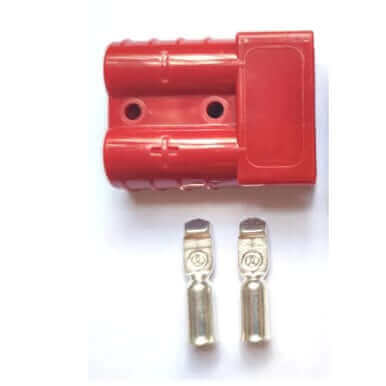 Red Plug for 12V Cable ProTool Cart SKU: 150-763 |
 Red Plug Connect with 20in 8 Gauge Wire pigtail 12V SKU: 150-764 |