Chemical Injector Problems: Diagnosing and Fixing Draw Failures

Table of Contents
Your downstream injector stopped pulling SH forty feet up on a lift. A high-margin house wash just became a manual scrubbing nightmare. Most chemical injector problems come down to three things: backpressure killing the Venturi effect, corroded internals from sodium hypochlorite, or a GPM-to-orifice mismatch. All three are preventable, and all three are fixable in the field if you understand the physics.
Why the Venturi Effect Fails
A downstream injector has no moving parts that create suction. Water passes through a restricted orifice, velocity increases, pressure drops, and the resulting vacuum pulls chemical into the stream. The system needs at least a 30% pressure differential between inlet and outlet. If downstream pressure stays too high, the vacuum never forms.
The black soap nozzle exists for this reason — its wide orifice drops system pressure enough to engage the draw. A 15° or 25° tip creates too much backpressure, neutralizing suction entirely. This is the single most common cause of "my injector stopped working" calls: someone forgot to swap tips.
Hose Length and Friction Loss
Every foot of high-pressure hose adds friction loss. Past 100 feet, cumulative resistance can push backpressure high enough to stall the Venturi effect. Past 200 feet, most fixed injectors won't draw at all. A pulsing draw — chemical pulling intermittently — is the classic symptom of hose length exceeding your injector's capacity.
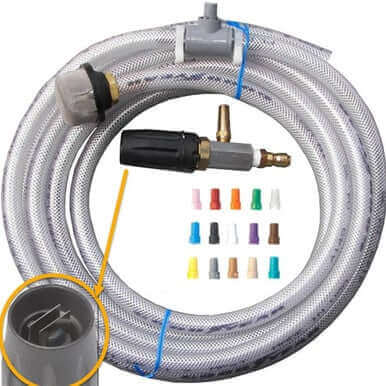
If you're running long hose layouts regularly, the fix isn't a bigger injector. It's either shortening the run or switching to an X-Jet M5, which applies chemical at the nozzle and bypasses hose friction entirely.
Upstream vs. Downstream: Why It Matters
Downstream injection introduces chemicals after the pump, protecting seals and manifolds from corrosive detergents. Upstream injectors pull chemicals through the pump head — seal failure in under 100 hours is common. Unless you have a specific reason to upstream (rare), downstream is the professional standard.
Internal Components That Fail
Most injector failures happen at the check valve assembly: a ball, a spring, and a seat. When any one of those three degrades, suction dies.
The ball. Entry-level injectors use stainless steel balls. They pit and corrode under SH exposure. Ceramic balls resist that degradation and maintain a tight seal for thousands of hours. If you're running 12.5% SH daily, ceramic is not optional — it's baseline.
The spring. Standard steel springs lose elasticity fast when SH eats through their coating. A weakened spring can't reseat the ball, and suction fails completely. A corroded or snapped spring is the most common cause of total draw loss on injectors with fewer than 6 months of service.
The orifice. The Venturi throat on most injectors is 1.8mm to 2.3mm. A single grain of sand or PVC chip lodged in that passage kills the pressure differential instantly.
Material Selection
Brass bodies work for general pressure washing but degrade under high-concentration bleach or acid brighteners. For daily soft washing with SH, stainless steel is the minimum standard. For masonry restoration with phosphoric or muriatic acid, you need a dedicated acid-capable injector with Hastelloy springs and Viton O-rings.
O-rings are the silent killers. If they crack or swell — common with SH exposure on standard rubber — air leaks into the stream and breaks the vacuum. Check seal elasticity before replacing the whole unit.
Wear vs. Debris
Inspect the ball seat for grooves or pitting. If the seat isn't perfectly smooth, the vacuum won't hold regardless of spring condition. Test spring snap-back — if it's sluggish, rebuild. Hard water scale narrows the throat over time; a 20-minute soak in descaling solution often restores flow without a full rebuild.
GPM-to-Orifice Matching
This is where most chemical injector problems start and where most pros stop looking too early. The injector orifice must match your pump's GPM output:
- 1.8mm — 2 to 3 GPM machines
- 2.1mm — 3 to 5 GPM (industry standard for most commercial rigs)
- 2.3mm — 5 to 8 GPM
Install a 2.3mm injector on a 4 GPM machine and water velocity through the orifice drops below the threshold needed for Venturi suction. The chemical stays in the bucket. Go too small and you'll restrict overall flow and cause premature unloader cycling.
The Soap Nozzle Connection
Your soap nozzle orifice must be large enough to allow high flow at low pressure. If it's too restrictive, the injector stops drawing immediately. For rigs that switch frequently between chemical and rinse modes, a dual-lance wand lets you toggle via valve instead of swapping tips — faster transitions, fewer dropped-draw incidents.
Fixed vs. Adjustable Injectors
Fixed high-draw injectors have fewer failure points and deliver consistent draw ratios. Adjustable models let you fine-tune concentration on the fly, but the adjustment stem is an additional leak point — a compromised O-ring or loose thread at the stem breaks the vacuum. Many experienced contractors run fixed injectors and manage concentration by pre-diluting in the supply bucket. Simpler, more reliable.
Troubleshooting Workflow
Step 1: The No-Hose Test. Disconnect the discharge hose from the injector outlet and run the system. If the injector draws chemical with no hose attached, the problem is backpressure — hose length, nozzle restriction, or a worn nozzle orifice. If it still won't draw, the problem is internal.
Step 2: Suction line integrity. A 1/32" crack in the poly pickup tube lets air break the vacuum. Inspect the full length, especially near fittings and crimps. Replace clear braided tubing if it's cloudy or stiff — SH degrades it over time.
Step 3: Flow direction. The arrow on the injector body must point toward the trigger gun. Getting this backward during a field swap happens more often than anyone admits.
Step 4: Check ball. If direction is correct but draw is dead, the check ball is likely stuck. Insert a straightened paperclip through the chemical barb to unseat it manually. For a fouled ceramic seat, a 30-minute soak in 50/50 white vinegar often restores the seal.
Step 5: Unloader valve. A restricted or worn unloader bypass creates enough backpressure to stall the Venturi effect. This is the overlooked cause on older machines — if steps 1–4 check out, the unloader is your next target.
Preventive Maintenance
- After every job: Run clean water through the chemical line for 60 seconds. Non-negotiable.
- Monthly: Silicone grease on all internal O-rings to prevent air leaks.
- Every 50 hours: Disassemble, inspect spring and ball for pitting, replace if worn. A $2 spring replacement today prevents a $500 delay on a commercial contract tomorrow.
When to Upgrade Past Standard Downstreaming
If you're facing recurring chemical injector problems, your equipment may not match your concentration needs. Standard downstreaming maxes out around a 10:1 or 20:1 draw ratio — adequate for house washing, insufficient for heavy roof cleaning or stain stripping.
The X-Jet M5 Variable Spray bypasses pump and hose entirely, applying chemical at the nozzle at ratios as strong as 2:1 or 3:1. For acid work, a stainless steel acid injector with Hastelloy internals handles phosphoric and muriatic blends that destroy brass within hours.
For contractors running three or more residential properties per day, the most reliable upgrade is a dedicated soft wash sprayer skid. These systems remove the pressure washer from the chemical equation entirely — higher flow rates, zero risk of pump damage, and consistent chemical delivery without the Venturi limitations of a downstream injector.
Replace or Rebuild?
A $20 rebuild kit fixes a stuck check ball or torn O-ring. It cannot fix body wear — high-pressure water eventually erodes the Venturi orifice itself. If the brass throat is pitted or enlarged, vacuum will fail regardless of new springs or balls. For injectors past 6 months of daily use, a high-draw stainless injector is the better investment than repeated rebuilds.
Building a Reliable Chemical Delivery System
Your rig checklist for consistent chemical draw:
- 1/4" ID chemical pickup line to maximize suction
- Weighted ceramic or plastic strainer on the pickup to keep debris out of the orifice
- Dedicated fresh-water flush valve to rinse the injector after every job
- Metering manifold for exact SH/surfactant proportioning without batch mixing
- 50- to 100-gallon buffer tank for consistent head pressure and surge prevention
For a walkthrough on choosing the right proportioning and delivery setup, check out the J.Racenstein YouTube channel for rig build tutorials.
Products Mentioned
 X-Jet M5 Variable Spray SKU: 74-53M | 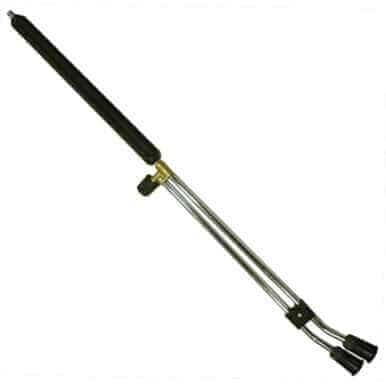 Lance Dual 38in w/Knob 4000psi Suttner SKU: 74-5320 | 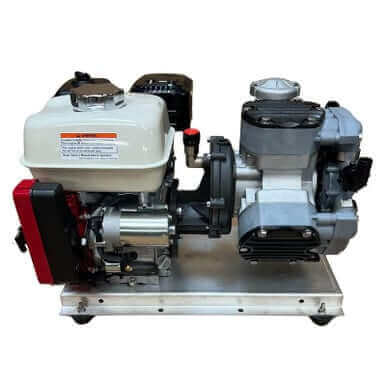 BPX25 - P40 Soft Wash Sprayer Skid SKU: 150-0432M |
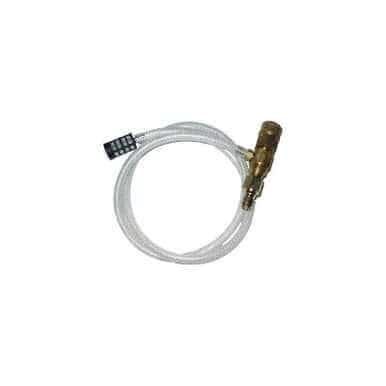 Chemical Injector Non-Acid Pressure Pro SKU: 74-5AMA | 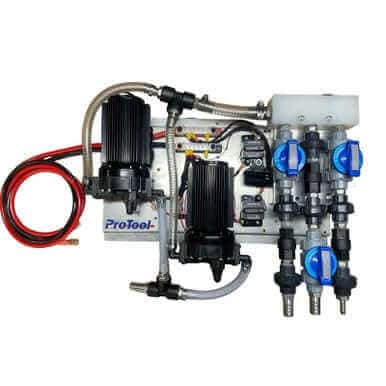 ProTool Soft Wash Metering Plates SKU: 150-045M | X-Jet M5 Variable Spray SKU: 74-53M |