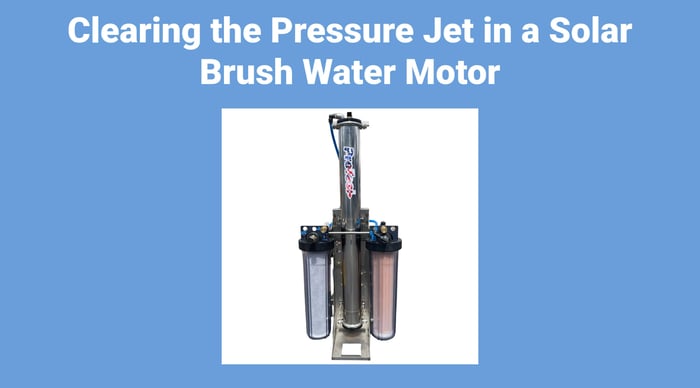
Clearing the Pressure Jet in the Solar brush Water Motor

A clogged pressure jet is the most common reason a water-powered rotary solar brush loses RPM or stops spinning entirely. Sediment, pipe tape fragments, and mineral scale from hard water all find their way into the tiny nozzle orifice. Clearing the pressure jet takes about ten minutes, requires no special tools beyond a wrench and an Allen key, and saves you pulling the brush off a job site.
This procedure applies to ProTool water-powered rotary brushes (24 in, 32 in, and 39 in models). Electric-powered brushes use a different drive system and do not have a pressure jet.
What You Need
- Adjustable wrench or open-end wrench sized to the brass inlet fitting
- Allen key wrench (sized to the nozzle set screw)
- Brad, sewing needle, or thin stiff wire
- Small vise or locking pliers
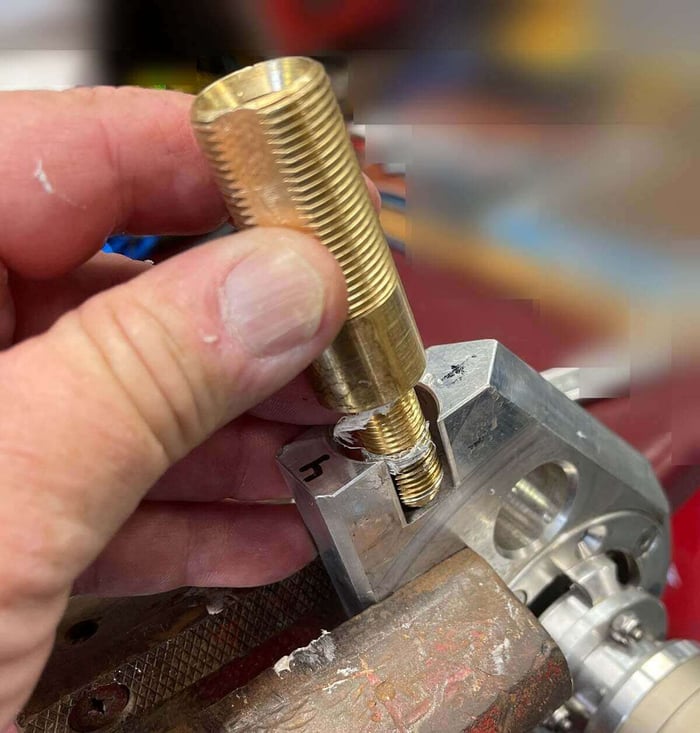
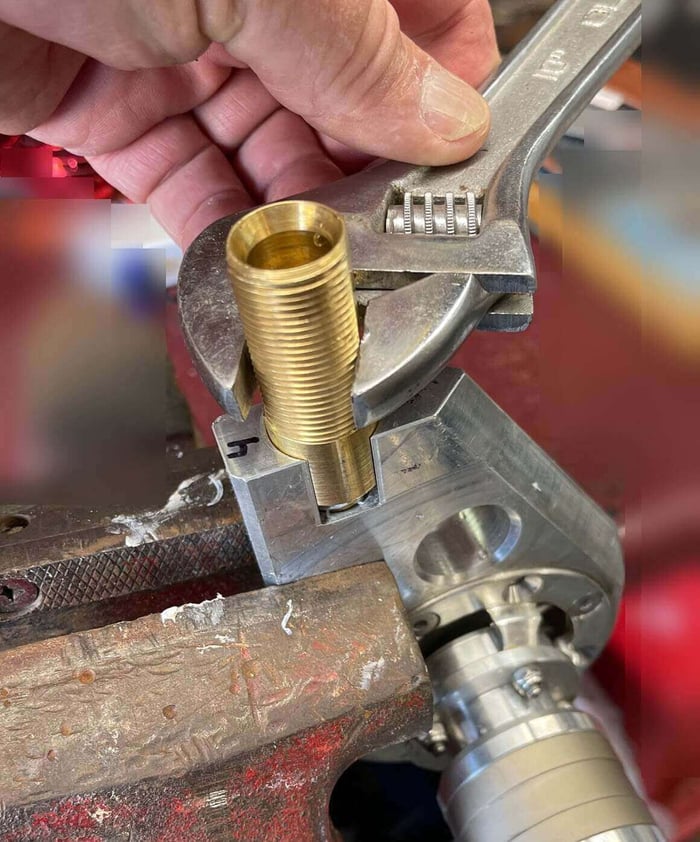
Step 1 — Disconnect and Remove the Brass Inlet
Shut off the water supply and disconnect the pressure hose and wand from the brush. Using a wrench, unthread the brass inlet connection from the brush housing.

Step 2 — Pull Out the Nozzle Assembly
Once the fitting is loose, finish removing it by hand. The entire nozzle assembly slides out cleanly.
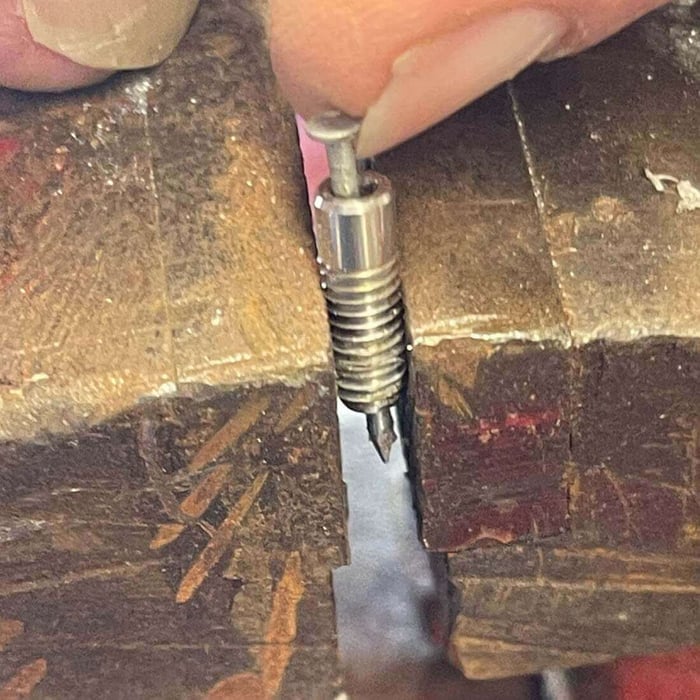
Step 3 — Remove the Nozzle Tip
Use an Allen key wrench to unthread the nozzle tip from the inlet body. If it is corroded in place, a short soak in white vinegar loosens mineral buildup without damaging the brass.
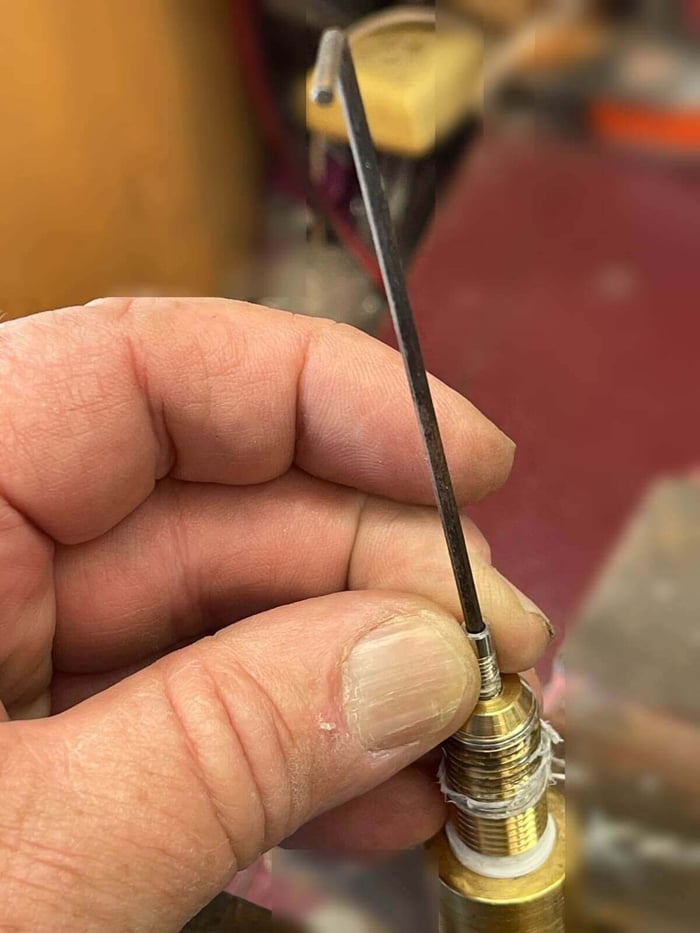
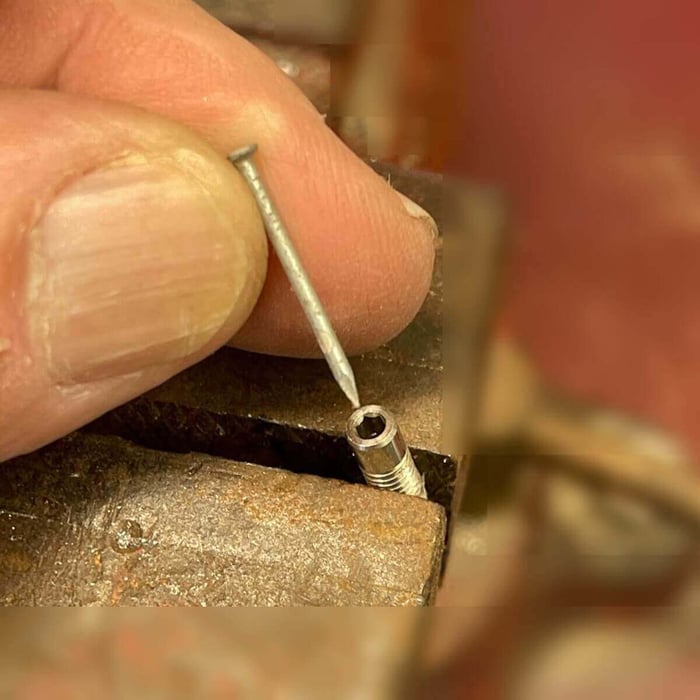
Step 4 — Clear the Orifice
Clamp the nozzle in a small vise or locking pliers. Push a brad, needle, or thin wire through the orifice from the outlet side to drive the debris out. Avoid reaming or enlarging the hole — the orifice diameter controls brush RPM.
Step 5 — Inspect the Nozzle
Hold the nozzle up to light and look straight through the orifice. You should see a clean, round opening with no residual debris. If scale remains, soak the tip in vinegar for 15 minutes and repeat.
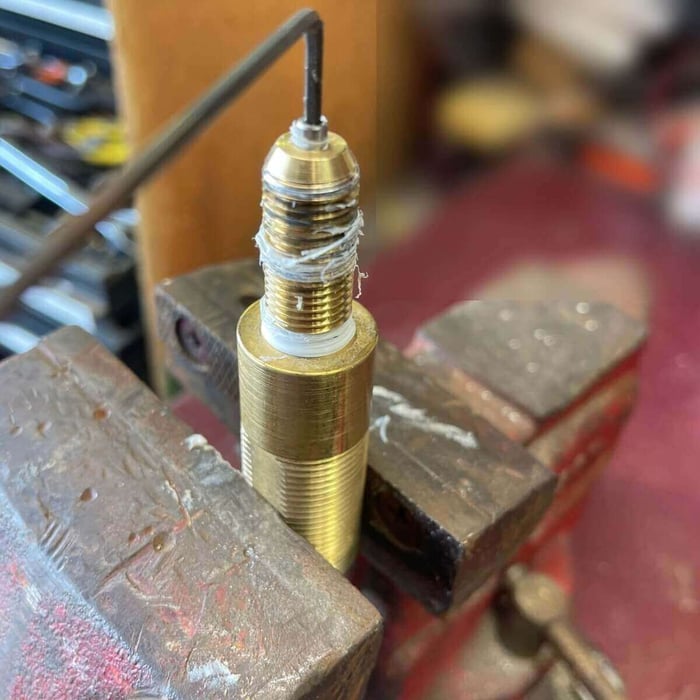
Step 6 — Reinstall the Nozzle Tip
Thread the nozzle tip back into the inlet body by hand first, then snug it with the Allen key. Wrap one layer of PTFE tape on the threads if the original seal was tape-based.
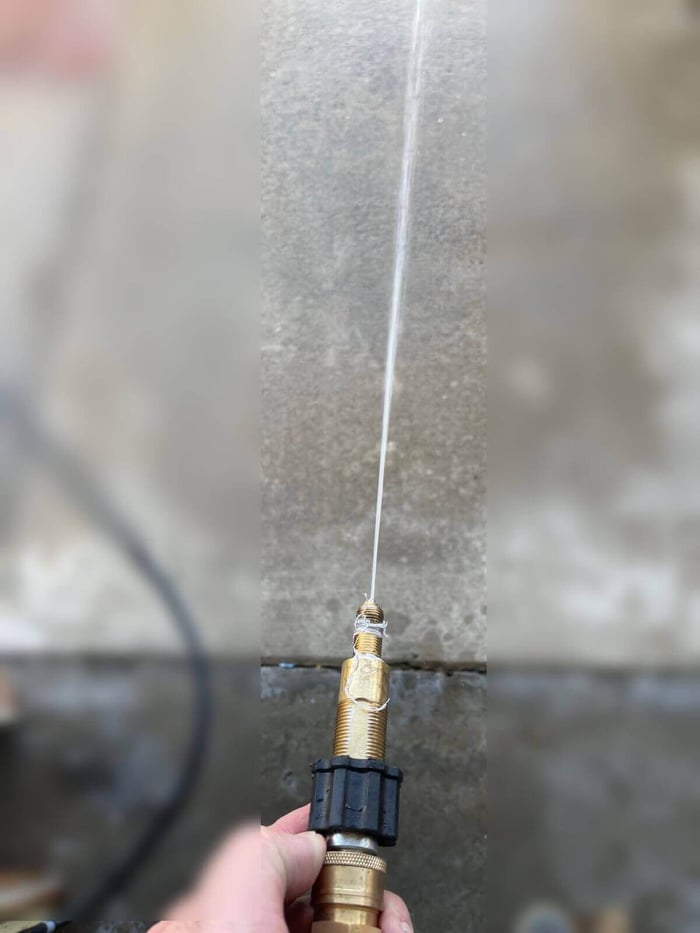
Step 7 — Test Before Reinstalling
Connect the nozzle assembly to your water source and turn on the supply. Verify a strong, focused jet exits the nozzle. Point the assembly away from yourself, other people, and panel surfaces while testing.
Step 8 — Reinstall Into the Brush Housing
Thread the nozzle assembly into the brush housing by hand to start. The housing is aluminum — cross-threading it will strip the port. Once hand-tight, snug it a quarter turn with a wrench. Do not over-torque.
Preventing Clogs
Most nozzle clogs come from debris upstream of the brush. Three cheap precautions eliminate repeat service calls:
- Inline screen filter. A 40-micron mesh screen pre-filter on the supply line catches sediment before it reaches the jet.
- Sediment filter on your cart. If you run a ProTool HiFlo Pure Water Cart, keep the sediment filter fresh — a spent cartridge passes particles straight through.
- Flush at shutdown. After each job, disconnect the brush and run water through the nozzle assembly for five seconds to push out any loosened scale.
If the nozzle clogs repeatedly after filtering, the tip may be worn or scored. Replacement stainless steel nozzle tips and a full line of rotary brush replacement parts are available from J.Racenstein.
Products Mentioned
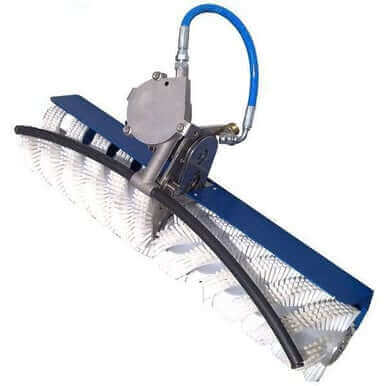 Rotary Brush 24 in (60cm) Water Powered SKU: Z159-134 | 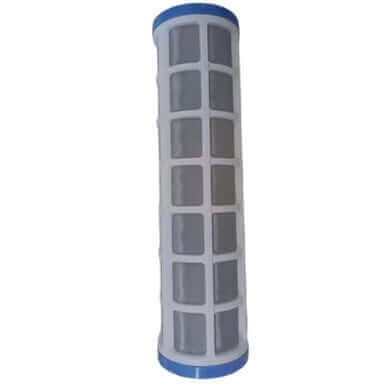 Mesh Screen Pre-Filter 10in SS 40 Micron SKU: 150-004 | 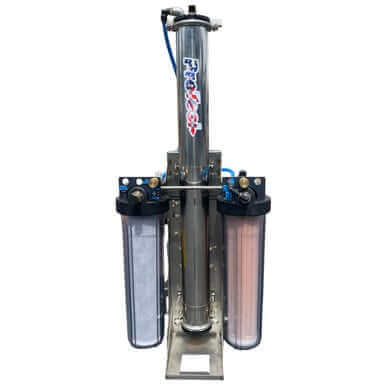 ProTool HiFlo Pure Water Cart Stainless Steel SKU: 150-0521 |
 ProTool Sediment Filter 4.5in x 10in SKU: 150-005 |  Nozzle Tip Stainless Steel 06 Size M4 SKU: 159-191 |