Four Basic Wood Restoration Recommendations from Everett Abrams the Wizard of Wood

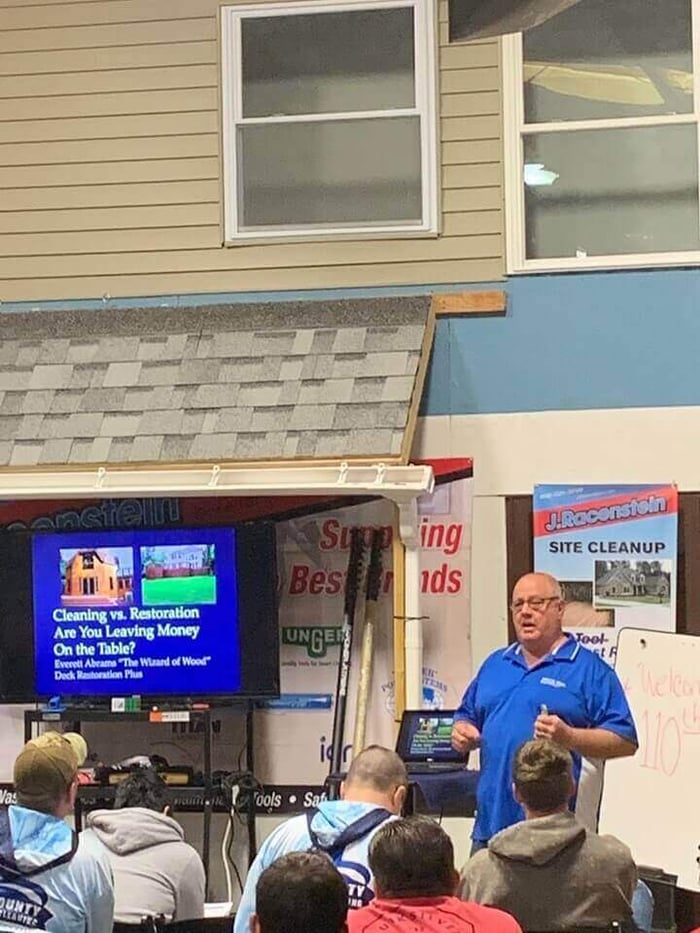
Everett Abrams — known as the "Wizard of Wood" — has built a reputation for exceptional exterior wood restoration results with Deck Restoration Plus products. He also writes and instructs for multiple organizations across the exterior cleaning industry. His framework for wood restoration boils down to four non-negotiable steps that separate a professional deck job from amateur pressure blasting.
1. Always Apply to Wet Surfaces
Pre-wetting is the first step in any exterior wood restoration project. Saturated wood fibers act as a barrier: the cleaner stays near the surface where staining, mold, and mildew actually live, instead of soaking deep into the grain. That means better cleaning performance and far easier rinsing. A softwash WFP adapter or garden-hose pre-rinse works — the point is thorough saturation before any chemistry touches the wood.
2. Let the Chemistry Do the Work
Match the product to the task — oxygenated bleach cleaners for general cleaning, sodium hydroxide strippers for failed coatings, oxalic acid brighteners to restore natural color — and respect the dwell time. If you're relying on PSI instead of dwell time and the right chemistry, you're not restoring wood; you're damaging it. Proper product selection and patience let you restore surfaces with the lowest pressure necessary.
3. Rinse — Then Rinse Again
Every chemical application demands a thorough rinse. Residual cleaner, stripper, or brightener left on the surface will dry out the wood, leave salt deposits, or cause a coating to fail weeks later. Everett's rule: "Rinse, rinse, and rinse again." A low-pressure rinse setup with enough volume to flush every board face and gap is non-negotiable.
4. Coat to Protect
Cleaned and brightened wood without a protective coating is unfinished work. Whether the job spec calls for a penetrating stain or a natural seal coating, the coating step preserves the restoration investment and extends the life of the wood by years. Skip it and the deck will look worse than before within a single season.
Putting It Together
These four steps — pre-wet, apply and dwell, rinse thoroughly, then coat — are the core workflow for any exterior wood restoration project. They apply whether you're running a dedicated deck cleaner on a residential job or stripping and re-staining a large commercial structure. Get the chemistry right, respect the process, and the wood does the rest.
Products Mentioned
 ProTool Softwash WFP Adapter SKU: 150-1001 | 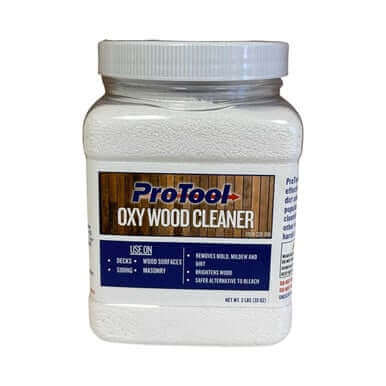 Protool Oxy Wood Cleaner SKU: 320-001 | 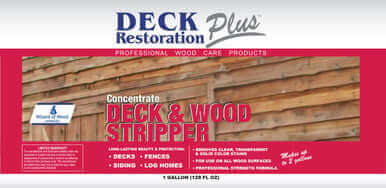 Deck & Wood Stain Stripper 1 Gal DRP SKU: 320-776 |
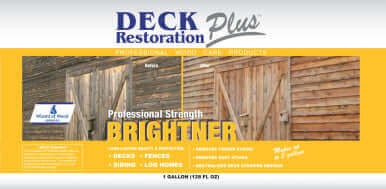 Deck & Wood Stain Brightener 1 Gal DRP SKU: 320-7749 | 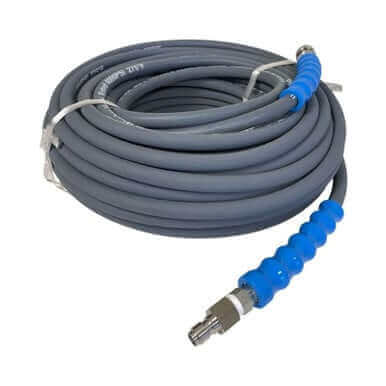 ProTool Pressure Washing Hose 4000psi 1 Wire SKU: 74-36M | 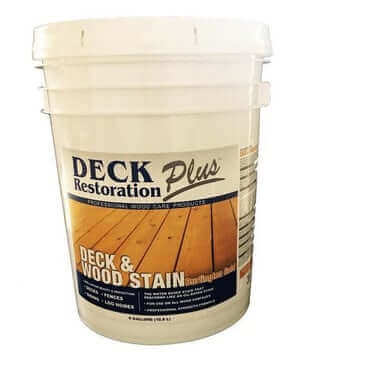 Burlington Gold Deck & Wood Stain DRP SKU: 320-71M |
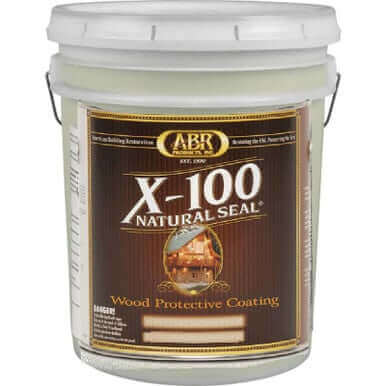 X-100 Natural Seal Wood Protective Coating 5 Gallon Cedar Gold Tone SKU: 320-652 | 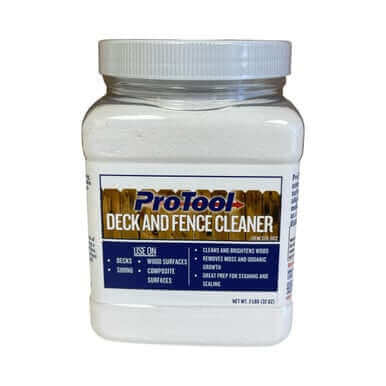 Protool Deck and Fence Cleaner SKU: 320-002 |