Cerium Oxide: How to remove stains and polish glass with it

Cerium oxide is the go-to compound for removing hard water stains, light scratches, and mineral etching from glass — damage that no chemical cleaner can touch. If you polish glass professionally, this is the skill that separates a callback from a referral. Here's how to do it right, what pads to use, and where most people go wrong.
Why Chemical Cleaners Fail on Damaged Glass
Hard water deposits aren't sitting on the glass — they're etched into it. Calcium and magnesium minerals bond to the surface over time, creating pitting that sprays and wipes can't reach. The same applies to hairline scratches from improper scraping, swirl marks from previous polishing attempts, and the cloudy haze that builds on neglected commercial glass.
Polishing with cerium oxide works because it's a mechanical process: the compound physically removes a micro-thin layer of damaged glass, restoring optical clarity. No chemical shortcut exists for this. If the damage is below the surface, you polish it out or you replace the pane.
What You Need to Polish Glass with Cerium Oxide
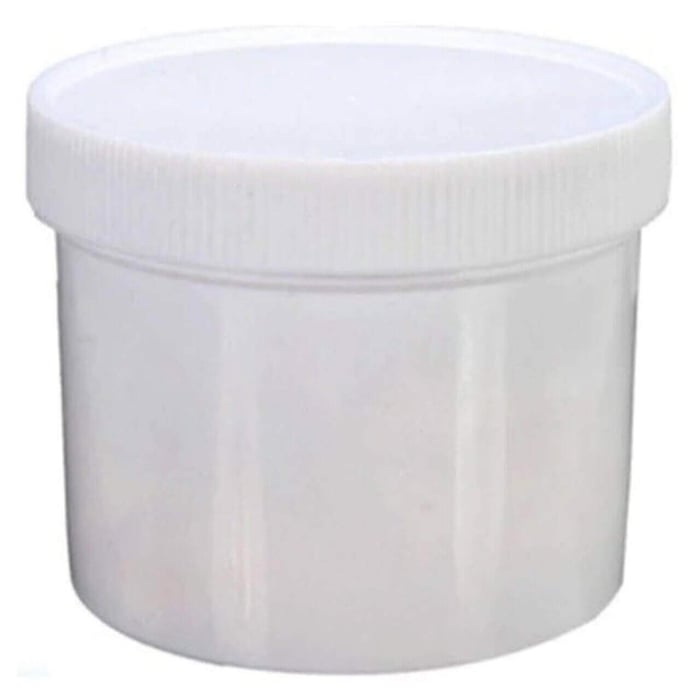
- Cerium Oxide Polishing Powder — the primary abrasive compound. Mix with water to a slurry consistency.
- Variable-speed polisher or drill with pad adapter — a variable-speed polisher gives the best control; a drill with a ProTool Pad Adapter works for smaller jobs.
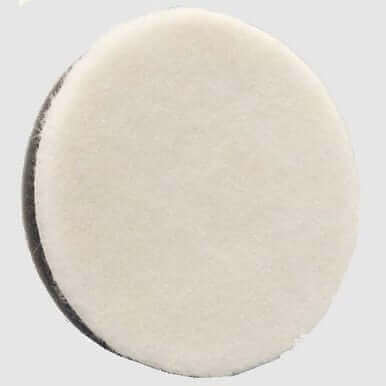
- Felt polishing pads — 3-inch and 5-inch felt pads for cut and stain removal.
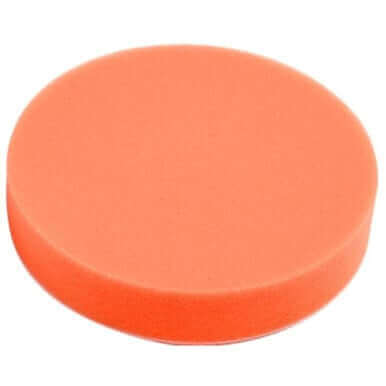
- Foam polishing pads — 3-inch and 5-inch foam pads for final finishing and swirl removal.
- Spray bottle with water — keeps the surface wet throughout the process.
- Cotton cloth — for hand-polishing small or hard-to-reach areas.
- PPE — gloves, safety glasses, and a dust mask when mixing dry cerium oxide powder.
For a complete setup, the ProTool Polishing Kit bundles pads, adapters, and cerium oxide into one package — ready to go for glass, paint, and natural stone work.
Felt vs. Foam Pads: When to Use Each
Pad selection determines your result more than technique does. Get this wrong and you'll either burn through time or leave swirl marks you'll have to fix.
Felt Pads — The Cutting Stage
- Cut through hard water etching, mineral deposits, and fine scratches.
- Denser than foam, so they transfer more abrasive energy to the glass.
- Generate less heat than foam at comparable speeds — you can dwell longer on stubborn spots.
- Always your first pad when the glass has visible damage.
Foam Pads — The Finishing Stage
- Remove the micro-swirl marks left by felt pads.
- Flexible enough to conform to slightly curved glass (shower doors, auto glass).
- Generate heat faster and consume less cerium oxide — keep sessions short and wet.
- Flat foam pads restore clarity faster than textured "waffle" pads; save textured pads for final detailing only.
Rule of thumb: felt first, foam to finish. Skipping the felt stage on anything worse than light haze wastes time. Skipping the foam stage leaves visible swirl marks in direct light.
Step-by-Step: Machine Polishing with Cerium Oxide
- Clean the glass. Remove all dirt, film, and debris with ammonia-free glass cleaner or distilled water. Any grit left on the surface becomes a scratch source the moment you start the polisher.
- Mask adjacent surfaces. Cerium oxide slurry splatters. Tape off frames, mullions, sills, and anything you don't want coated in pink-brown paste.
- Mix the cerium oxide. Add 1–2 tablespoons of powder to a small container; add water gradually until you reach a creamy paste — roughly the consistency of pancake batter. Too thin and it flies off the pad; too thick and it drags.
- Load the pad. Dip the felt pad into the paste. You want an even coat across the face, not a blob in the center.
- Polish in sections. Run the polisher at 1,000–1,500 RPM. Hold the pad flat — tilting concentrates pressure on the edge and risks edge burns or distortion. Work a 12×12-inch area at a time, moving in overlapping passes. Mist water from the spray bottle every 15–20 seconds to keep the surface wet.
- Reapply compound as needed. When the slurry thins out and the pad starts to drag or squeak, stop and reload. Don't push through a dry pad — you'll generate heat and risk thermal cracking on tempered glass.
- Switch to foam. Once the stain or scratch is gone, switch to a foam pad with a fresh thin coat of cerium oxide. Run at the same speed for 1–2 minutes per section to remove swirl marks.
- Final clean. Rinse with distilled water and wipe with a clean microfiber towel. Inspect at an angle under direct light — that's where any remaining haze or swirl will show.
Hand Polishing: When and How
Machine polishing is faster, but hand polishing is the right call for small spots (under 6 inches), curved surfaces, edges near frames, and any glass you can't safely reach with a polisher.
- Clean the area thoroughly.
- Mix cerium oxide paste as above.
- Apply paste to a damp cotton cloth or felt hand pad.
- Spray the glass with water. Rub firmly in tight circular motions, reapplying paste and water as the slurry dries.
- Wipe clean and inspect. Repeat until the damage is gone.
Hand polishing takes significantly longer — expect 5–10 minutes per spot versus 1–2 minutes with a machine. For anything larger than a palm-sized area, the polisher pays for itself in time.
Common Mistakes That Cost Time or Damage Glass
- Polishing dry. The number-one mistake. A dry pad on cerium oxide generates enough heat to thermally stress glass, especially tempered panels. Keep it wet — always.
- Too much pressure. Let the compound and pad do the cutting. Leaning into the polisher doesn't speed things up; it overheats the surface and wears the pad unevenly.
- Skipping the felt stage. Foam alone won't cut through real hard water etching. You'll spend triple the time and still leave haze.
- Using a single speed. High RPM on foam generates heat fast. A variable-speed polisher at moderate speed gives you control. Fixed-speed drills require more discipline — shorter dwell time, more frequent misting.
- Ignoring tempered glass. Tempered glass is under internal stress. Excessive localized heat from aggressive polishing can cause spontaneous breakage. Work wet, work evenly, and don't camp on one spot.
When Glass Polishing Makes Sense (and When It Doesn't)
Polish when you see:
- Hard water mineral stains that resist chemical treatment
- Fine hairline scratches visible in angled light
- Swirl marks or haze from previous cleaning or polishing
- Cloudy auto headlamp lenses
- Light etching on shower glass
Don't polish when:
- Scratches catch your fingernail — that's too deep for cerium oxide and requires professional glass repair or replacement.
- The glass has a low-E or tinted coating — polishing will remove the coating.
- Damage covers an entire large pane uniformly — at that point, replacement is faster and cheaper than polishing.
Recommended Products
- ProTool Cerium Oxide Polishing Powder 3.5oz — the compound itself. A 3.5oz jar handles multiple residential jobs.
- ProTool Polishing Kit — pads, adapters, and cerium oxide bundled for glass, paint, and stone.
- Variable-Speed Polisher — purpose-built for pad work; better control than a drill.
- ProTool 5-inch Felt Pad and ProTool 5-inch Foam Pad — felt for cutting, foam for finishing.
- ProTool Pad Adapter 5in (5/8-11 Socket) — connects pads to your polisher or drill.
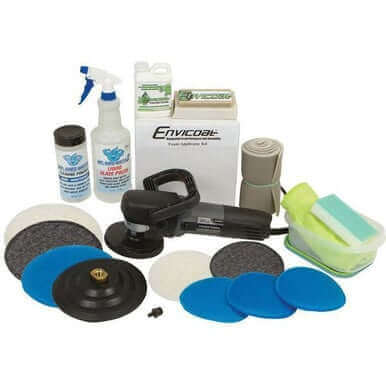
- Mr. HardWater Deluxe Kit 110v — a broader hard water stain removal system for contractors doing volume work.
Products Mentioned
 ProTool Cerium Oxide Polishing Powder 3.5oz SKU: 76-119 | 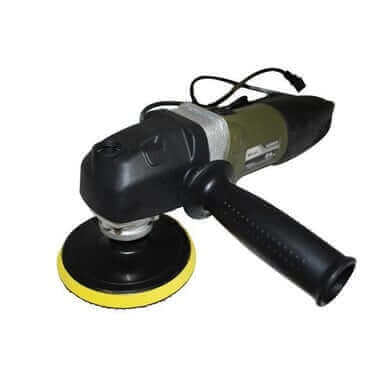 Polisher Variable Speed Top Switch SKU: 76-451 | 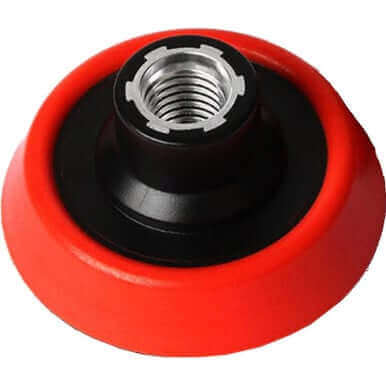 ProTool Pad Adapter 3in with 5/8-11 Socket SKU: 76-114 |
 ProTool Felt Polishing Pad 3in SKU: 76-117 | 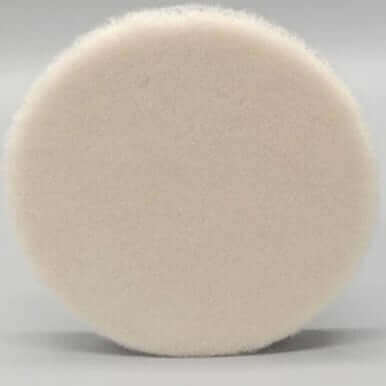 ProTool Felt Polishing Pad 5in SKU: 76-118 | 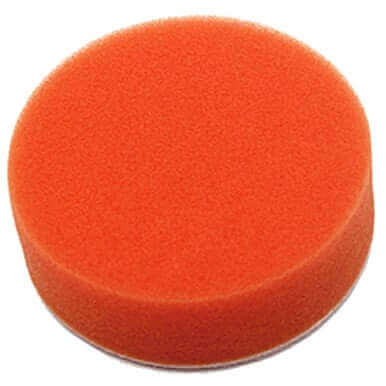 ProTool Foam Polishing Pad 3in SKU: 76-115 |
 Foam Polishing Pad 5in SKU: 76-1151 | 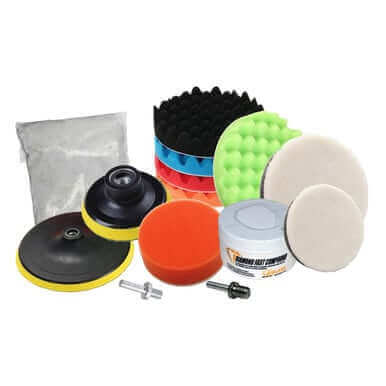 Polishing Kit, for glass, paint, granite remove stains and light scratches SKU: 76-00 | 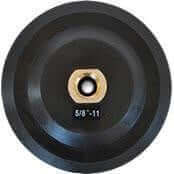 ProTool Pad Adaptor 5in for 5/8-11shaft SKU: 76-46 |
 Mr.Hardwater Deluxe Kit 110v SKU: 76-44 |