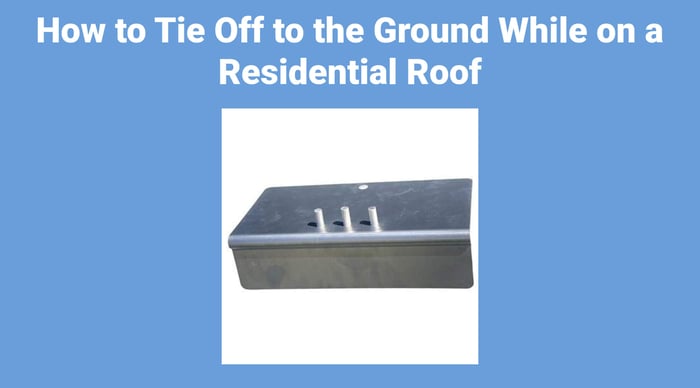
How to Tie off to the Ground while on a Residential Roof

Knowing how to tie off to the ground while on a residential roof is a non-negotiable skill for any contractor doing roof-level work — soft washing, gutter cleaning, window cleaning from above, or solar panel maintenance. Most residential roofs lack permanent anchor points, so ground-based tie-off becomes your primary fall protection strategy.
Why Ground-Based Tie-Off Works on Residential Roofs
Commercial buildings have engineered anchor points. Houses don't. A ground-based anchor — your vehicle, a tree, a concrete deadman — gives you a reliable attachment point without penetrating the roof or relying on questionable structural elements like vent pipes or satellite mounts. The key is understanding the geometry: your rope must run over the ridge and down to the anchor, and the total system — rope length, shock absorber deployment, and free-fall distance — must arrest a fall before you hit the ground on the anchor side or slide off the eave on the work side.
Selecting Your Anchor Point
Your ground anchor needs to hold at least 5,000 lbs (the OSHA standard for fall arrest anchorage) or be part of a system designed by a qualified person. Common residential options:
- Vehicle hitch or axle: A truck or trailer hitch rated for towing easily exceeds 5,000 lbs. Use a rated tie-off strap or anchor sling around the hitch receiver or axle — never the bumper.
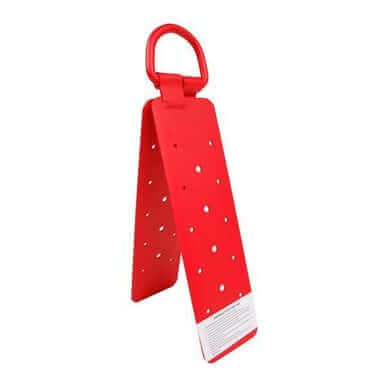
- Large tree: A healthy, mature tree with a trunk diameter of at least 12 inches at the wrap point. Use a tie-off pad or anchor sling to protect both the tree and your webbing from abrasion.
- Concrete deadman or ground stake system: Purpose-built ground anchors driven or buried to engineered specs. Less common on residential jobs but viable on large estates or repeat clients.
Position the anchor so the rope crosses the ridge as close to directly opposite your work area as possible. The closer to perpendicular your rope runs over the ridge, the less lateral pendulum swing you face in a fall.
Gear You Need
Ground tie-off on a residential roof requires the same fall-arrest-rated gear you'd use on any rope access job. Cutting corners here is how people die.
Rope
Use a kernmantle or solid-braid life safety rope rated for fall arrest. A Teufelberger KMIII 1/2-inch rope is the industry standard for good reason — high strength, low stretch, excellent abrasion resistance. Size your rope for the full run: ground anchor to ridge, over the ridge, and down to your work position, plus extra for knots and adjustment. On a typical two-story house, 75–100 feet covers most setups.
Rope Grab
A rope grab with integral shock-absorbing lanyard lets you move along the rope while providing automatic fall arrest. Match the rope grab to your rope diameter — a 1/2-inch grab on 1/2-inch rope, always. A mismatched grab can slip or fail to cam properly.
Harness
A full-body harness with a dorsal (back) D-ring is mandatory for fall arrest. The Petzl Avao Bod harness is a professional-grade option with front, back, and side attachment points, which gives you flexibility for both fall arrest and work positioning. Make sure it fits — a loose harness shifts impact forces to the wrong places.
Edge Protection
Where your rope crosses the ridge or any sharp edge, you need a ProTool edge protector or rope guard. An unprotected ridge cap will saw through a loaded rope faster than you'd expect. This is the piece most DIY setups skip — and the one that saves the system when it matters.
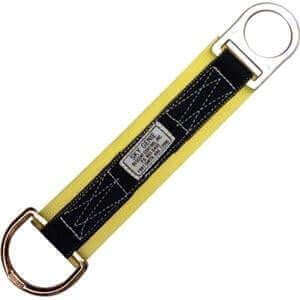
Tie-Off Straps
Use a rated anchor strap with metal rings at the ground anchor. These distribute the load and prevent the rope from abrading against the anchor point. A 6-foot or 8-foot strap handles most vehicle and tree anchors.
Setting Up the System
- Position your anchor. Park the truck or identify the tree on the opposite side of the house from your work area. The rope should cross the ridge at roughly 90 degrees to the ridge line if possible.
- Attach the anchor strap. Wrap the tie-off strap around the anchor point (hitch, axle, tree trunk) using a basket or choker configuration. Clip a rated steel carabiner through both rings.
- Run the rope. Tie or clip the rope to the anchor carabiner. Run it up and over the ridge, placing an edge protector where the rope contacts the ridge cap.
- Install the rope grab. Thread the rope grab onto the rope on your working side, oriented so it locks when loaded downward (toward the eave). Attach your shock-absorbing lanyard from the rope grab to the dorsal D-ring of your harness.
- Test the system. Before going on the roof, weight-test the rope grab by pulling hard on the lanyard to confirm it locks. Check that the edge protector is seated and the rope runs clean — no snags, no contact with gutters or fascia hardware.
- Ascend and work. Climb to your work position. Adjust the rope grab so the lanyard connection is at or above your D-ring height — this minimizes free-fall distance. As you move along the roof, reposition the edge protector and rope path as needed.
Common Mistakes
- Too much slack. If the rope between your rope grab and the ridge has excessive slack, your free-fall distance increases. In a fall, the shock absorber deploys another 3.5 feet. Add it all up and you can swing into the wall or hit the ground. Keep the system snug.
- No edge protection. Asphalt shingles and metal ridge caps are abrasive. Under load, they cut rope. Always use an edge protector at the ridge.
- Anchor on the same side. Your anchor must be on the opposite side of the ridge from your work area. If both are on the same side, the rope can't arrest a fall — it just follows you off the eave.
- Using equipment not rated for fall arrest. Positioning lanyards, utility rope, and climbing slings are not fall arrest equipment. Every component — rope, grab, harness, connectors — must be ANSI-rated for fall arrest.
- Skipping the harness. A rope tied around your waist is not fall protection. It's a mechanism for internal injuries. Full-body harness, always.
Roof Safety Kits: A Faster Setup
If you're doing residential roof work regularly, a pre-assembled roof cleaning safety kit saves setup time. These kits bundle the rope, rope grab, shock-absorbing lanyard, and anchor strap into a single bag — grab it, rig it, work. J.Racenstein carries kits in 25-foot and 50-foot configurations sized for typical residential jobs. Pair one with a RidgePro roof anchor for ridge-mounted scenarios where ground tie-off isn't practical.
When Ground Tie-Off Isn't Enough
Ground-based tie-off works well on simple gable roofs where you can get a clean rope path over the ridge. It gets complicated on hip roofs, multi-level roofs, or houses with dormers that prevent a straight rope run. In those situations, consider a reusable roof anchor installed at the ridge, or a parapet clamp on flat sections. The goal is always the same: a rated anchor above your work position with a clear fall path that the system can arrest within the available distance.
Products Mentioned
 Tie Off Pad 06ft Sky Genie SKU: 98-20 | 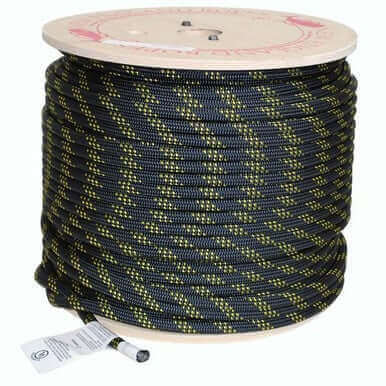 Teufelberger KMIII Rope 1/2in Solid Black SKU: 90-13M | 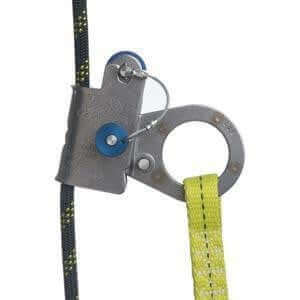 Rope Grab 1/2in 3ft Shock Absor Lanyard SKU: 94-117 |
 Petzl Avao Bod Harness SKU: 96-41M | 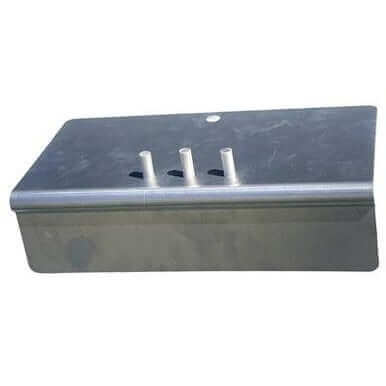 ProTool Edge Protector Aluminum 12in SKU: 98-122 |  Tie off 2 Metal Rings 06ft length (ea) SKU: 98-51 |
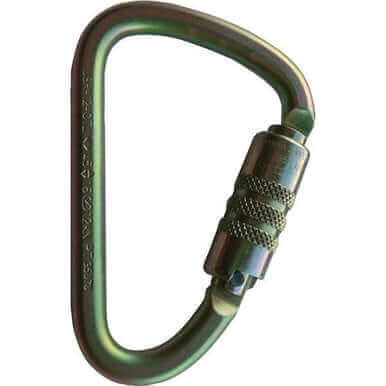 Carabiner ANSI Twist Lock Steel SKU: 98-817 | 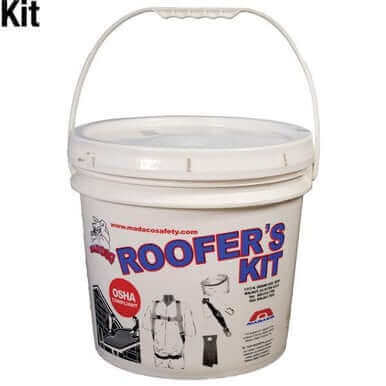 Roof Cleaning Safety 50ft Kit SKU: 12-655 | 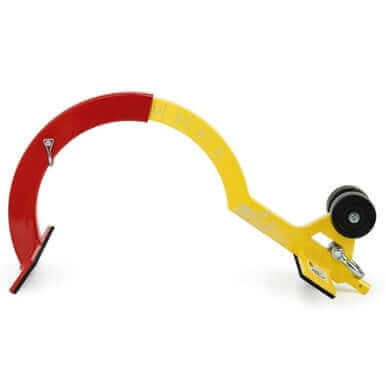 The RidgePro Roof Anchor SKU: 99-304 |
 Roof Anchor Reusable SKU: 99-302 | 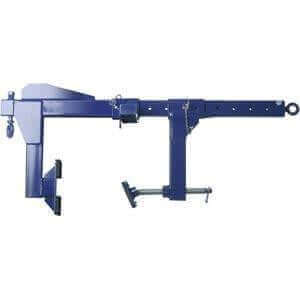 Parapet Clamp MIO SKU: 99-100 |