Window Cleaning Squeegee Techniques That Actually Matter

Table of Contents
Window cleaning squeegee techniques separate the crews that finish a route on time from the ones still detailing at 4 PM. If your squeegee chatters, your fanning leaves turn marks, or your pole work produces more streaks than it removes — the fix is almost never "practice more." It is usually a specific setup error, a blade issue, or an angle problem you can correct in seconds once you know what to look for.
This guide covers the techniques that matter: straight pulls, the S-method, pole work adjustments, and a diagnostic framework for the problems that cost you time on the glass.
Prep and Setup: Where Most Streak Problems Start
Over 90% of streak and chatter issues trace back to what happens before the blade touches glass. Solution mix, rubber condition, and channel choice are the variables — get them right and the technique section becomes dramatically easier.
Channel and Rubber Selection
Brass channels deliver consistent pressure through weight — useful on large commercial panes where you want gravity doing work for you. Stainless steel is rigid and durable, the workhorse for most crews. Aluminum cuts fatigue on long days but flexes more under pressure.
The rubber matters more than the channel. Hard rubber holds its edge in heat and works best on smooth, flat glass. Soft rubber conforms to imperfections and performs in cooler weather. Carry both. An Ettore Master Replacement Rubber is a reliable baseline for general conditions, while quality replacement rubber in various compounds lets you match the blade to the day's conditions.
Solution Mix
The solution's only real job is lubrication — what pros call "slip." A few drops of Dawn per gallon of clean water is the industry standard. More soap does not mean cleaner glass. Excess suds leave sticky residue that attracts dirt and causes the exact streaks you are trying to prevent. If you want better slip without the residue, a dedicated window cleaning soap like Glass Gleam 3 or Winsol Super Slip outperforms dish soap on long working days and hot glass.
Blade Prep
Run your finger along the cutting edge before every job. A nick you cannot see will leave a line you definitely can. Trim the rubber corners at a slight 45-degree angle to prevent solution from seeping out the channel ends. And wipe the blade with a lint-free cloth after every single pull — this is non-negotiable. A surgical towel works well for this; it absorbs fast and leaves no lint.
The Straight Pull: Your Foundation Technique
The straight pull is the technique every other method builds on. A perfectly executed straight pull beats a sloppy fan every time. Master this first.
Cut In the Dry Edge
Wipe a narrow vertical strip — about one inch — along the side of the glass where you will begin. This creates a dry starting zone so your blade does not push water out from the frame onto finished work. Use a microfiber towel or huck towel. Skip this step and you will spend more time detailing than you saved.
The Pull
Place the top edge of the blade inside the dry strip. Angle the squeegee at roughly 45 degrees to the glass — this is the sweet spot for shearing water cleanly without chatter. Apply light, consistent pressure and pull straight down in one uninterrupted motion. Do not stop mid-pull. A pause leaves a line.
Overlap and Repeat
After each pull: wipe the blade, reposition with a 1–2 inch overlap into the previous dry stroke, pull again. The overlap prevents water lines between passes. Continue across the pane, then wipe the bottom ledge and corners. The sequence is simple — the discipline of doing it every time is what makes it professional.
The S-Method (Fanning): Speed on Large Glass
Fanning is the production technique for large commercial panes. Its advantage over straight pulls is water control — the motion keeps solution contained on the glass until the final pass, which means fewer drips and less detailing.
The Motion
Lead with the top edge of the blade. At the end of each horizontal pass, a controlled wrist flick pivots the squeegee for the next pass without lifting it from the glass. The collected water pushes into the adjacent wet area. You are always pulling from a clean, dry path into wet glass — never the reverse.
Execution
- Start: Top corner, blade angled slightly down, about an inch gap between rubber end and frame.
- Top pass: Pull straight across the top edge.
- Pivot and descend: Wrist-flick to pivot, then move down in a continuous overlapping S-pattern. Each pass overlaps the previous one by about an inch.
- Close out: Final pass — pull straight across the bottom to collect remaining water.
Common Fanning Mistakes
Turn marks (curved streaks at each edge) — the pivot is stopping instead of flowing. The fix is a single seamless wrist motion, not a stop-and-turn.
Losing the wet edge — the glass dries before you reach it. Work faster, use more solution, or switch to a soap with better working time. Hot glass and wind accelerate this problem.
Uneven pressure — causes lines and missed spots. A sharp rubber blade on a quality channel like an Ettore Super Channel or Pulex Alumax requires very little force. Let the tool do the work.
Advanced Situations: Poles, Deep Ledges, and Detailing
Pole Work
Extension pole work changes the physics. Let the pole's weight do the pressing — excessive force causes flex, which causes chatter. A swivel-handle squeegee is essential for pole work; without it, you cannot maintain the correct blade-to-glass angle as the pole angle changes. For large commercial panes, pair the pole with an 18" to 24" channel. An Ettore Interlock Pole or a ProTool Oval Pole paired with the right channel width makes high-reach work efficient instead of frustrating.
Deep Ledges
Windows set deep into sills prevent a clean close-out at the bottom. Two reliable solutions: use your standard squeegee for the main glass, then switch to a 6-inch squeegee for a precise final horizontal pass along the bottom edge. Or use the "dive bomb" — a quick downward pull where you angle the handle away from the glass just as you reach the bottom, letting the blade clear the frame. Wipe the sill before you start so dirty water does not drip onto finished work.
Detailing
No technique eliminates the fine moisture line — called "bleed back" — that forms along the edges where the channel ran. A dry microfiber towel or surgical towel along the edges takes seconds and is the difference between work that looks professional and work that looks almost professional. This is the step that justifies your price.
Troubleshooting: Diagnose and Fix Fast
Every streak, chatter mark, and water line has a specific cause. Knowing the cause means you fix it in seconds instead of fighting it all day.
Streaks and Haze
- Dirty water: Change solution frequently, especially on heavily soiled jobs. Pulling through dirty water redeposits grime.
- Damaged blade: Inspect before each job. Any nick or rounding means flip the rubber or replace it. Replacement rubber is cheap; callbacks are not.
- Too much soap: Follow manufacturer directions. Excess soap leaves hazy film.
- Dirty washer sleeve: A grit-loaded washer sleeve moves dirt around instead of removing it. Start clean, carry spares.
Chattering or Skipping
- Not enough slip: Add a small amount of professional soap to increase lubrication.
- Hot or dry glass: Work in shade first, or work smaller sections and re-wet as needed.
- Wrong angle: Too perpendicular (near 90 degrees) increases drag. Bring the handle closer to the glass to reduce friction.
Water Lines at the Edges
- Insufficient overlap: Every pull must overlap the previous dry edge by 1–2 inches.
- Worn blade corners: Trim a sliver off the ends to restore a sharp corner, or replace.
- Skipped detailing: Always wipe edges with a dry, lint-free cloth as the final step.
For a visual walkthrough of these window cleaning squeegee techniques in action, the J.Racenstein YouTube channel has field demonstrations worth watching.
Products Mentioned
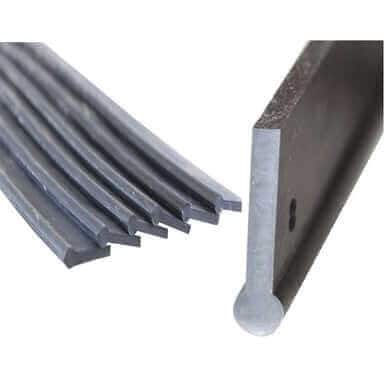 Ettore Rubber Master Replacement SKU: 03-1M | 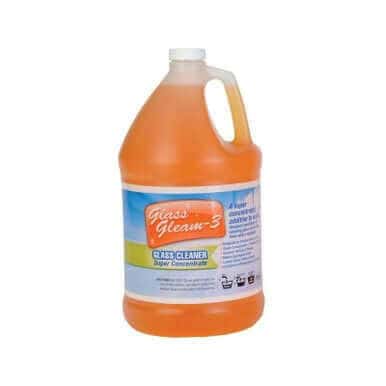 Titan Labs Glass Gleam 3 Window Cleaning Soap SKU: 84-51M | |
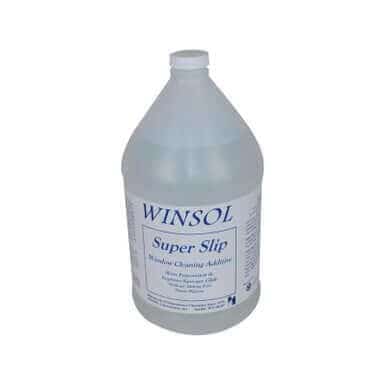 Winsol Super Slip Window Cleaning Soap SKU: 84-62M | 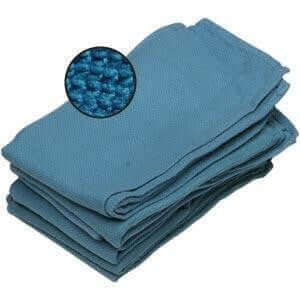 ProTool Towel Surgical New per LB SKU: 24-33 | 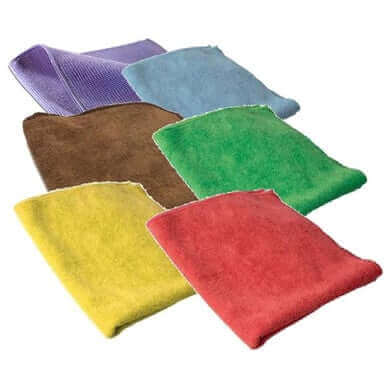 ProTool Microfiber Towel SKU: 24-5M |
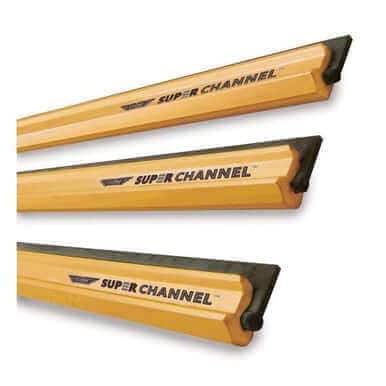 Ettore Super Channel Aluminum SKU: 02-11M | 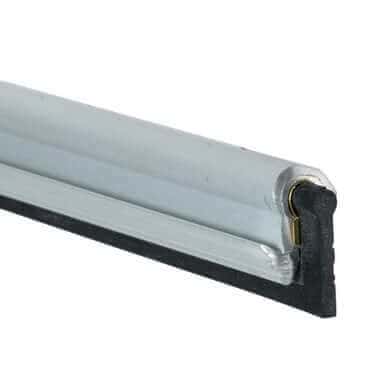 Pulex Channel Alumax SKU: 02-31M | 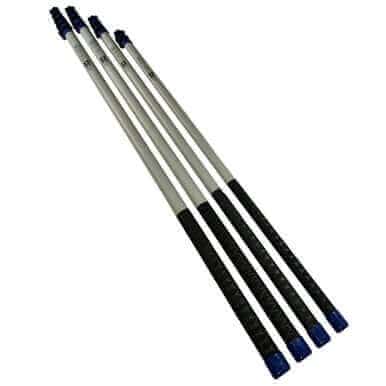 ProTool Telescopic Pole Oval SKU: 60-01M |