How to Assemble a Gardiner Water-Fed Pole

Assembling a Gardiner water fed pole brush takes about two minutes once you know the order of operations. Every Gardiner pole ships with a parts bag containing the brush, a gooseneck adapter, and a short section of orange tubing with a push-fit union. Here is the correct sequence.
What's in the Parts Bag
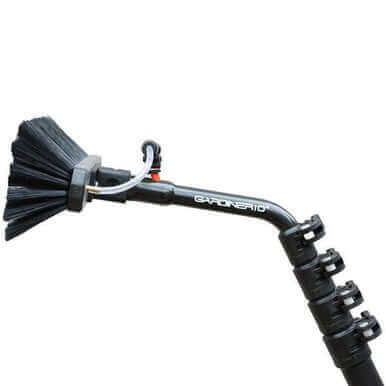
- Brush head (with a T-fitting for the jet hoses)
- Gooseneck adapter (Quick-LoQ or standard, depending on model)
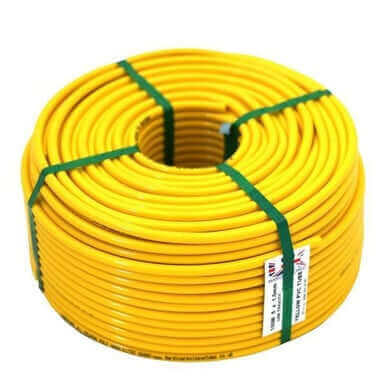
- Orange tubing section with a push-fit union connector
Step-by-Step Assembly
- Connect the brush jets. If the small tubes on the brush head are not already seated in the T-fitting, press them in now. They should click and hold firm.
- Thread the orange tubing through the gooseneck. Feed it up from the bottom of the gooseneck adapter so it exits at the top, then push-fit the tubing into the T-fitting on the brush.
- Lock the gooseneck into the brush. The top of the gooseneck adapter clicks into the socket hole on the brush head. Press until it snaps.
- Run your pole hose. Feed the Gardiner pole hose up through the pole sections and out the top.
- Connect the hose to the brush assembly. The push-fit union is a quick connect — press the hose in until it locks. No tools needed.
- Seat the hose inside the pole. Push any excess hose back down inside the top section so it does not snag.
- Clamp the brush assembly. Open the pole clamp, slide the gooseneck stem into place, and close the clamp. The brush is now locked and water-ready.
Disconnecting the Brush
To break down, reverse the last three steps: open the clamp, press the quick-connect collar to release the hose, and lift the brush assembly off the pole. The brush and pole store separately, which keeps bristles from getting crushed in transit.
Brush and Adapter Compatibility
Gardiner's Quick-LoQ system lets you swap between different brush heads and gooseneck angles without tools. The Gardiner Ultimate Series brushes come in several widths and bristle configurations. If you need a specific angle for fascia or soffits, Gardiner makes goosenecks from 10-inch 45° to a 34–47-inch DeepReach model.
For residential work where a compact neck is enough, the 10-inch 55° carbon gooseneck keeps weight low and reach tight to the glass. On commercial facades or solar panels, the longer goosenecks earn their keep.
Any brush we carry can be adapted to fit a Gardiner pole. If you are running a Gardiner CLX 27ft or an SLX 39ft, the same Quick-LoQ interface applies — swap brushes, swap goosenecks, and keep moving.
Tips from the Field
- Check jet flow before you start the job. With the brush assembled and water on, confirm both jets spray evenly. A blocked jet means uneven rinsing and callbacks.
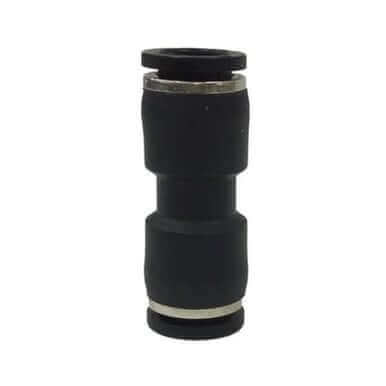
- Carry a spare push-fit union. The Gardiner 5/16 push-fit union is the part most likely to wear over time. A spare in the van keeps you working.
- Mark your hose length. Use Gardiner's joint indicator tape to mark the hose at each pole section. When extending or collapsing, you will know exactly how much hose to feed or pull back.
Products Mentioned
 Gardiner Hose Yellow All Season Pole Hose SKU: 152-1M | 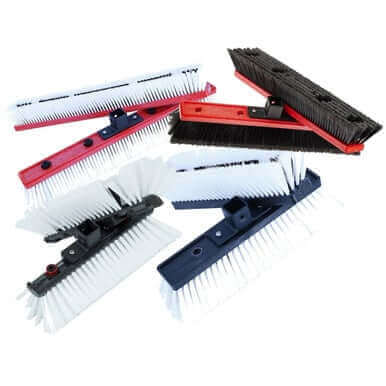 Gardiner Brush Ultimate Series SKU: 158-41M | 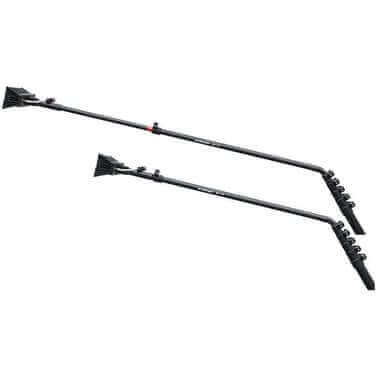 Gardiner Gooseneck QuicK-LoQ DeepReach 34-47in SKU: 157-4055 |
 Gardiner Gooseneck Carbon 10in 55deg Quick-Loq SKU: 157-4051 | 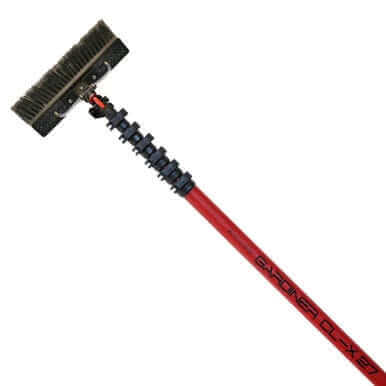 Gardiner CLX 27ft Pole Carbon Composite SKU: 155-4272 | 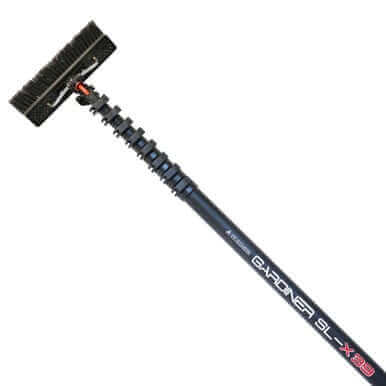 Gardiner SLX 39ft Tele Pole Carbon Complete SKU: 155-4391 |
 Gardiner Hose Union Connect 5/16 PushFit SKU: 152-124 | 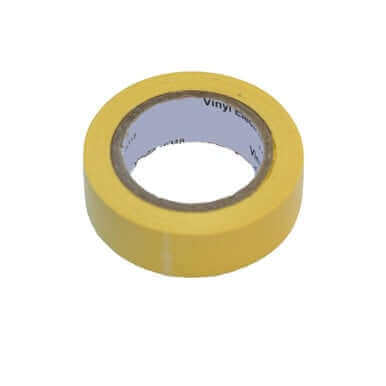 Gardiner Tape Telescopic Joint Indicator 30ft SKU: 152-143 |