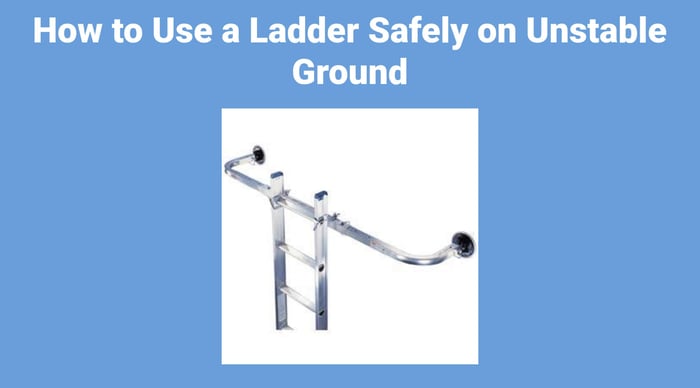
Use a Ladder Safely on Unstable Ground

A ladder on uneven ground is the single fastest way to end a workday in an ambulance. Slopes, soft soil, cracked driveways, landscaped beds — professional window cleaners and pressure washers deal with unstable footing on nearly every residential job. The fix is not caution alone. It is equipment that mechanically compensates for the surface, combined with a setup routine that eliminates guesswork.
Why Unstable Ground Is More Dangerous Than Height
Most ladder incidents are not high-rise falls. They happen below 20 feet, on extension ladders that shift, sink, or kick out at the base. The root cause is almost always ground contact: one rail sitting higher than the other, or both rails resting on a surface that cannot hold the load. A 4:1 pitch feels solid until one foot drops an inch into wet turf. That single inch translates to several inches of lateral movement at the top — enough to lose the wall.
The problem compounds with weight. A cleaner carrying a bucket and pole shifts the center of gravity with every reach. Without a mechanically level base, each shift adds cumulative lateral force the ladder was never designed to absorb.
Ladder Levelers: The Non-Negotiable Tool
Levelers bolt to the base of an extension ladder and let you independently adjust each rail's height. They turn a sloped driveway or a landscaped grade into a level platform. If you work residential exteriors and do not own a set, you are accepting risk you do not need to accept.
The two main types:
- Quick-connect levelers — attach and detach without tools. The LeveLok Quick Connect system is the standard here. The base unit stays on the ladder; the leveler legs snap in when you need them. Fast transitions between flat and uneven ground.
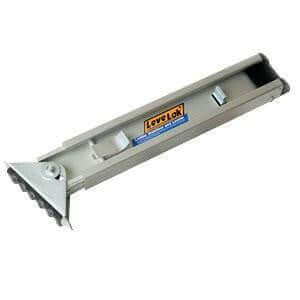
- Bolt-on levelers — permanent mount. The Xtenda-Leg levelers give you a wide adjustment range with interchangeable rubber or cleated feet. Cleated feet bite into soft ground; rubber feet grip hard surfaces.
For mixed-surface crews, keep both foot styles on the truck. Rubber feet on concrete and asphalt, cleated feet on turf and gravel. Wrong feet on the wrong surface defeats the purpose of the leveler.
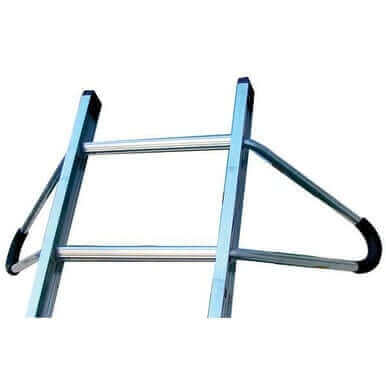
Standoffs and Stabilizers
Levelers fix the base. Standoffs fix the top. A Ladder Stand Out stabilizer widens the contact at the wall, keeps the ladder off the glass, and prevents side-to-side rocking. On vinyl siding or painted wood, the silicone elbow version avoids surface damage.
The ProTool Ladder StandOff is a lighter alternative when you need wall clearance without the full stabilizer frame. It works well for quick second-story hits where you want to clear a gutter line.
Setup Routine That Eliminates Guesswork
- Read the ground first. Walk the base area before you raise the ladder. Look for soft spots, hidden slopes, drain covers, sprinkler heads. A two-second scan prevents a two-hour ER visit.
- Set levelers before climbing. Extend the lower leg until both rails sit firm and the ladder is plumb. Check with a quick visual — the rungs should look horizontal against the house line.
- Lock everything twice. Leveler pins, extension locks, standoff clamps. Give each a tug. If anything moves, fix it on the ground, not from the third rung.
- Test-load from the bottom rung. Step on the first rung with your full weight and bounce lightly. If the base shifts at all, come down and reset. A ladder that passes this test at rung one will hold at rung fifteen.
- Maintain three points of contact. This is the rule that experienced cleaners start ignoring. Do not. The moment you reach with both hands and one foot, you are relying entirely on friction and luck.
Soft Ground: The Hidden Killer
After rain, irrigated lawns, freshly mulched beds — the ground looks solid but compresses under load. One rail sinks, the ladder tilts, and the fall happens before you register the shift. Solutions:
- Levelers with cleated feet spread the load and grip into the surface. The replacement cleated feet are cheap insurance — keep a spare set.
- Wide base pads or plywood. A scrap of 3/4" plywood under each foot creates a stable platform on soft soil. Not elegant, but effective.
- The PiVit ladder tool — the ProTool PiVit lets you set one rail on a step, curb, or slope while the other sits on flat ground. It handles the transition zones that levelers alone cannot.
Slopes and Stairs
Sloped driveways and front-entry stairs force you to set one rail significantly higher than the other. This is where levelers earn their cost in a single job. Without them, you are shimming with scrap wood or — worse — having someone hold the ladder. Neither method is reliable.
On stairs, combine a leveler on the lower rail with the PiVit on the step tread. The PiVit's flat face gives a stable bearing surface where a bare ladder foot would slip off the stair nose.
Additional Safety Gear Worth Carrying
- ProTool Ladder Quick Click — a compact standoff that clicks onto the ladder top for fast wall clearance.
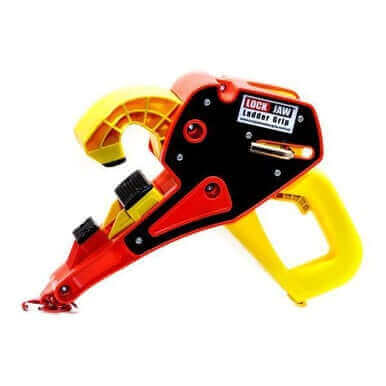
- ProTool Lock Jaw Ladder Grip — secures the ladder to the gutter or roofline to prevent kick-out.
- ProTool LadderPadz — protects painted surfaces and vinyl siding from rail marks.
- ProTool Ladder Mitts — cushioned covers that prevent rail damage on delicate surfaces.
When to Skip the Ladder Entirely
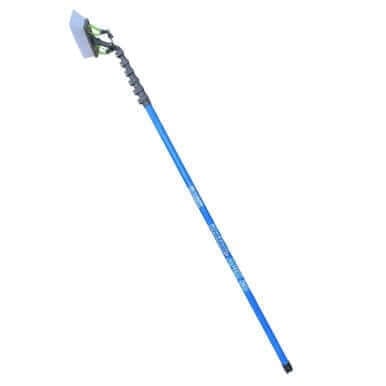
If the ground is too unstable, too steep, or too narrow for a safe setup — even with levelers — switch to a water fed pole. A ProTool Apex carbon fiber pole reaches second and third story glass from the ground. No ladder, no fall risk, no liability. The ROI conversation changes the day a leveler cannot save a bad setup.
Know when the ladder is the wrong tool. That judgment is the most important safety equipment you carry.
Products Mentioned
 Ladder Levelers Quick Connect LeveLok SKU: 73-25 | 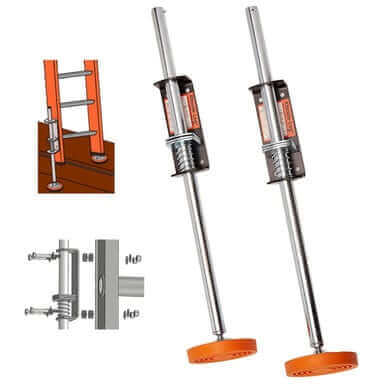 Ladder Leveler with Rubber Feet (Pair) Xtenda-Leg SKU: 73-41 | 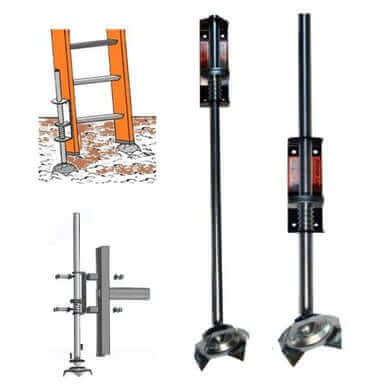 Ladder Leveler Cleated Feet (2 pack) Xtenda-Leg SKU: 73-42 |
 Ladder Stand Out - Stabilizer with Foam Elbows - Pair SKU: 73-20 | 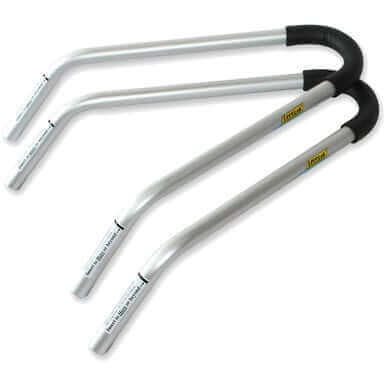 Ladder Stand Out - Stabilizer with Silicone Elbows - Pair SKU: 73-200 | 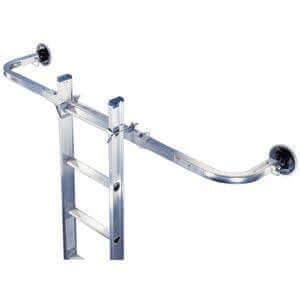 ProTool Ladder StandOff SKU: 73-101 |
 Leveler Repl Cleated Feet (2) Xtenda-Leg SKU: 73-44 | 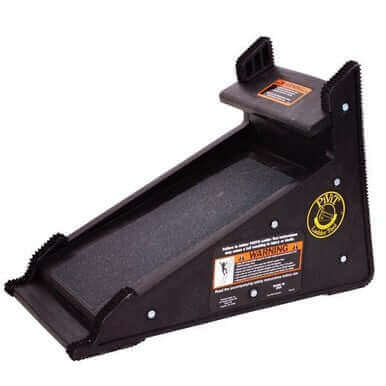 ProTool PiVit, Ladder Tool SKU: 73-95 | 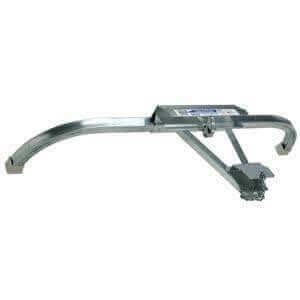 ProTool Ladder Quick Click SKU: 73-102 |
 ProTool Lock Jaw Ladder Grip each SKU: 73-111 | 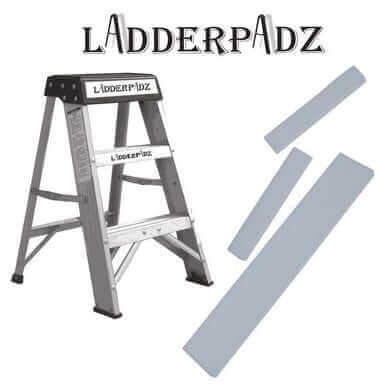 ProTool LadderPadz (1 set) SKU: 73-82 | 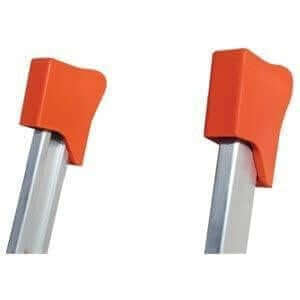 ProTool Ladder Mitts SKU: 73-81 |
 ProTool Apex Carbon Fiber Water Fed Pole SKU: 151-32M |