Ultimate Guide to Setting Up and Using Your RODI System for Window Cleaning

Table of Contents
When it comes to professional window cleaning, spot-free results matter. Nothing diminishes quality faster than water that dries leaving mineral spots or streaks behind. That’s where a RODI system becomes a game changer — and why more window cleaners are switching from basic DI tanks or even conventional squeegee-only methods to water fed pure water technology.
In this post, we’ll break down why RODI systems are essential, how they work, and exactly how to set up and use a 3-stage RODI system featuring a carbon filter, reverse osmosis membrane, and DI cartridge so you can hit the ground running on your next job.
Why Pure Water Matters in Window Cleaning
Traditional tap water contains dissolved solids — minerals like calcium, magnesium, and silica — that leave behind spots once the water evaporates. Streaks and spots not only look unprofessional but create extra work, time, and frustration for window cleaners.
Enter the RODI system. RODI stands for:
Carbon (C): Activated carbon filter
Reverse Osmosis (RO): Semi-permeable membrane
Deionization (DI): Resin cartridge final polish
These three stages work together to strip water of impurities so that the water you spray on windows is nearly 0 TDS (Total Dissolved Solids), meaning the water will evaporate without leaving any residue or spotting behind — a must for professional results.
How the 3-Stage RODI System Works
Here’s what happens as your tap water progresses through a typical 3-stage RODI system:
1. Carbon Filter – The First Line of Defense
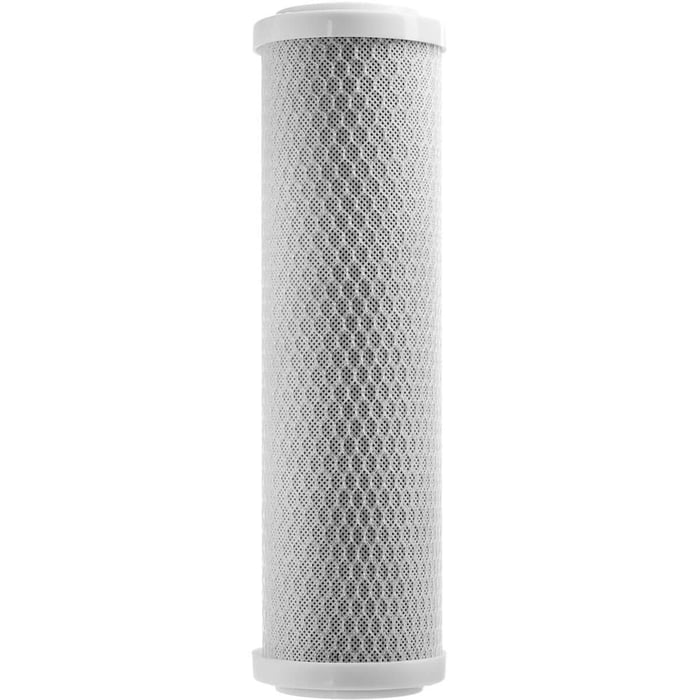
The carbon filter removes chlorine and larger contaminants that could damage the RO membrane downstream. Chlorine in water is particularly damaging to RO membranes, so this pre-treatment is essential.
👉 Think of the carbon filter as the protector of everything that comes next.
2. RO Membrane – Deep Purification
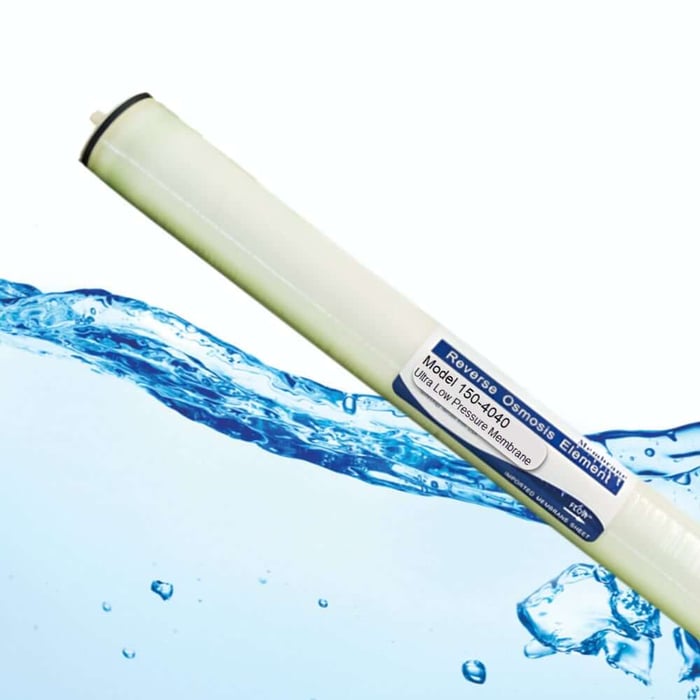
After the carbon stage, water enters the reverse osmosis membrane. Under pressure, water molecules are pushed through a semi-permeable membrane, rejecting up to 90–98%+ of dissolved solids at this stage.
The membrane purifies water by filtering out most dissolved minerals and impurities — but it doesn’t strip everything. That’s where the last stage comes in…
3. DI Cartridge– Final Spot-Free Finish
The DI (Deionization) resin takes whatever’s left and removes the rest of the dissolved solids, bringing your TDS reading down to about zero (0 ppm).
This final result — 0 TDS water — is what gives window cleaners spot-free results. As the water dries, there’s nothing left to leave behind behind on the glass.
Tools & Supplies You’ll Need for Setup
Before you begin, make sure you have:
✔ A garden hose or hookup from a water source
✔ The RODI cart or system with carbon, RO, and DI stages
✔ TDS meter to measure water quality
✔ Filter wrenches (often included with systems)
✔ Optional pump (if system has low incoming pressure)
Step-by-Step Setup: First-Time Use
Here’s how to get your RODI system up and running the right way.
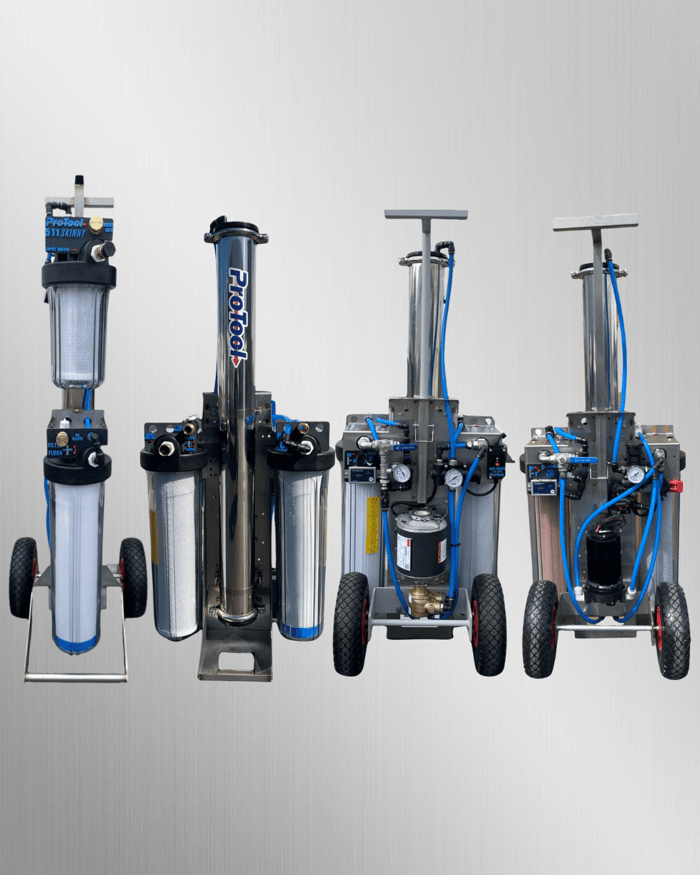
Unpacking Your ProTool RODI Cart
ProTool HiFlo Pure Water Cart Stainless Steel
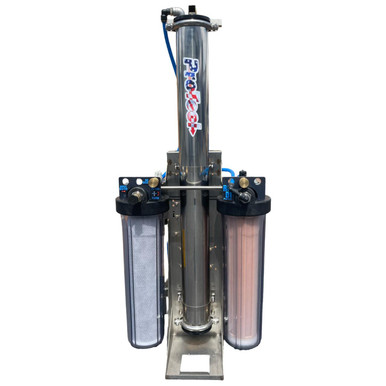
$2,277.00
ProTool Cart Stainless Steel Tap Water Pressure Overview: ProTool Cart SS – the epitome of durability and efficiency in pure water systems. Crafted with pride...… read more
When any of your ProTool RODI Carts arrive, there’s no assembly required. Simply remove the packaging and visually inspect the system to ensure all housings, fittings, and tubing are secure from shipping. Because the system is prebuilt, all filtration stages are already installed in the correct order — carbon first, RO membrane second, DI last — so you can move straight to flushing and setup.
This plug-and-play design makes the ProTool line ideal for both new window cleaners and experienced professionals who want a reliable, job-ready RODI system right out of the box.
2. Connect to Water Supply
Attach your water source:
If you’re at a home or business location, you can connect using a garden hose.
Some carts allow direct hookup with a diverter or quick connect.
Turn on the water briefly to flush out sediments from the hose before connecting to the system — this protects your filters. Many professional cleaners run the client’s hose dry for ~30 seconds before hooking up.
3. Flush the Carbon Filter
Before putting the RO membrane into service, run water through the carbon stage for 10–15 minutes. This flushes out any loose carbon fines and activates the filter media.
Strongly colored or cloudy water at first is normal — it should clear up.
4. Prepare the RO Membrane
Flush the system for at least 30 minutes to properly prep the membrane. This initial flush removes preservatives and preps the membrane for use.
5. Attach the DI Cartridge
After flushing the RO membrane, connect the water line to the DI cartridge. This stage will finish the purification.
At this point, your system should be plumbed:
Water Source ➞ Carbon ➞ RO Membrane ➞ DI Cartridge➞ TDS Meter / Output to Pole
6. Measure TDS Output
All ProTool Carts come with an Inline TDS meter so you're always with one. If you have a cart without it, use a handheld TDS meter to verify your pure water output. Ideal RODI systems for window cleaning aim for 0 TDS out of the DI.
If you’re reading above 5–10, check pressure, filter orientation, and whether resin might be expired. High RO stage readings often mean the membrane has degraded.
Tips for First Use & Cleaning
Work With a TDS Meter
Bring it with you for every job. If TDS starts to rise, it tells you filters are nearing replacement.
Flush Before & After Each Use
Running water through all stages before and after jobs extends filter life and prevents stagnation.
Monitor Carbon & DI Life
Carbon filters protect the membrane — replace often if you see discoloration. DI resin lasts longer but should be changed when final TDS starts creeping above 0–2 ppm under load.
Common Mistakes to Avoid
❌ Skipping pre-flush: leads to shorter membrane life
❌ Incorrect filter order: reduces purification efficiency
❌ Forgetting to check TDS: you can’t optimize what you don’t measure
Benefits of Using a RODI System
✔ Spot-free windows — no minerals left behind
✔ Faster jobs — less detailing
✔ Less reliance on ladders, chemicals, or labor
Pure water cleaning technology isn’t a fad — it’s now standard practice for professionals aiming to reduce callbacks and deliver premium results.
Conclusion: Start With a Solid Setup for Spot-Free Success
A properly set up 3-stage RODI (Carbon → RO → DI) system isn’t just a tool — it’s a foundation for quality work in window cleaning. Once dialed in, it consistently produces the purest water possible, making your job faster, easier, and more professional.
Follow the steps above, measure your output, and maintain your filters — and you’ll have spot-free glass without a second thought.
FAQs
What is a RODI system used for in window cleaning?
A RODI system purifies tap water by removing minerals and dissolved solids that cause spotting. Window cleaners use RODI systems to produce pure water that dries spot free on glass, frames, and exterior surfaces.
How does a 3-stage RODI system work?
A 3-stage RODI system filters water through a carbon filter, reverse osmosis membrane, and DI resin. The carbon filter removes chlorine and debris, the RO membrane removes about 90–98% of dissolved solids, and the DI canister polishes the water to near 0 TDS.
Why is carbon filtration important in a RODI system?
The carbon filter protects the RO membrane by removing chlorine and sediment. Without proper carbon filtration, chlorine can damage the RO membrane and significantly reduce its lifespan and efficiency.
What TDS level is ideal for window cleaning?
For spot-free window cleaning, the ideal TDS reading is 0–2 ppm. Most professional window cleaners aim for 0 TDS to ensure no minerals are left behind as the water dries.
Do I need a pump with my RODI system?
A pump is recommended if your incoming water pressure is below 50–60 PSI. Proper pressure improves RO membrane efficiency and ensures consistent pure water production.
How often should I replace RODI filters?
Carbon filter: Every 3–6 months or based on water quality
RO membrane: Typically every 2-5 years
DI resin: When output TDS rises above 2–5 ppm
Regular TDS monitoring helps determine exact replacement timing.