Brick Graffiti Removal: The Contractor's Thermal-Chemical Workflow
Table of Contents
Brick graffiti removal fails more often than it should — and almost always for the same reason. Contractors treat masonry like a flat, non-porous surface and blast it with pressure. Brick is a wicking substrate: a network of microscopic pores that pull liquid pigments deep through capillary action. If you've finished a job and watched a ghost shadow reappear as the wall dries, you already know what surface-level cleaning misses.
This guide covers the thermal-chemical extraction process that actually clears the capillary network — the chemistry, the equipment specs, the step-by-step workflow, and the anti-graffiti coatings that turn complex restoration into a fast maintenance stop.
Why Brick Eats Paint — and Why That Matters for Your Process
Aerosol spray paint doesn't just coat brick. The pressurized delivery drives pigments and resins into the masonry matrix. Hard-fired industrial brick has tighter pores and higher density; handmade or historical brick is significantly more porous and fragile. Choosing the wrong chemical or pressure setting on soft masonry causes permanent substrate damage — the kind that costs more than the graffiti itself.
Substrate porosity is the primary obstacle. Brick depends on moisture vapor transmission for structural integrity. If water can't move through it, you get spalling or salt efflorescence. Using high pressure before the paint is fully emulsified can lock pigments into the pores, making them nearly impossible to extract. The chemical has to lower solvent surface tension enough to follow the paint's path into the capillary network.
Identifying the Resin System
Most vandals use aerosol alkyd or acrylic spray paints. Alkyds are oil-based and form a tough cross-linked film requiring aggressive solvent breakdown. Acrylics are water-based but bond exceptionally well to mineral surfaces. Permanent markers and etching inks contain dyes that penetrate deeper than standard pigments, producing the worst ghosting.
- Fresh graffiti (24–48 hours): Not fully cured. Shorter dwell times, less chemistry.
- Cured graffiti (weeks in sun): Fully cross-linked resins. Requires extended dwell and specialized chemistry.
A patch test on an inconspicuous area is mandatory before full-scale work. It confirms dwell time and verifies the solvent won't discolor the mortar or brick face.
Choosing the Right Graffiti Removal Chemistry
The industry shifted hard after the EPA's April 2026 methylene chloride ban. Professionals now work with high-performance, NMP-free solvents — rapid pigment breakdown without the extreme toxicity of legacy strippers.
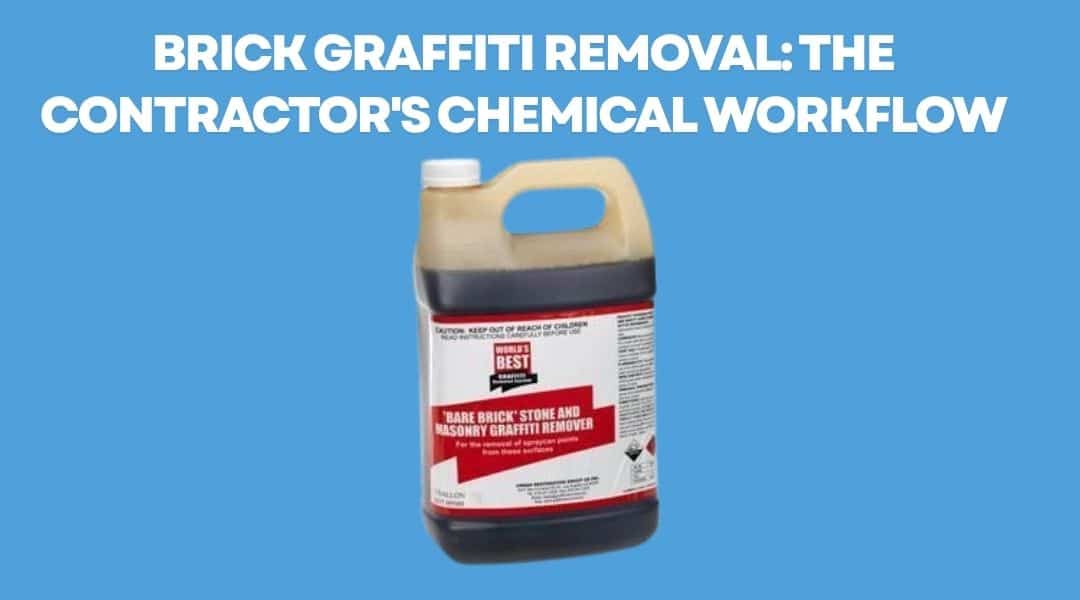
Viscosity matters as much as active ingredients. Liquid removers run down vertical masonry, wasting product and causing uneven cleaning. Gel-based formulations cling, keeping the solvent in contact for the full dwell time. World's Best Graffiti Removers are formulated specifically for this: thick gel chemistry that stays put on vertical brick while the solvent works into the pore structure.
For acrylic-based paints on unglazed brick in environmentally sensitive areas, soy or citrus-based esters offer a biodegradable alternative with longer dwell times but effective results. Apply with a chemical-resistant pump sprayer to ensure even coverage of thick gels without atomizing the solvent.
Substrate and Mortar Considerations
Alkaline strippers are highly effective for stubborn pigments but leave caustic residues that cause efflorescence if you skip the neutralizing rinse. This step is especially critical for historic handmade brick or glazed surfaces, where acidic cleaners etch the finish or erode lime-based mortar.
- Glazed brick: Non-abrasive, pH-neutral solvents only — avoid dulling the ceramic coating.
- Unglazed / sand-faced brick: Highly absorbent. Longer dwell times, thorough neutralization.
- Mortar joints: Avoid high-acid concentrations that dissolve the binder and cause crumbling.
Equipment Specs: Thermal Extraction Over Raw Pressure
Chemical action alone is rarely sufficient for porous masonry. The professional standard is thermal extraction — and the equipment gap between consumer and commercial gear is where most ghosting failures originate.
Prioritize GPM over PSI. High PSI carries a serious risk of wand marks or permanent etching on soft brick. A high-volume rinse at 5–8 GPM provides the mechanical force to flush emulsified pigments without destructive impact. A hot water pressure washer capable of sustaining 190°F+ is the baseline for this work.
Why 190°F Is the Standard
Heat accelerates the chemical reaction and physically reduces paint viscosity. At 190°F and above, water acts as a thermal solvent, liquefying the resins that hold pigments in the brick's pores. Cold water leaves shadows because paint resins remain semi-solid, clinging to internal masonry walls despite chemical treatment. There is no substitute for thermal extraction when clearing the capillary network.
Nozzle Selection and Distance
A 40-degree fan tip is the standard for rinsing — wide enough to prevent substrate gouging. Rotary turbo nozzles increase production speed on hard-fired industrial brick but are too aggressive for handmade or aged masonry.
- Rinsing distance: 6–12 inches from the brick face, consistent.
- Chemical application: Low-pressure nozzles to avoid splashing solvents onto operators or glass.
- Angle of attack: Slight downward angle to prevent driving water behind the brick veneer or into wall cavities.
For initial chemical application, soft wash spray guns deliver precise, low-pressure coverage that keeps the graffiti remover on the surface to dwell rather than atomizing it into the air.
The Step-by-Step Removal Workflow
Phase 1: Preparation and Application
Mask off glass, anodized aluminum trim, and landscaping. Aggressive solvents etch glass and kill vegetation on contact. Pre-wet the brick surfaces below the graffiti — this saturates the pores of the clean brick, preventing them from absorbing dirty chemical runoff during the rinse.
Apply chemistry from the bottom of the tag upward using a chemical-resistant brush or industrial pump sprayer. Dwell time is where 90% of the work happens. Monitor the surface to ensure the chemical stays wet — if the solvent dries, dissolved pigments re-set into the pores.
Phase 2: Extraction and Rinsing
Once the paint visibly softens or puckers, begin extraction at 190°F+ with overlapping horizontal passes, bottom to top. In urban environments, manage wash-water runoff with containment berms or vacuum recovery systems to comply with EPA discharge regulations.
Inspect while the brick is still wet. Pigments appear darker against a saturated substrate, letting you identify areas that need a second application before the wall dries.
Phase 3: Shadow Removal and Neutralization
Ghosting occurs when pigments remain in the deep capillary network despite successful surface removal. Apply a specialized shadow remover — a secondary chemistry designed for deep-pore penetration with shorter dwell time. World's Best BareBrick/Stone/Masonry remover is formulated for exactly this stage.
After final extraction, pH-test the masonry. If the surface remains too alkaline or acidic, efflorescence follows. Apply a neutralizing rinse, then rinse the full façade top to bottom for a uniform finish.
Anti-Graffiti Coatings: Prevention as a Profit Center
A standard removal on unprotected masonry often takes two hours, multiple chemical applications, and intensive thermal extraction. A coated surface allows a 15-minute hot water rinse. That efficiency gap is the entire business case for upselling coatings after every removal job.
Breathability is the most critical spec for any masonry coating. Select products with high vapor permeability — trapping liquid water behind a non-breathable film leads to freeze-thaw damage and structural spalling, especially in older buildings with softer brick.
Sacrificial vs. Permanent Barriers
- Wax-based sacrificial coatings: The standard for historical masonry. Hot water melts the coating away, taking the pigment with it. Reapply after every cleaning.
- Silane/siloxane-based permanent barriers: Preferred for high-traffic commercial areas. Survive multiple cleanings without reapplication. Modern siloxanes provide a matte finish invisible to the naked eye.
Building the Service Line
Maintenance contracts with municipalities, HOAs, and commercial property managers create recurring revenue. These clients value rapid response times that coatings make possible. Your graffiti kit should include:
- Chemical-resistant sprayers for precise application of coatings and removers
- Hot water pressure washers for melting sacrificial waxes and paint resins
- Chemical-resistant gloves and respiratory PPE for handling industrial solvents
Demonstrate the speed of removal on a coated test patch versus uncoated brick. That side-by-side comparison closes more coating contracts than any brochure.
Products Mentioned
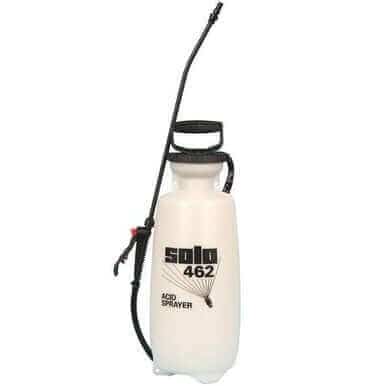 Pump Sprayer 2 Gal Acid Resistant Solo SKU: 515-045 | 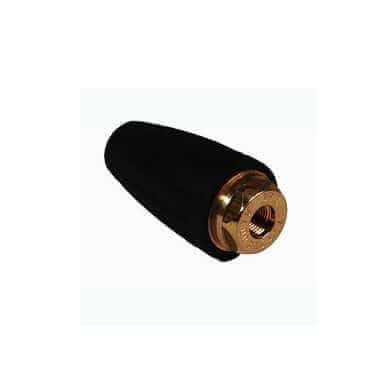 Turbo Nozzle Pressure Washer Tip SKU: 74-57M | 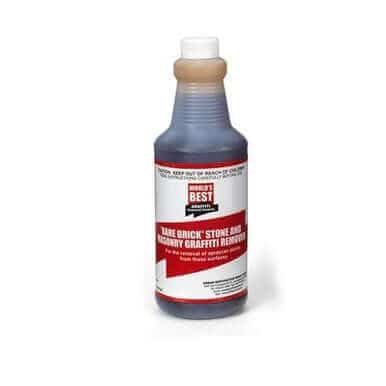 Graffiti Remover Qt BareBrick/Stone/Masonry SKU: 82-710 |
Pump Sprayer 2 Gal Acid Resistant Solo SKU: 515-045 |