Cerium Oxide for Glass Restoration: A Professional Guide

Table of Contents
Most technicians treat glass polishing like sanding wood. It isn't. Cerium oxide is a chemical catalyst that requires precise thermal management to move glass molecules without creating optical distortion — a high-stakes process where the wrong technique turns a minor scratch into a permanent funhouse-mirror effect.
This guide covers the professional-grade techniques that let you restore clarity and remove defects with confidence: the fingernail test for depth, a repeatable slurry formula between 2% and 10% concentration, tool selection that prevents lensing, and the equipment that makes it all repeatable.
What Cerium Oxide Actually Does to Glass
Cerium (IV) oxide (CeO₂) is a rare-earth mineral compound and the primary chemical polishing agent for high-performance glass restoration. Unlike aluminum oxide or silicon carbide — which rely on pure mechanical force to sand the surface — cerium oxide uses chemical-mechanical planarization (CMP). The compound softens the silica surface at a molecular level, allowing the mechanical action of a polishing pad to level glass without creating deep micro-scratches.
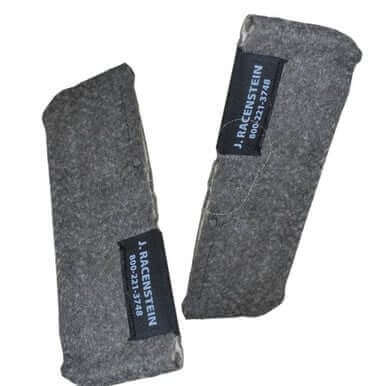
That chemical edge is why it remains the only real option for removing wiper trails, acid rain etching, and deep hard water stains that standard cleaning solutions can't touch. Tools like ProTool steel wool sleeves handle stubborn topical debris during surface prep, but they lack the chemical properties to address physical glass loss. If a scratch has actual depth, cerium oxide is the only professional solution that can move glass molecules to restore a smooth, distortion-free surface.
Grade Selection Matters
Professional-grade powders feature 90%+ Total Rare Earth Oxide (TREO) content. Lower-grade mixtures contain fillers that reduce cutting efficiency and leave a hazy finish. Particle size is equally critical:
- 2.5-micron — standard for finishing modern window glass, balancing defect removal with final clarity
- 3.5-micron — faster cutting for heavy damage, but may need a second pass with a finer grade
White cerium oxide is the preferred choice for modern glass. It lacks the iron oxide impurities found in older red variations that stain window gaskets and frames. ProTool Cerium Oxide Polishing Powder meets the 90%+ TREO threshold in a 3.5 oz container sized for field use.
How the Slurry Works: The Chemical-Mechanical Reaction
When the slurry is agitated by a high-density felt pad, cerium oxide molecules form a temporary chemical bond with the silica in the glass. This "softens" the top layer at a microscopic level, letting the abrasive particles level defects without digging new trenches into the substrate. Without water, the powder is just dust; with it, you have a potent chemical agent capable of molecular-level restoration.
Use distilled or pure water. High mineral content in tap water disrupts pH balance and slows the reaction. A handheld TDS meter confirms your water's purity before you mix — minerals in tap water can also leave micro-deposits that mask the true depth of a scratch.
Thermal Management: Your Biggest Liability
Heat catalyzes the chemical bond, but it's also the fastest way to destroy a pane. If glass exceeds 150°F, you risk thermal shock — immediate breakage in tempered units. Use the Touch Test: if the back of your hand can't rest on the glass comfortably, add water or move to a different section.
Uneven heating causes lensing — optical distortion where the glass is thinned unevenly, creating a magnifying effect that ruins the view. Prevent it by keeping the slurry wet and moving the polisher in overlapping, rhythmic patterns that distribute heat across the entire surface.
Evaluating Glass Damage: Polish or Replace?
You can't fix every pane. Cerium oxide is a finishing compound, not a filler. The distinction that matters: deposits (hard water stains, mineral buildup) sit on top and get removed; scratches represent physical glass loss and require you to level the surrounding glass — which carries lensing risk.
The Three-Level Scratch Scale
- Level 1 — Hairline scuffs and wiper trails. Surface-level defects that don't catch a fingernail. Ideal cerium oxide candidates; typically 100% clarity restoration in 5–15 minutes.
- Level 2 — Light scratches. Barely felt with a nail but don't stop it. Require extended polishing time and careful thermal management.
- Level 3 — Deep grooves. Your fingernail drops in and clicks. Too deep for standard polishing. These usually mean replacement, or aggressive dry-sanding before finishing — both significantly riskier.
Don't rely on ambient light for inspection. A high-output LED work light held at an acute angle to the glass reveals subsurface shimmer and micro-pitting that flat lighting misses. Document the damage with high-resolution photos before starting — showing the client the difference between a Level 1 scuff and a Level 3 gouge protects your reputation and justifies your recommendation.
Application Protocol: Mixing and Buffing
Before cerium oxide touches the surface, every trace of grit, salt, and environmental debris must be gone. A single grain of sand under your polishing pad will grind pig-tail scratches into the glass that are worse than the original defect. Use a dedicated glass scraper and a fresh ProTool microfiber towel for final surface prep.
Mixing the Slurry
- Light scuffs (Level 1): 2:1 water-to-powder ratio — workable, fluid slurry
- Level 2 scratches: 1:1 paste — more aggressive cut
Always distilled water. Add a fine mist every 3–5 minutes as friction-driven evaporation thickens the mixture. If the slurry dries into a white crust, don't add more powder — reactivate the existing particles with a spray bottle of distilled water.
Tool Selection
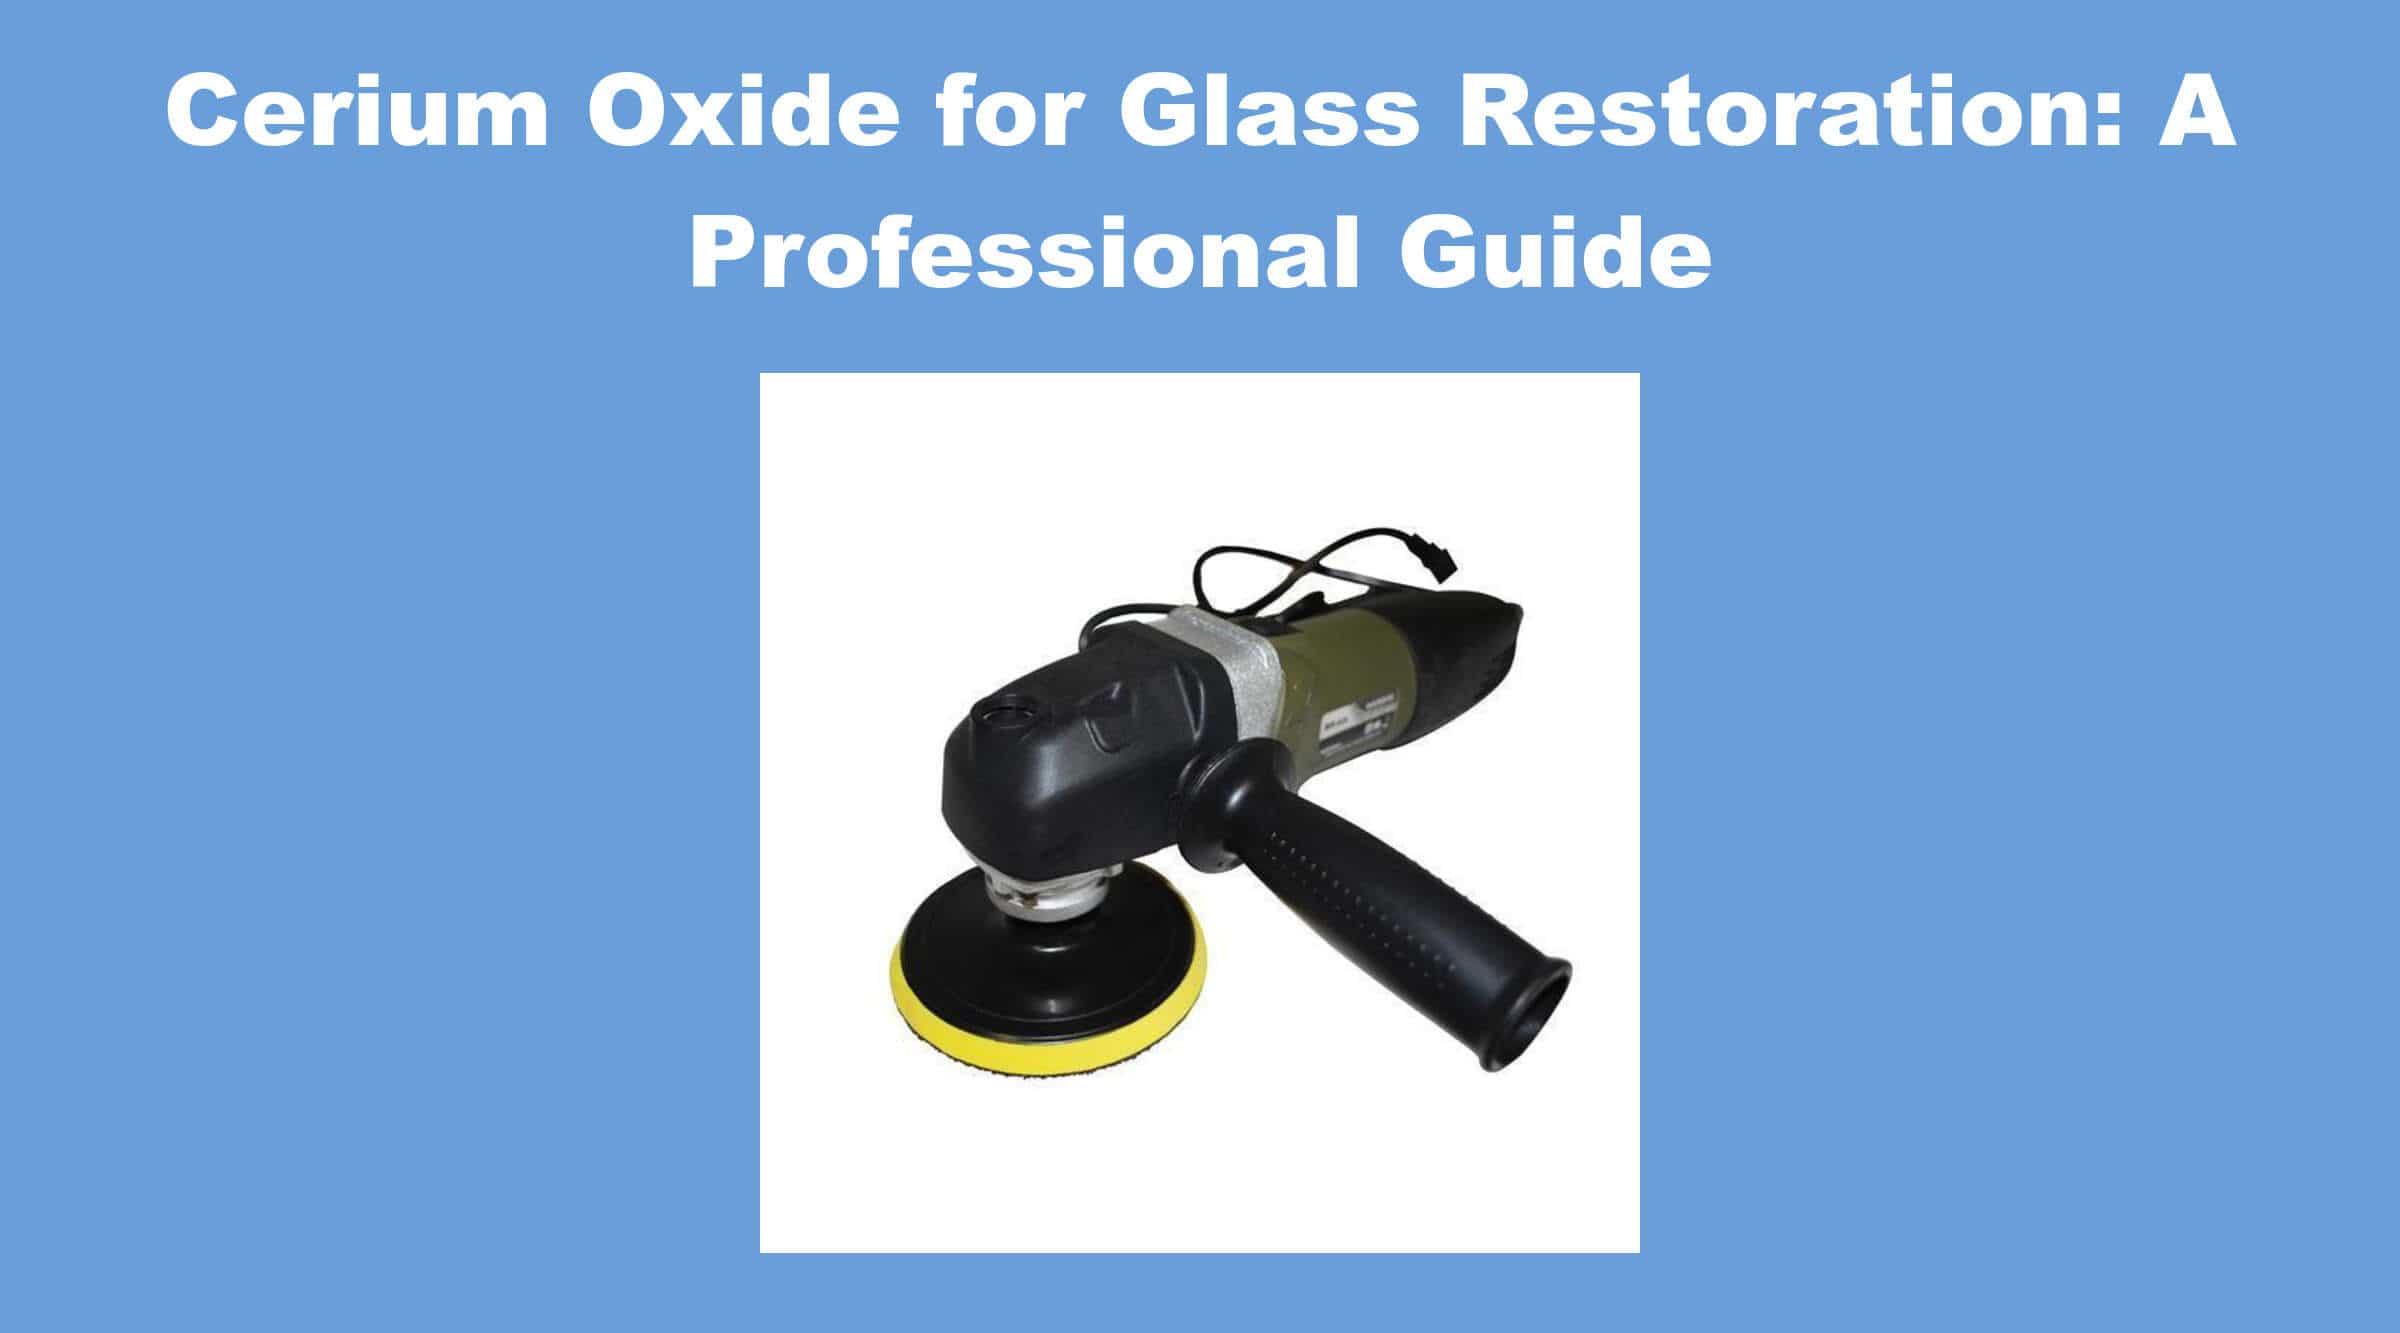
Dual-action polishers lack the localized heat and torque required for glass. A high-speed rotary polisher is the industry standard. The variable speed polisher gives you the 1,200–2,500 RPM range this work demands.
Pad choice is equally critical. High-density felt pads with high Rockwell hardness provide the mechanical leverage to move glass molecules. Foam pads absorb the slurry and fail to generate the friction the chemical reaction requires. ProTool 3-inch felt pads and 5-inch felt pads are purpose-built for glass restoration. Replace pads regularly — a contaminated pad with dried slurry from a previous job acts as a rogue abrasive.
Buffing Technique
Set RPM between 1,200 and 2,500. Below 1,200 won't generate enough heat to catalyze the reaction; above 2,500 increases thermal shock risk and slurry sling. Use a cross-hatch pattern — horizontal passes then vertical, 50% overlap — to ensure even material removal and prevent lensing.
Work an area 5–10× larger than the scratch itself. Focusing solely on a 2-inch defect creates a concave dip that acts as a magnifying lens. Feather pressure at the edges for a flat, uniform surface.
Safety and PPE
Wear a respirator during mixing and cleanup — cerium dust is a fine mineral powder. Eye protection is mandatory in the slurry-sling zone. For exterior work at height, certified fall protection equipment is non-negotiable. Never let residue dry on glass or frames; hardened cerium is extremely difficult to remove once it sets.
Building Your Glass Restoration Kit
A complete restoration setup includes:
- ProTool Cerium Oxide Polishing Powder — 90%+ TREO, 3.5 oz field-ready container
- Variable speed rotary polisher — 1,200–2,500 RPM range
- 3-inch pad adapter or 5-inch pad adapter for your polisher
- High-density felt polishing pads in 3-inch and 5-inch sizes
- ProTool microfiber towels for prep and cleanup
- A TDS meter to verify water purity
- Distilled water and a spray bottle for slurry maintenance
Store cerium oxide in airtight, moisture-proof containers. If the powder absorbs humidity, it forms hard clumps that won't dissolve and cause mystery scratches during polishing. Keep a dedicated set of felt pads for different glass types to prevent cross-contamination between jobs.
For a broader restoration and polishing setup, the glass polishing kit bundles the compound, pads, and adapter into one package — a more efficient starting point than sourcing individually.
For a walkthrough of the full mixing and application process, this step-by-step cerium oxide tutorial covers the technique from slurry prep through final wipe-down.
Products Mentioned
 Pro Sleeve Steel Wool SKU: 11-07M | 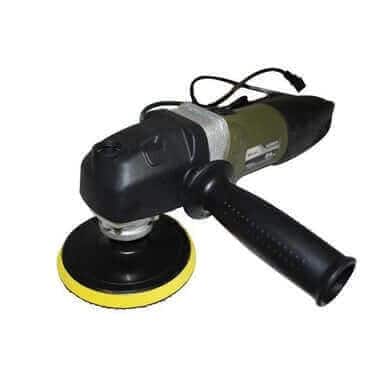 Polisher Variable Speed Top Switch SKU: 76-451 | 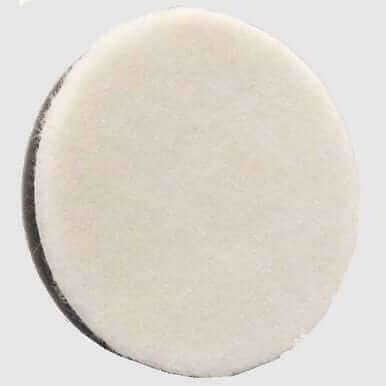 ProTool Felt Polishing Pad 3in SKU: 76-117 |
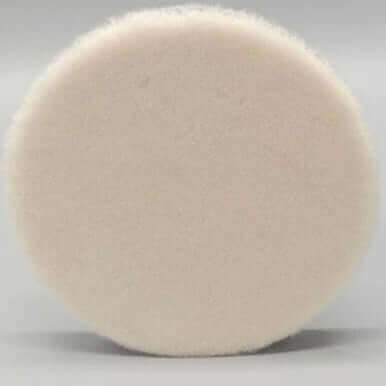 ProTool Felt Polishing Pad 5in SKU: 76-118 | 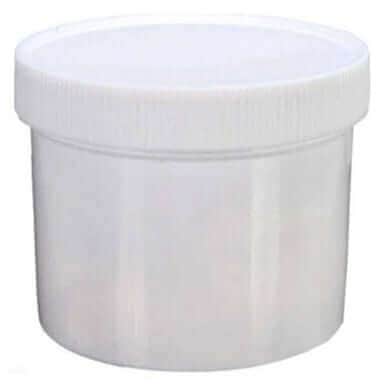 ProTool Cerium Oxide Polishing Powder 3.5oz SKU: 76-119 | 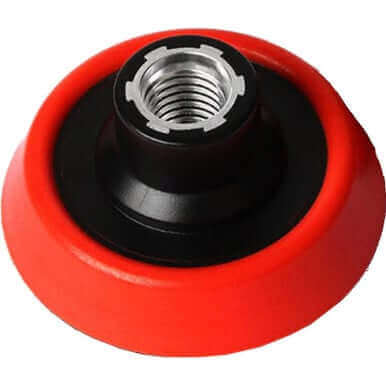 ProTool Pad Adapter 3in with 5/8-11 Socket SKU: 76-114 |
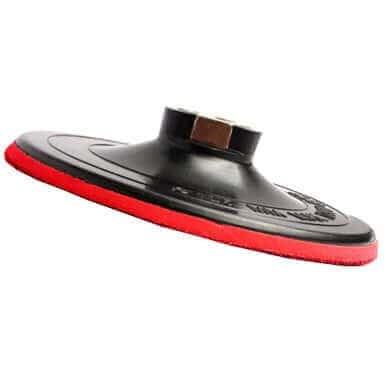 ProTool Pad Adapter 5in with 5/8-11 Socket SKU: 76-116 | 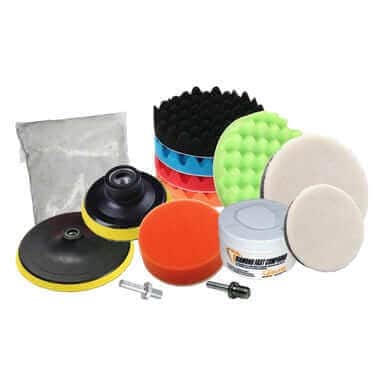 Polishing Kit, for glass, paint, granite remove stains and light scratches SKU: 76-00 |