
How to Clean Historical Brick Buildings Without Destroying Them
Table of Contents
A single mistake with a high-pressure nozzle can erase 150 years of architectural history in under a second. Knowing how to clean historical brick buildings separates the contractors who land preservation contracts from the ones who get sued. The work isn't about raw power — it's about chemical precision and respecting the vitrified fire skin that keeps pre-1920s masonry intact.
This guide covers the technical specs, equipment configurations, and chemical protocols you need to meet the Secretary of the Interior's Standards for the Treatment of Historic Properties. We'll walk through the GSA-recommended 300 PSI ceiling for low-pressure washing, bottom-to-top saturation techniques, test-patch requirements, and the dedicated soft wash equipment that makes compliant restoration possible.
Why the Fire Skin Changes Everything
The fire skin is the vitrified outer surface of a brick — minerals fused together during kiln firing into a layer that's harder, denser, and far more moisture-resistant than the internal core. Once you compromise it through mechanical abrasion or aggressive acid, it's gone permanently, and the building's rate of decay accelerates.
Pre-1920s bricks were hand-molded or pressed and fired at lower temperatures than modern units. They're significantly more porous. Their moisture management depends on the balance between that hard outer skin and breathable lime mortar joints. Unlike rigid Portland cement, lime mortar lets moisture migrate through the joints rather than through the brick face. High-pressure water or harsh acids disrupt this system, causing spalling, efflorescence, and structural degradation that no amount of remedial work can reverse.
Porosity and the Freeze-Thaw Problem
Old brick cores function through capillary action — microscopic tubes that pull moisture inward. High-pressure water doesn't just clean the surface; it forces liquid deep into these pores. Once saturated, the brick becomes a freeze-thaw bomb. When trapped water expands as ice, internal pressure exceeds the masonry's tensile strength, and the face pops off. This is the core reason dedicated soft wash systems exist for restoration work — they manage moisture levels instead of overwhelming them.
How to Spot Previous Damage
Look for rounded edges on bricks, loss of the original kiln-fired sheen, or "dusting" where the surface crumbles into powder on contact. These are signs someone already removed the fire skin with sandblasting or high-PSI washing. You can't undo that damage, but you can avoid compounding it by using low-pressure systems and chemistry-led cleaning on the remaining intact surfaces.
Identifying Soiling Types Before You Touch the Wall
You cannot determine how to clean historical brick buildings without first diagnosing the contaminants. Misidentifying a carbon crust as simple dirt means under-treatment; mistaking efflorescence for organic growth means applying an ineffective biocide. Use this diagnostic hierarchy before selecting chemistry:
- Carbon crusts and gypsum: Black, hardened "scabs" common on urban facades. Formed by the reaction between sulfur dioxide and calcium carbonate. Chemically active — they trap moisture against the brick and accelerate decay.
- Organic growth: Mold, mildew, lichen, and moss. These organisms anchor into brick pores with microscopic root systems and excrete organic acids that dissolve the minerals holding the brick together.
- Metallic staining: Orange rust streaks from iron hardware, green or blue runoff from copper flashing.
- Efflorescence: White, powdery salt deposits on the surface. Distinguish from sub-florescence (salts crystallizing beneath the surface), which causes internal pressure and is far more destructive.
Dealing with Carbon Crusts
Carbon deposits are not merely cosmetic. Gypsum formation traps moisture and pollutants against the brick, preventing it from breathing. Removal requires precise chemical dwell times — not mechanical force. Aggressive acid cleaning often over-cleans, leaving the brick bleached and unnaturally porous. The right approach is a targeted surfactant or restoration detergent applied through a dedicated soft wash pump at consistent, low-impact pressure.
Killing Biological Growth at the Root
Lichen and moss don't just sit on the surface. Their root systems anchor deep into the pores, and their organic acids dissolve the brick's mineral structure. Manual scraping pulls away the fire skin along with the plant matter. The correct protocol: apply a biocide with a surfactant for extended dwell time, kill the spores at root level, and let the organic material detach naturally. This preserves the brick while preventing rapid regrowth.
Soft Washing vs. Pressure Washing on Historical Masonry
"Low pressure" doesn't mean standing further back with a standard wand. That assumption has destroyed more historic facades than most contractors want to admit. True soft washing is a chemistry-led application method operating under 100 PSI, relying on chemical dwell time instead of kinetic impact.
The governing principle is the "Gentlest Means Possible" protocol: start with the least invasive method and escalate only if results are insufficient. Even soft-bristle brushes can dislodge friable lime mortar or disrupt a fragile fire skin. Chemistry, not friction, preserves structural integrity while achieving a uniform clean that pressure washing cannot replicate.
Why Dedicated Soft Wash Systems Matter
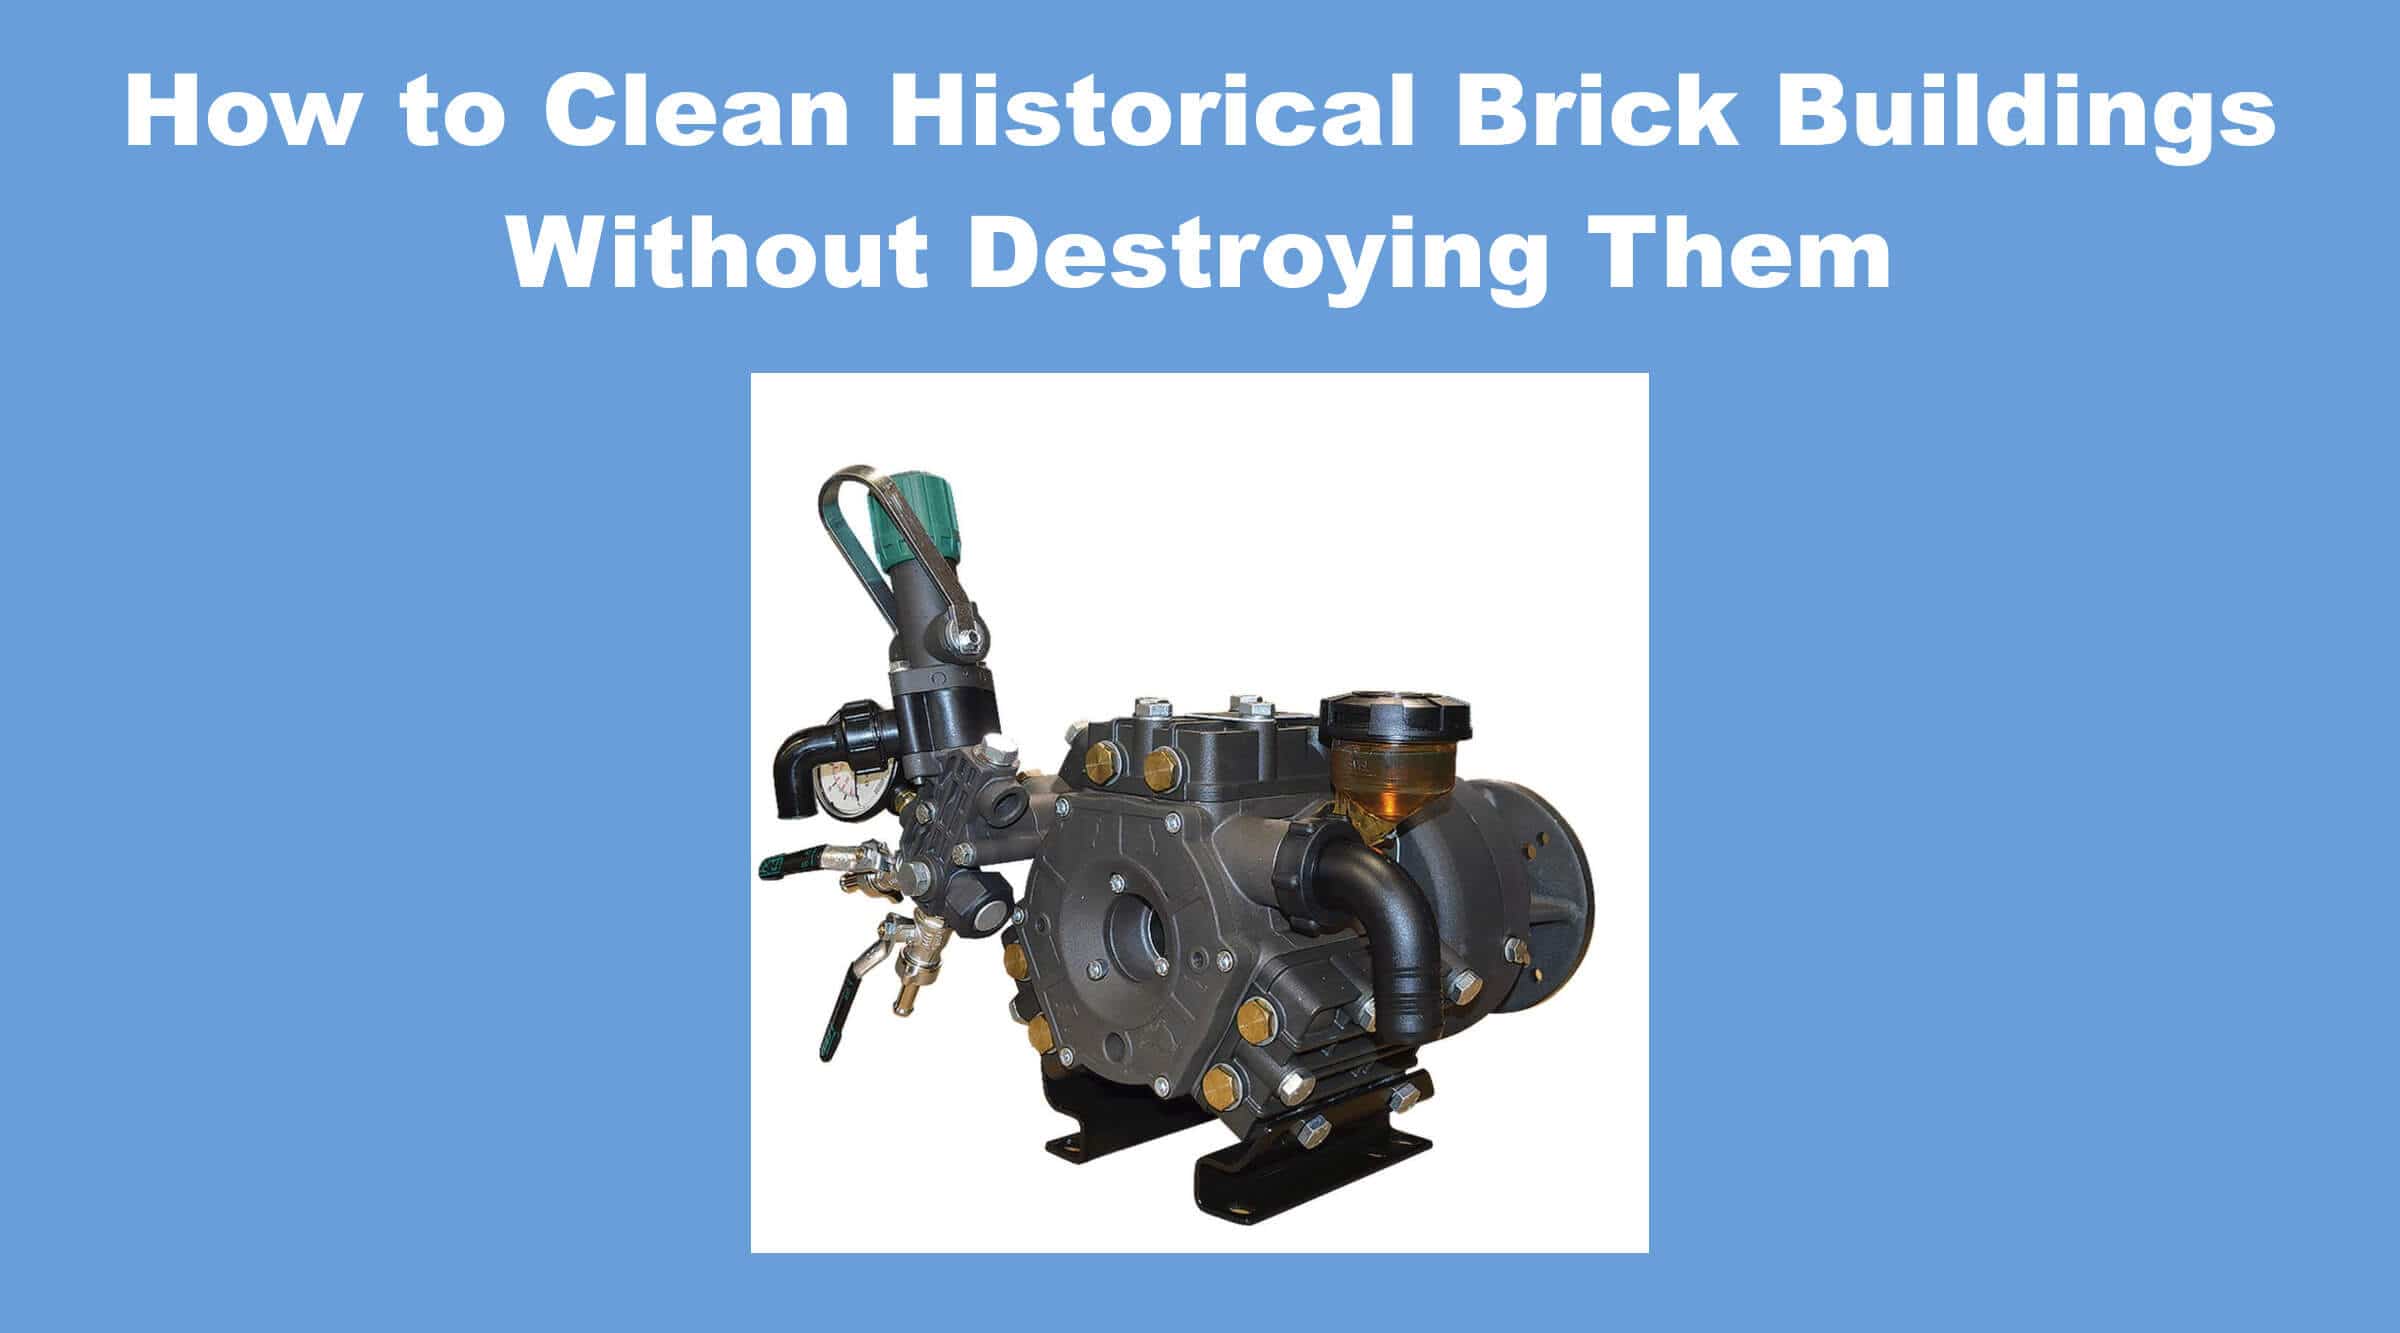
Standard pressure washer downstream injectors rely on high-pressure bypasses — exactly the wrong delivery mechanism for historic masonry. Dedicated 12V diaphragm pumps like the Comet P40 or the ProTool BPX25 Soft Wash Skid deliver high chemical volume at true low pressure. They allow precise chemical ratios, consistent application on vertical surfaces, and long dwell times without forcing liquid into the substrate. For historical sites, this isn't optional equipment — it's the technical baseline.
Why Abrasive Methods Are Prohibited
Sandblasting, glass beading, and high-pressure grit application are explicitly prohibited by the Secretary of the Interior's Standards and NPS Preservation Brief 1. The damage is permanent and exponential. Legal restrictions in many historical districts now mandate non-abrasive, chemical-based restoration. If you're bidding preservation work, demonstrating your equipment compliance is part of winning the contract.
The Professional Cleaning Protocol
Pre-Wetting
Before any chemical hits the wall, saturate the substrate with clean water. Pre-wetting fills the internal capillaries so the cleaning agent stays on the surface working on soiling instead of being absorbed into the core. Skip this step and you risk deep-seated chemical staining that's nearly impossible to remove.
Application Direction
Chemical application: bottom to top, always. This prevents "channeling" — concentrated chemicals flowing over dry masonry and leaving permanent vertical etch marks. Rinsing: top to bottom, pushing the dissolved contaminant slurry toward the ground instead of re-depositing it on cleaned sections.
The Test Patch
A mock-up is a technical requirement, not optional polish. Select an inconspicuous area representative of average soiling. GSA standards specify approximately 6×6-inch test patches. Document the chemical concentration and exact dwell time. Do not evaluate wet — moisture darkens the brick and masks ghosting or latent salt deposits. Wait 48 hours for the area to dry completely before judging results. This wait reveals unexpected mineral migration or surface bleaching that wet evaluation misses entirely.
Rinsing and Neutralization
High-flow, low-pressure rinsing is the only method that guarantees complete removal of active surfactants and acids. If you used an acidic cleaner, monitor surface pH to confirm it returns to neutral. Residual salts crystallizing inside brick pores (sub-florescence) cause internal fracturing. For post-clean salt migration, F9 Efflorescence and Calcium Remover targets minerals without compromising the fire skin. EBC Restorer handles alkaline buildup and heavy mineral deposits on masonry that needs a non-acid approach.
Essential Equipment for Historical Masonry Restoration
Your hardware dictates your precision. Standard pressure washing setups lack the nuance for fragile 19th-century masonry. The configuration you need: high flow rates at 50–100 PSI impact pressure, achieved through nozzles with larger orifice sizes. A larger orifice moves the necessary rinse volume without the needle-like stream that carves soft brick.
Water Quality
Tap water with high mineral content on porous historical brick leads to spotting or localized efflorescence as the wall dries. Pure water filtration systems eliminate dissolved solids from the rinse water so nothing deposits in the capillary network. This matters most on dark-colored units where white mineral spotting is impossible to hide. Integrating filtration eliminates corrective cleaning passes that further stress the masonry.
Soft Wash System Configuration
For chemical application, a dedicated diaphragm pump — the Comet P40 with regulator or the Udor Kappa 55 — delivers true low-pressure output with chemical-resistant internals that handle both biocides and mild acids. Pair it with ProTool's softwash pole gun adaptor for controlled vertical application without scaffold dependence. For complete skid configurations ready for the truck, the ProTool BPX25 Soft Wash Skid integrates pump, tank, reel, and metering into a single mobile unit.
Masonry-Specific Chemicals
Chemistry selection follows directly from your test-patch diagnosis:
- Organic growth: Sodium hypochlorite applied with a surfactant like ProTool Sticky to extend dwell time and prevent rapid runoff on vertical surfaces.
- Carbon crusting and atmospheric soiling: Non-acidic restorers first. EBC Restorer handles heavy atmospheric deposits without the etching risk of mineral acids.
- Efflorescence and mineral deposits: F9 Efflorescence Remover targets salts specifically. Follow with thorough neutralization.
- Post-clean neutralization: ProTool Post Rinse brings surface pH back to neutral, preventing residual salt migration.
Regardless of the active ingredient, always follow with high-volume, low-pressure rinsing from the top down.
Safety Gear
Restoration-grade detergents demand full-face respirators, chemical-resistant gloves (nitrile minimum — see nitrile gloves), and impervious suits. Tight urban environments amplify chemical exposure risk. Budget for PPE on every bid, not as an afterthought.
Products Mentioned
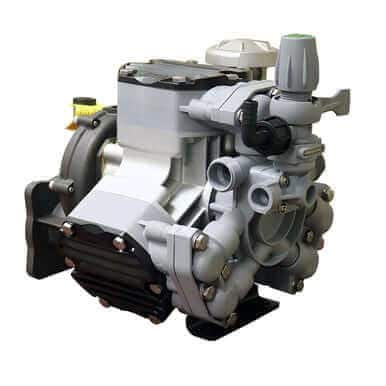 Comet P40 Diaphragm Pump w/ Regulator SKU: 150-0428 |  BPX25 - P40 Soft Wash Sprayer Skid SKU: 150-0432M | 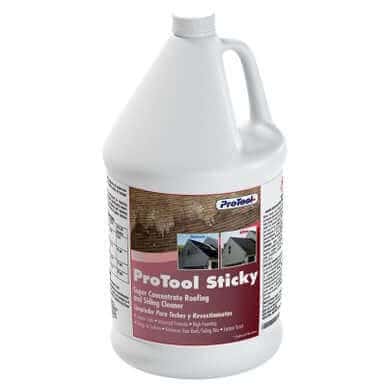 ProTool Sticky SKU: 83-07M |
 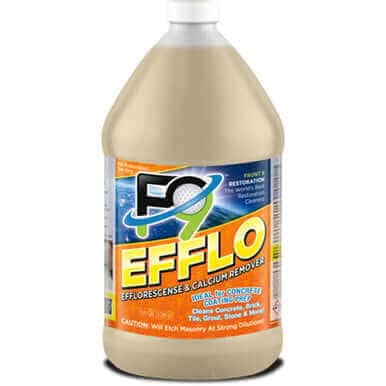 F9 Efflorescence/Calcium Remover Front9 Restoration SKU: 320-62M | 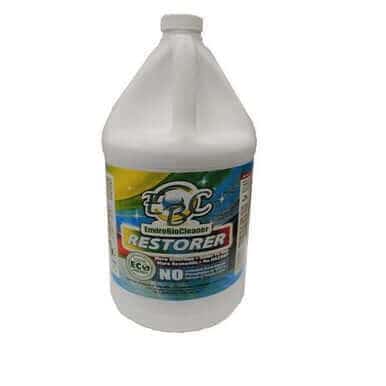 EBC Restorer SKU: 83-82M |
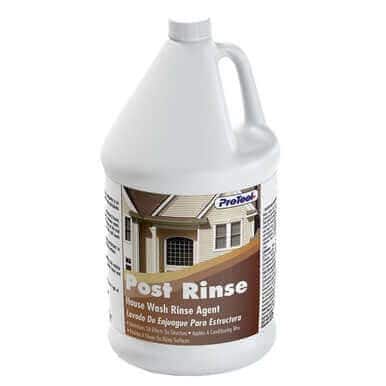 ProTool Post Rinse SKU: 83-03M | 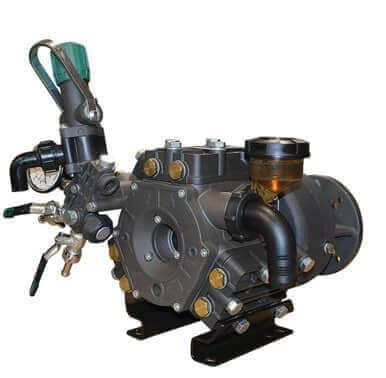 Udor Kappa 55 Diaphragm Pump Only SKU: 150-0431 | 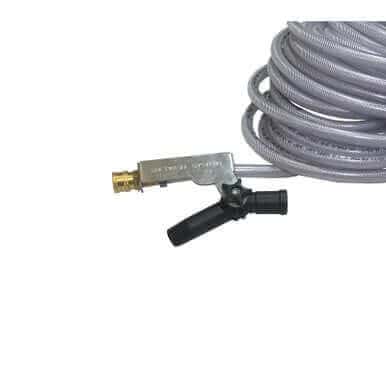 ProTool SoftWash Pole Gun Angle Adaptor SKU: 150-0951 |
F9 Efflorescence/Calcium Remover Front9 Restoration SKU: 320-62M | ProTool Post Rinse SKU: 83-03M |