How to Clean Wood Fences Before Staining: Professional Prep Guide

Table of Contents
The longevity of a fence stain has almost nothing to do with the coating brand and everything to do with the cellular condition of the wood fibers beneath it. Too many contractors lean on high pressure, fur the wood, and then blame the stain when it peels after one season. Knowing how to clean wood fences before staining means understanding that this is a chemical restoration process — not a power-washing job — and the difference shows up in callbacks (or the lack of them).
This guide covers the professional preparation standards that drive real stain adhesion: correct chemical ratios for wood-safe cleaners, the alkaline-acid application sequence, equipment configurations that prioritize GPM over PSI, and vegetation protection protocols that keep you out of trouble on the jobsite.
Why Chemical Cleaning Is the Foundation of Stain Longevity
Contractors who treat fence prep as "spray off the dirt" are setting up for failure. The real target is the wood's microscopic pores. Dead organic matter, UV-degraded fiber, embedded mold spores, and mill glaze all block stain penetration at the cellular level. Seal those contaminants under a fresh coat and you'll see surface peeling inside twelve months — regardless of what premium product you applied.
UV exposure constantly breaks down lignin, the natural polymer that holds wood fibers together. That creates a layer of dead cells on the surface that prevents adhesion. Microscopic mold hiding deep in the grain will continue to rot the wood from the inside out if you stain over it. Chemical cleaning is the only way to address both problems simultaneously.
Lignin, Fiber Integrity, and Why PSI Kills Wood
When contractors blast cedar or pine with excessive pressure, they permanently damage lignin and create a fuzzy, furred texture that requires extensive sanding. Soft wash chemistry does the work without compromising the substrate. You preserve the natural texture, avoid sanding labor, and deliver a smooth, uniform surface that accepts stain evenly. This is why professional wood restoration prioritizes chemical solutions over raw mechanical force.
Identifying What You're Removing
Gray wood = UV damage. Green or black patches = active biological growth. On new wood, the enemy is mill glaze — a shiny, compressed fiber layer created by high-speed planer blades during milling. If not chemically removed, mill glaze blocks stain penetration completely.
Use the water drop test: if water beads on the surface, contaminants or mill glaze are still present. If it soaks in immediately, the wood is porous and ready.
Sodium Hypochlorite (SH) for Heavy Organic Growth
SH remains the most effective tool for eradicating black mold and green algae on wood. The critical difference from concrete or roof work is concentration — a typical house-wash mix is too aggressive and will bleach out the natural color if not managed correctly. Dilute accordingly, control dwell time, and always follow with a brightener. For a deeper dive on the chemistry, see our guide on what is SH? A Guide to Sodium Hypochlorite.
Sodium Percarbonate for Lighter Restoration
Sodium percarbonate (oxygen bleach) is the better choice for delicate species or jobs with strict environmental requirements. Mixed with water, it releases active oxygen that lifts dirt and grayed fibers to the surface. It's safer on vegetation than SH but won't cut through deep black mold the same way. For light weathering on a residential fence, it's often all you need. ProTool Oxy Wood Cleaner is purpose-built for this application.
Wood Brighteners: The Step Most Contractors Skip
Alkaline cleaners leave wood looking dark and dead. Oxalic acid (or citric acid) brighteners neutralize the high pH, return the wood to an acidic state, and open the pores for better stain absorption. This isn't cosmetic polish — it's a chemical requirement for proper coating adhesion. ProTool Wood Brightener and Neutralizer handles this step. Skip the brightener and you're gambling with the bond between stain and substrate.
Equipment Setup: GPM Over PSI
The single biggest equipment mistake in wood restoration is chasing PSI. Professionals prioritize Gallons Per Minute — a 5.5 to 8.0 GPM machine lets you rinse chemical solutions and debris rapidly without the high-pressure impact that scars soft fibers. Keep nozzle pressure below 1,000 PSI on any wood species. Period.
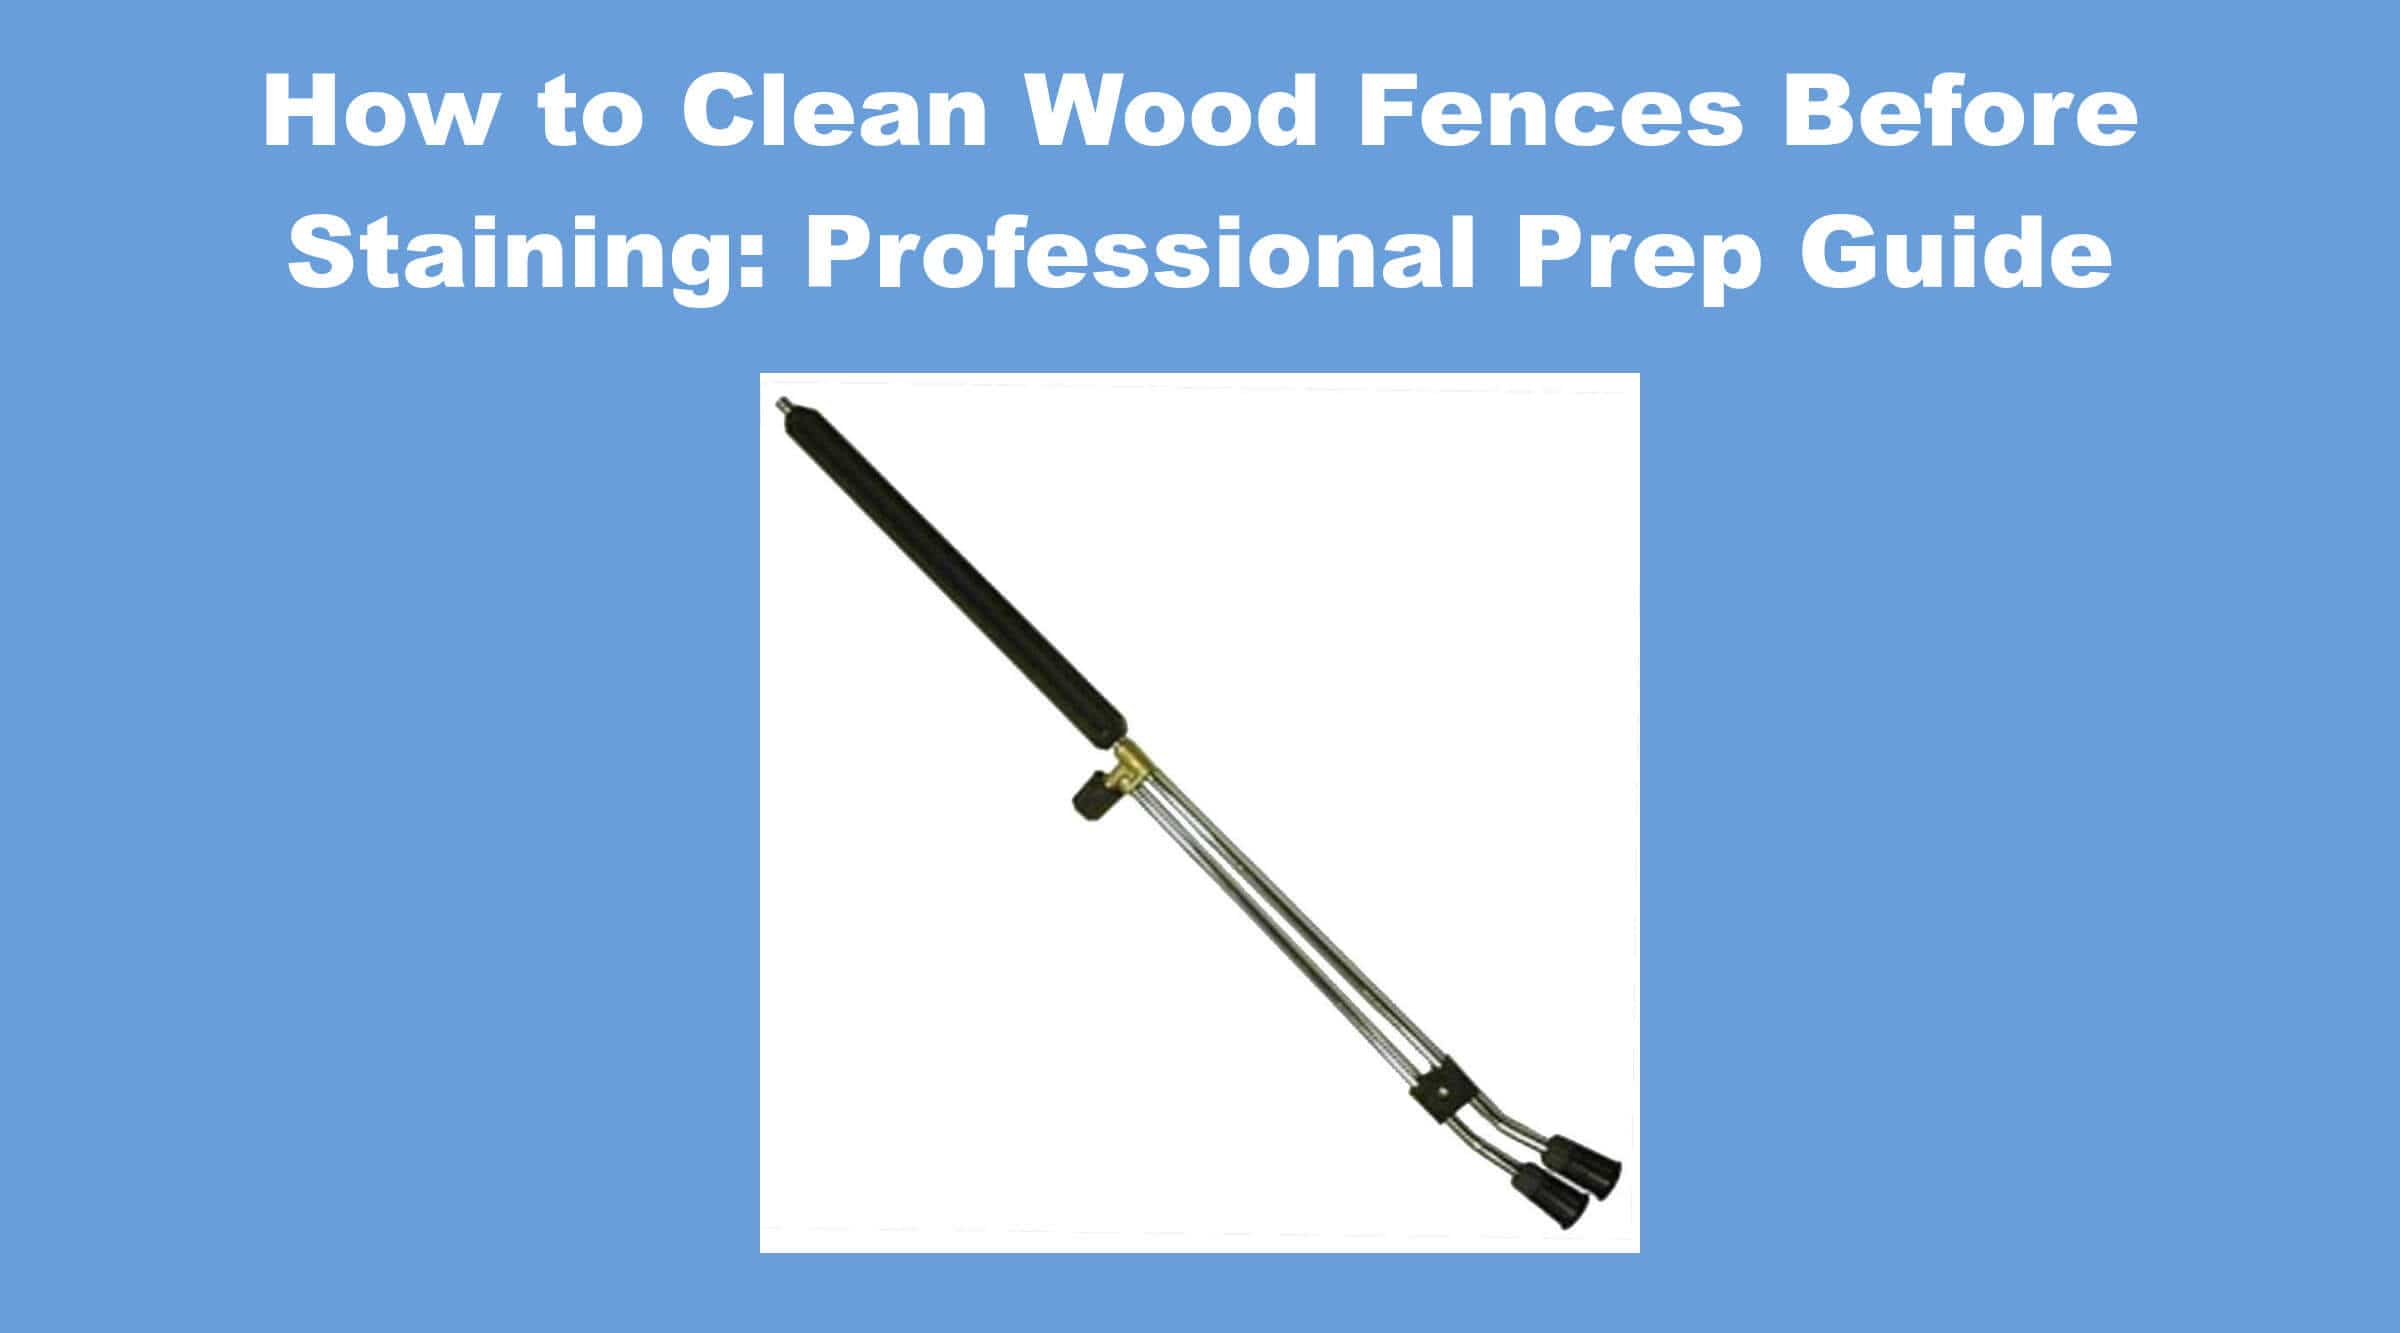
A 40-degree white nozzle or a dedicated wood-specific tip creates a wide fan pattern that distributes impact over a larger area, reducing gouge risk. A dual-lance wand lets you toggle between high-pressure rinse and low-pressure chemical application by turning a valve — no walking back to the machine to swap nozzles.
Soft Wash Systems and Chemical Delivery
A dedicated soft wash system uses a diaphragm or 12V pump to apply chemicals at low pressure, keeping corrosive brighteners and bleach out of your pressure washer pump entirely. The ProTool BPX25 Soft Wash Sprayer Skid is built for exactly this kind of chemical-first workflow.
If you're using a pressure washer for application, downstream injectors are the standard — they pull chemical into the line after it leaves the pump, protecting internals. Upstream injection risks seal damage and is generally avoided in wood work. Make sure your spray hoses are chemical-resistant; acidic brighteners will eat through non-rated materials fast.
PPE Is Not Optional
Handling SH and oxalic acid requires chemical-resistant gloves, splash goggles, and respirators with acid gas cartridges. Neoprene/Latex Chemical Resistant Gloves and splash-proof goggles are baseline. Skipping PPE doesn't save time — it costs you crew downtime and liability exposure.
The Three-Phase Cleaning Process
Sequence determines outcome. Before any chemical touches the fence, saturate all nearby grass, shrubs, and flowers with fresh water. Pre-wetting creates a dilution barrier that prevents plants from absorbing chemical runoff.
Apply cleaning solution bottom-to-top. Spraying top-down on dry wood creates permanent drip trails as solution streaks down thirsty grain. Starting at the bottom ensures the wood is already wet with solution as you work upward. Maintain 10–15 minutes of dwell time and keep the surface wet throughout — if the solution starts to dry, mist lightly with water or reapply.
Phase 1: Alkaline Clean
Apply your alkaline cleaner (SH or sodium percarbonate) using a low-pressure fan pattern. For heavy buildup, agitate lightly with a soft-bristle brush to help the chemical penetrate the grain. This step strips the biological skin of the wood and breaks down grayed fibers. ProTool Deck and Fence Cleaner is formulated for this phase.
Phase 2: Acid Brighten
Rinse thoroughly at low pressure — under 1,000 PSI — using long, even strokes to avoid lap marks. While the wood is still wet, apply your brightener. You'll see an immediate shift from dark and weathered to bright, golden-yellow. This neutralizes the alkaline residue and opens the pores for stain absorption.
Phase 3: Dry and Inspect
Allow 24–48 hours of drying depending on humidity and sun exposure. Use a moisture meter to verify internal moisture content — most stain manufacturers require below 12–15% for proper adhesion. Visual inspection is unreliable; the surface can feel dry while the core remains saturated. Check for raised grain or fuzz; if the cleaning was done correctly it should be minimal, but any significant furring needs a light sanding pass before stain goes on.
Common Pitfalls That Ruin the Job
Zebra Stripping
The most visible mechanical error. It happens when you vary the distance between tip and surface or change wand speed mid-stroke. The uneven fiber removal shows through the stain and there's no fixing it after the fact. Maintain a fixed 8–12 inch distance and use long, overlapping strokes that follow the full length of each board without stopping.
Turbo Nozzles on Wood
Never. The high-speed circular jet is designed for concrete. On wood it creates deep circular gouges that can't be sanded out. Stick to wide-fan nozzles — a 40-degree white fan nozzle is the right call for wood surfaces.
Corroded Hardware
Alkaline cleaners and acid brighteners corrode galvanized hinges, latches, and screws fast. Rust streaking on a freshly stained fence is an expensive callback. Tape off sensitive hardware or rinse it with fresh water immediately after each chemical phase.
Overspray and Runoff
On shared fence lines, communicate with the neighbor. Use portable spray shields or tarps in tight quarters. Manage runoff to keep chemicals out of storm drains — fines are real. Saturating surrounding soil and vegetation with water before and after the process remains your best defense against chemical burn.
Standardize the Workflow, Standardize the Results
Professional fence restoration is a repeatable chemical sequence: alkaline clean, acid brighten, dry, verify moisture, stain. Every shortcut — skipping the brightener, blasting with PSI instead of chemistry, staining wet wood — shows up as a callback. Master the process once and it prints money on every deck and fence job you bid.
The equipment has to match the method. A ProTool 5GPM SoftWash System handles chemical delivery without contaminating your pressure washer internals. Pair it with ProTool Oxy Wood Cleaner, ProTool Deck and Fence Cleaner, and ProTool Wood Brightener for a complete chemical kit purpose-built for wood restoration. Browse the full lineup of soft wash equipment and wood cleaning chemicals at J.Racenstein.
Products Mentioned
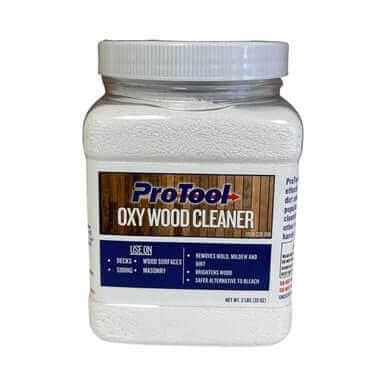 Protool Oxy Wood Cleaner SKU: 320-001 | 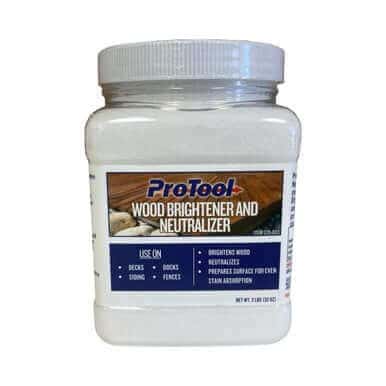 Protool Wood Brightener and Neutralizer SKU: 320-003 | 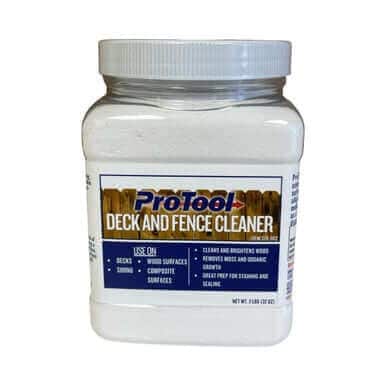 Protool Deck and Fence Cleaner SKU: 320-002 |
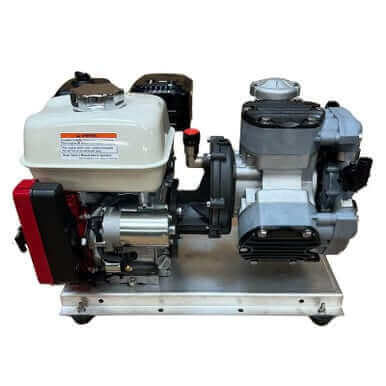 BPX25 - P40 Soft Wash Sprayer Skid SKU: 150-0432M | 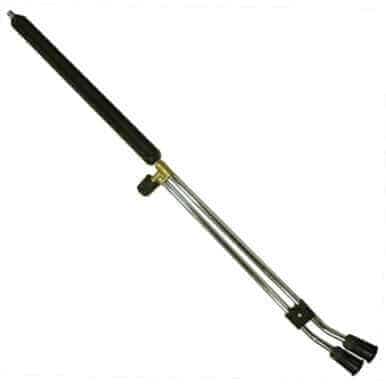 Lance Dual 38in w/Knob 4000psi Suttner SKU: 74-5320 | 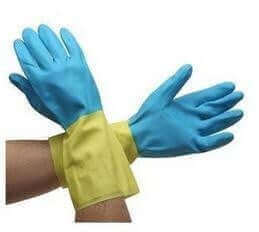 Neoprene/Latex Chem Resistant Gloves SKU: 56-23M |
 Goggles Splash Proof SKU: 58-75 | 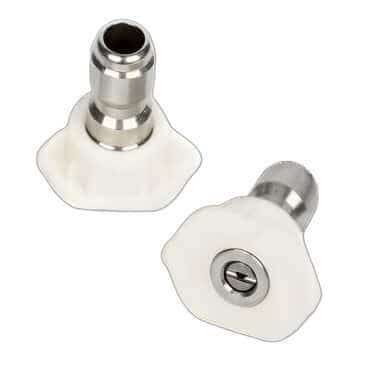 Nozzle White 40 Degree Fan SKU: 74-1290 |  ProTool SoftWash System 5gpm PolyPro 12v Pump SKU: 150-0859 |