How to Clean Pavers and Seal Them: A Professional Restoration Workflow

Table of Contents
Most contractors wreck paver surfaces before the sealer ever touches the stone. They lean on pressure when they should lean on chemistry. The results are predictable: cloudy sealer that fails within months, etched aggregate from excessive PSI, and organic stains that reappear because the root structure was never killed. Learning how to clean pavers and seal them correctly means abandoning the "blast it clean" mentality and adopting a chemical-first, multi-phase restoration process.
This guide walks through the complete professional workflow — chemical pre-treatment, controlled extraction, sealer selection, and precision application — using the equipment and chemicals that actually hold up on the job.
Phase 1: Pre-Inspection and Chemical Pre-Treatment
Restoration starts with identifying the substrate. Concrete pavers are porous and cement-bound. Natural stone — travertine, slate, bluestone — is often acid-reactive, meaning the wrong cleaner etches the surface permanently. You need to know what you're standing on before any water or chemistry hits it.
Assess joint integrity next. If the existing sand is weed-infested or compromised by moss, plan to strip it entirely before re-sanding. Stable but low sand can sometimes be top-loaded, but stripping yields a cleaner result.
Before you start spraying, saturate all surrounding vegetation to prevent chemical uptake from runoff. Cover lighting fixtures, stainless hardware, and anything that corrodes or stains from sodium hypochlorite contact.
Identifying Substrate Contaminants
Not every stain responds to the same chemistry. Organic growth — mold, algae, lichen — requires sodium hypochlorite (SH) to kill the root structure and prevent immediate regrowth. Inorganic stains like rust or efflorescence need acidic treatment. F9 EFFLO handles efflorescence and calcium deposits without the fume load of muriatic acid, while F9 BARC targets rust and fertilizer stains on concrete.
Use the water-drop test to check for existing coatings: pour a small amount of water on several areas. If it beads, an old sealer is present and may need stripping with a product like Bio-Strip. If water absorbs quickly, the substrate is porous and ready for treatment.
Applying Pre-Treatment Solutions
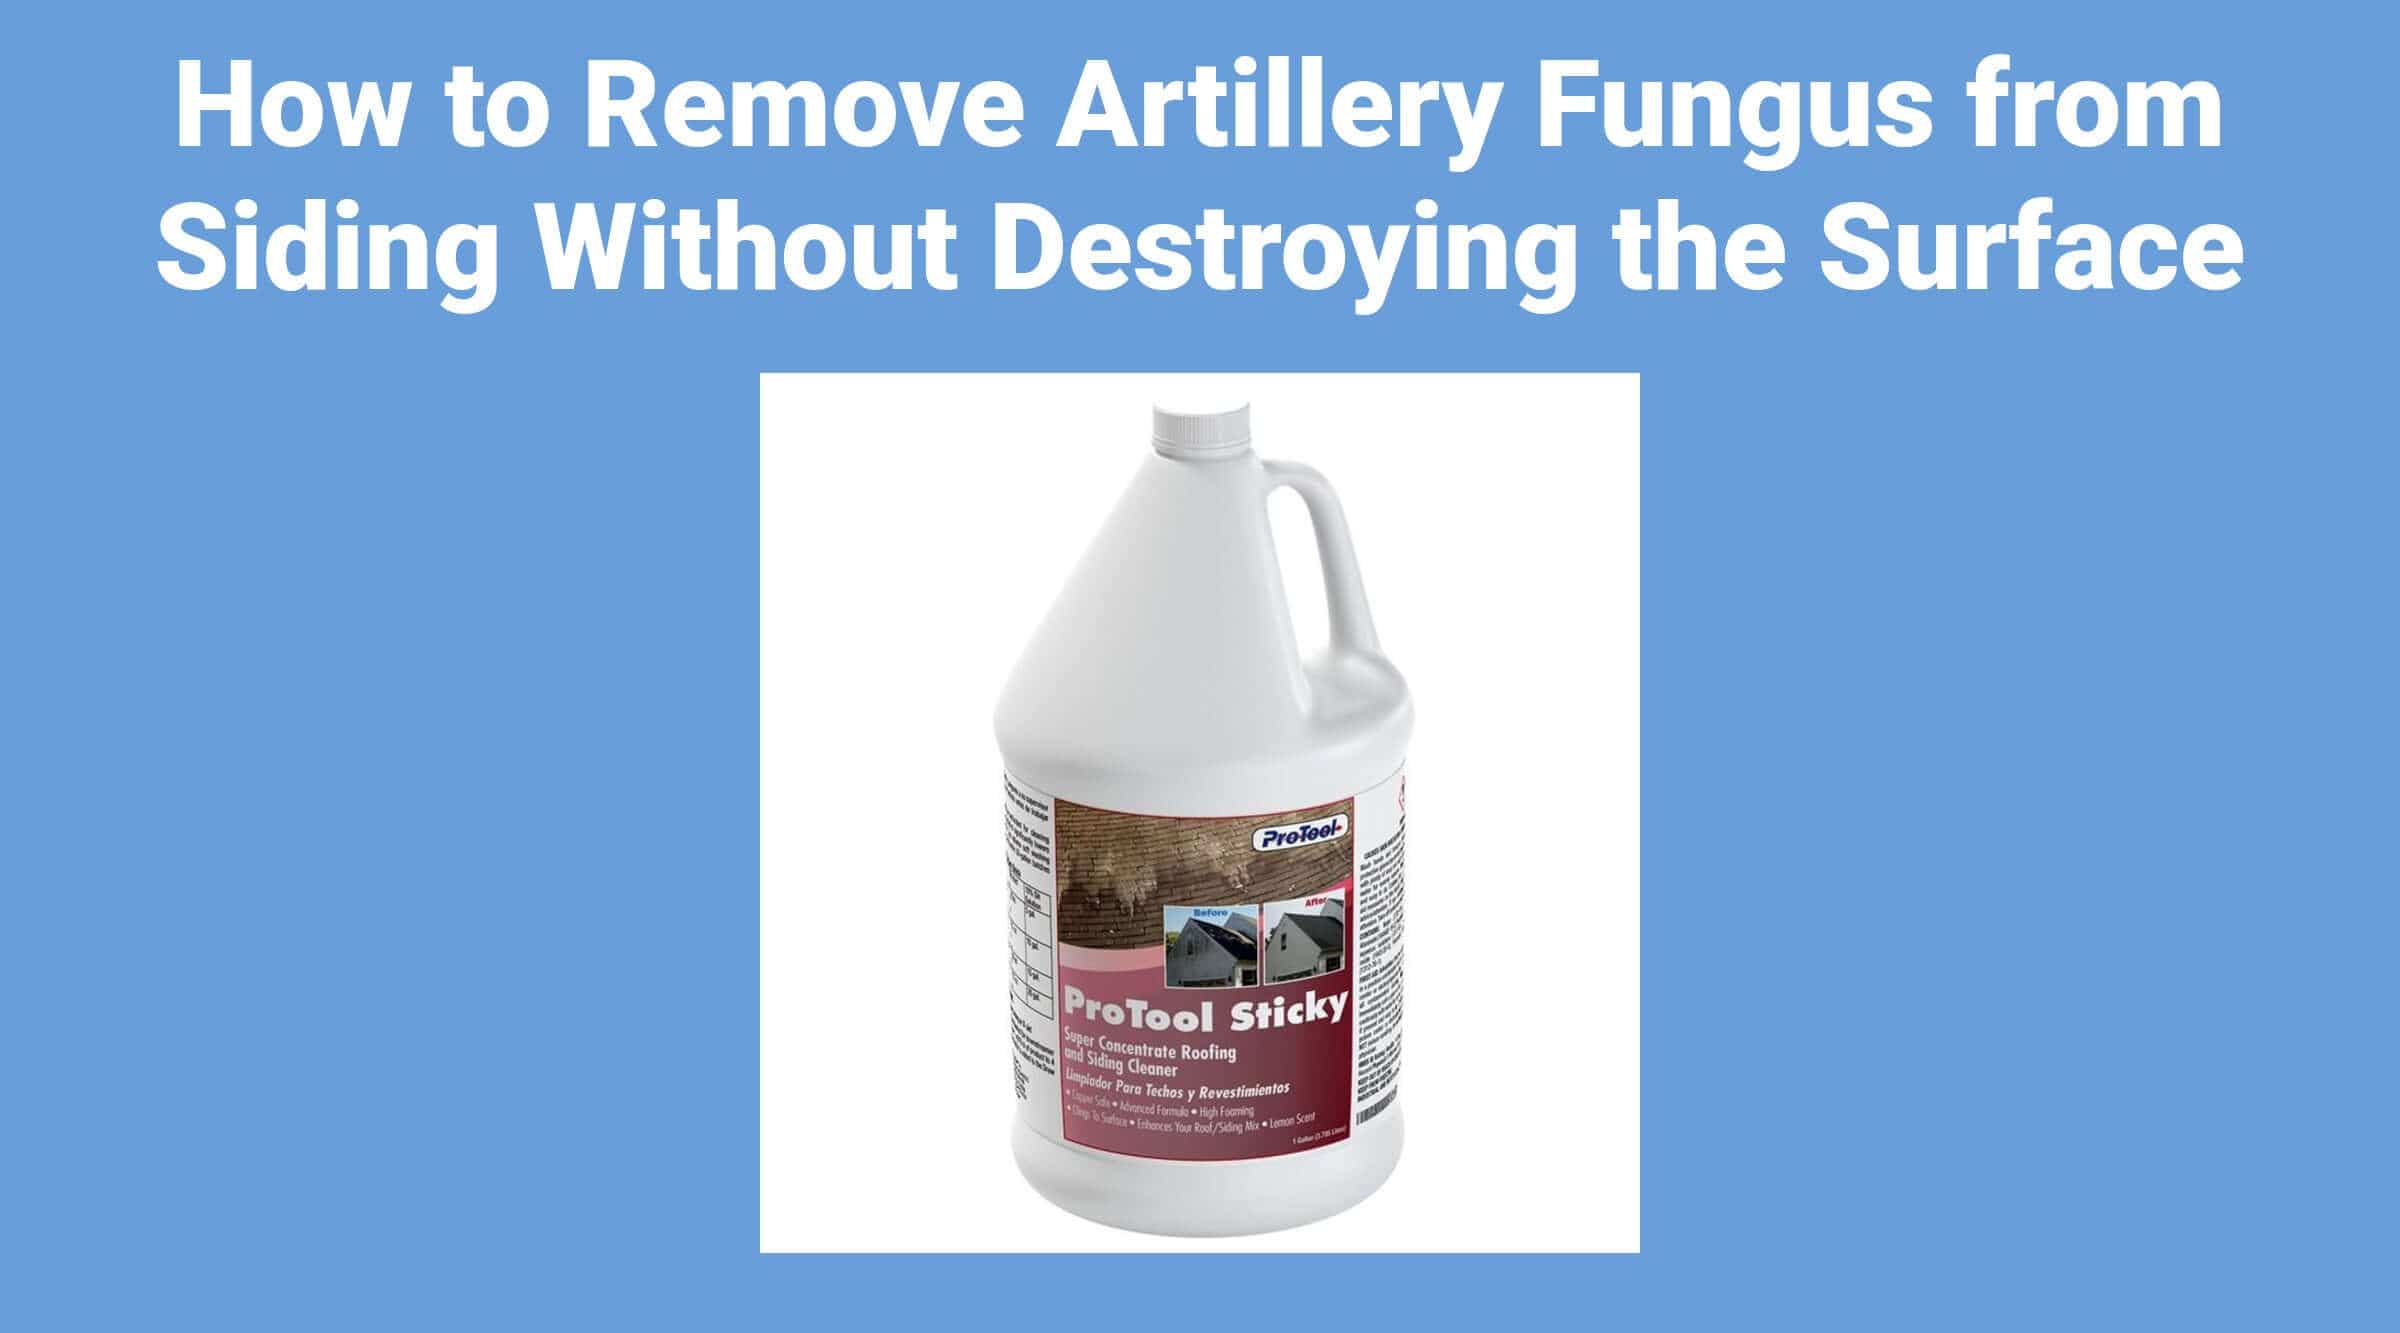
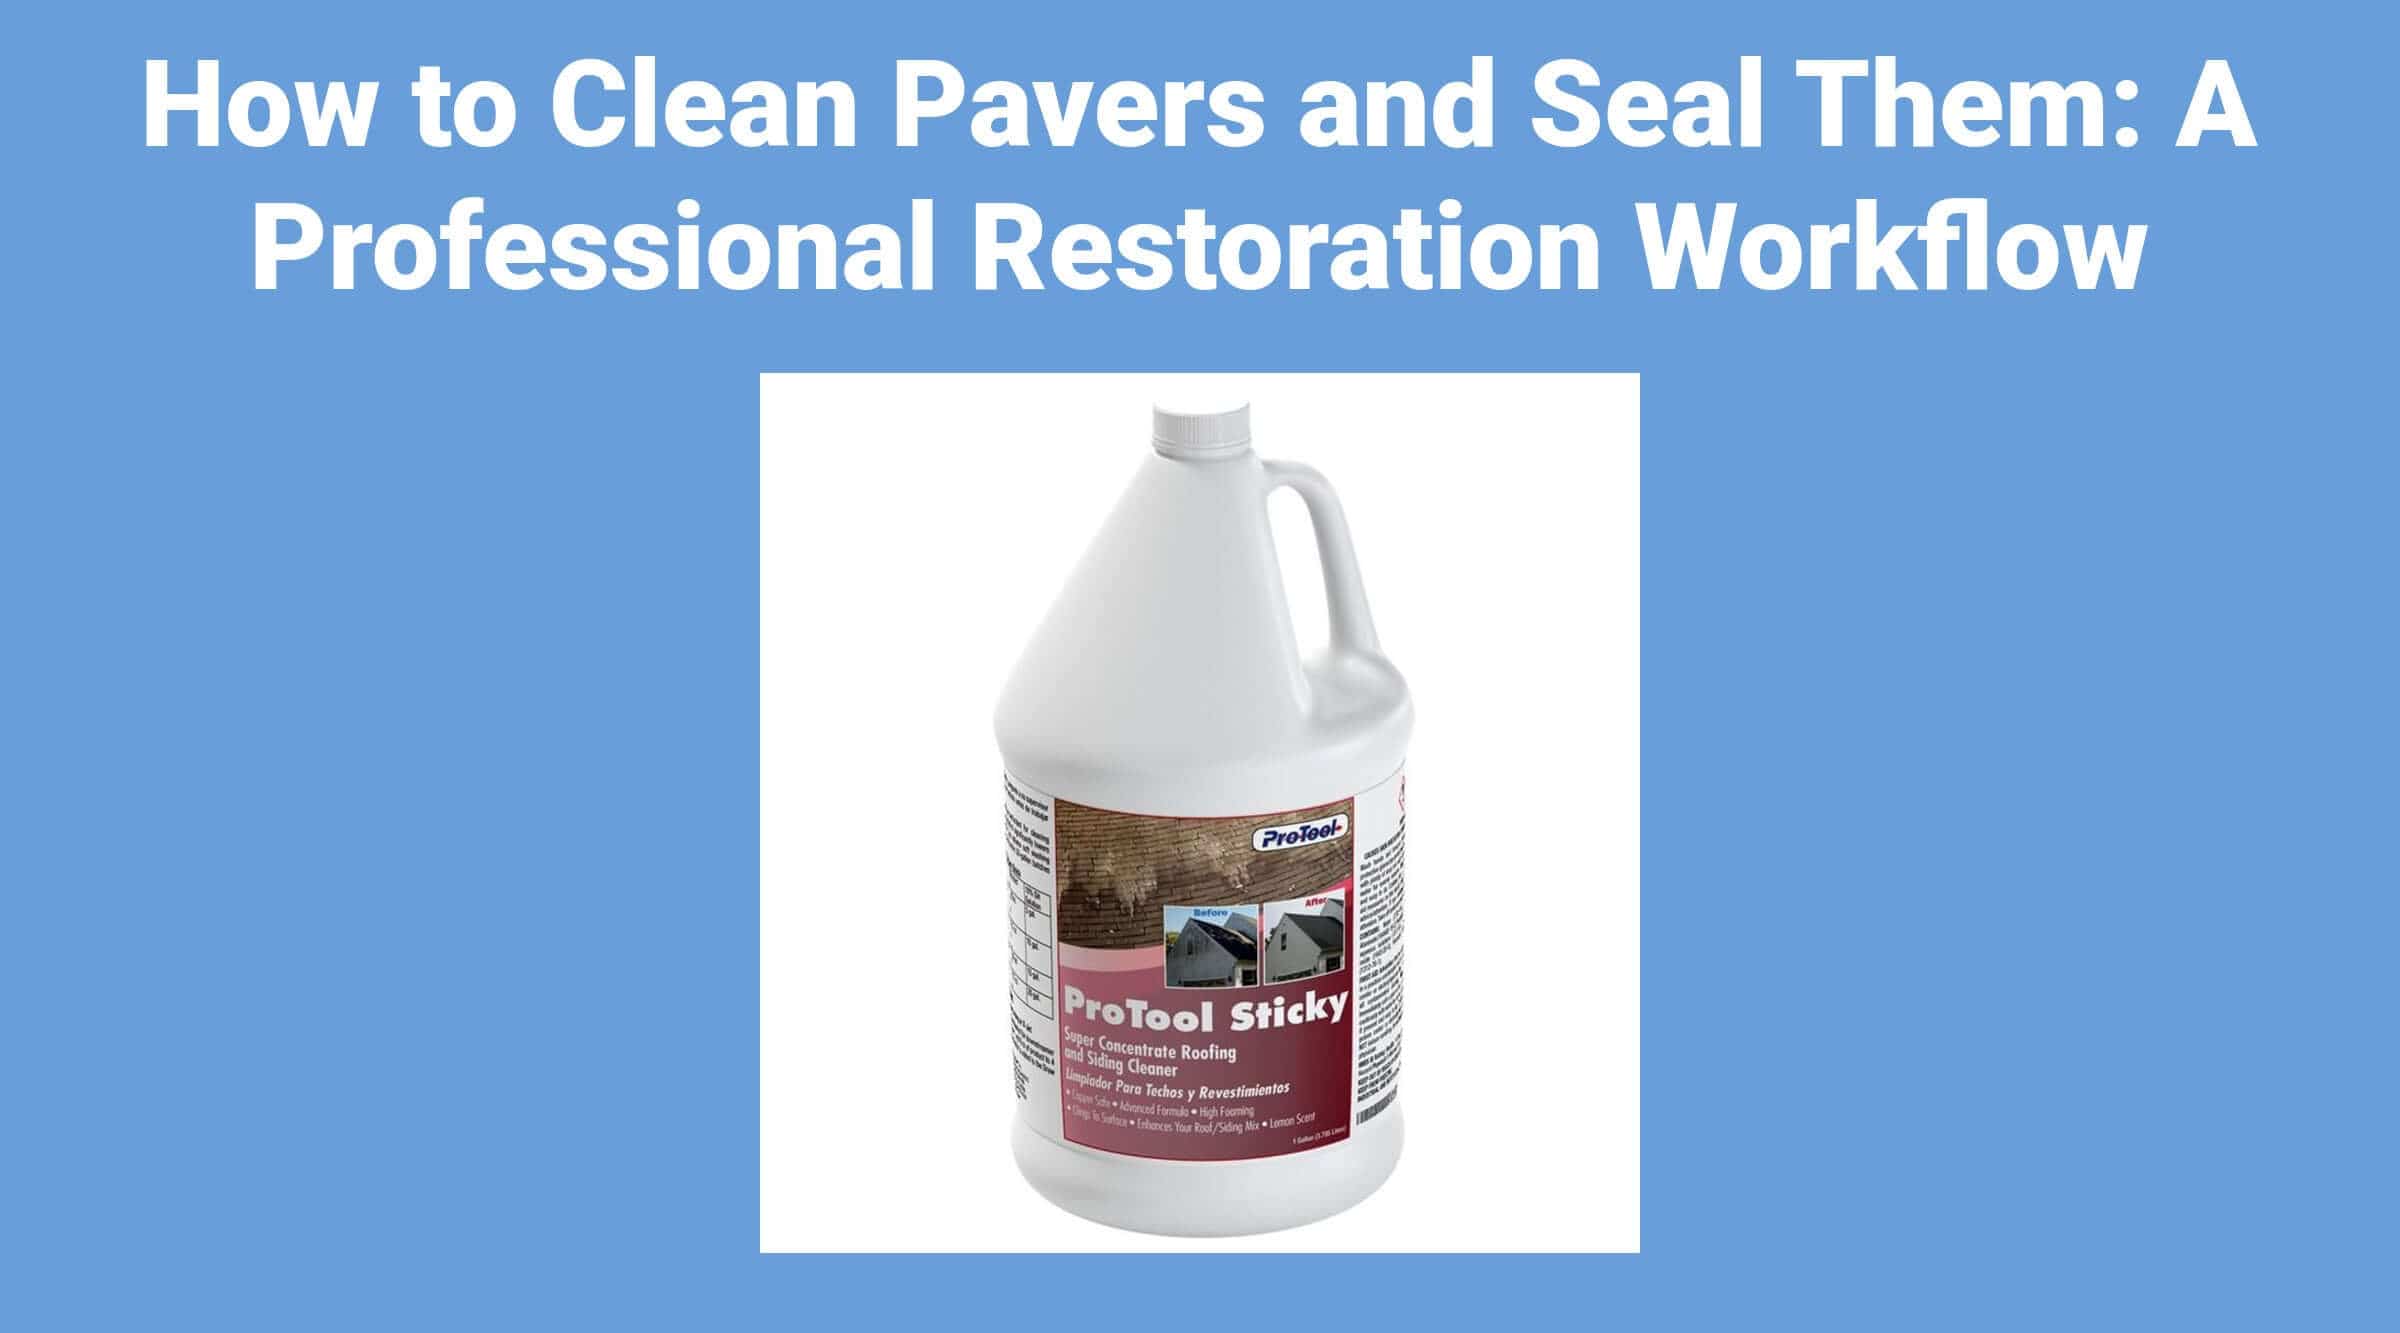
Soft washing is the standard because it relies on chemistry rather than force. For heavy organic loads, use SH at 2–4% concentration. A quality surfactant like ProTool Sticky extends dwell time on sloped driveways and vertical edges, keeping the solution active where gravity wants to pull it away.
Maintain 10–15 minutes of dwell time. Never let the chemical dry on the surface — on hot substrates, keep the area misted with water or additional solution. When you move to the rinse phase, contaminants should lift with minimal pressure, preserving the paver's factory "cream coat."
Phase 2: Mechanical Cleaning and Surface Preparation
Once chemistry has done its work, the mechanical phase is about controlled water volume — not raw pressure. High GPM flushes debris far more effectively than high PSI. Exceed 3,000 PSI on standard concrete pavers and you risk stripping the cream coat, the fine top layer that provides color and texture. That damage is permanent.
A systematic cleaning sequence ensures nothing is missed:
- Perimeter cutting: Use a 40-degree tip along edges, walls, and pool coping. The wide fan prevents overspray onto landscaping.
- Surface cleaning: Transition to a rotary surface cleaner for the main field. This eliminates the "zebra stripes" left by wand cleaning and delivers uniform results.
- Joint excavation: If sand is failing, use a turbo nozzle or 15-degree tip to remove it down to at least one inch, creating a clean channel for new polymeric sand.
- Final rinse: Flush the entire area toward the lowest drainage point to remove lingering silt or chemical residue that interferes with sealer adhesion.
Matching Your Surface Cleaner to Your Machine
A common sizing rule: four inches of cleaner diameter per GPM. A ProTool 24" Stainless Steel Surface Cleaner pairs well with a 5.5–8 GPM machine and covers ground fast on residential driveways. For larger commercial flatwork, the 30" model reduces passes and time on site. Consistent speed and 50% overlap on each pass produce a streak-free surface ready for re-sanding.
Post-Cleaning Inspection and Neutralization
After drying, inspect for "ghosting" — remaining shadows that indicate deep-seated organic roots or mineral stains requiring a second treatment. If acidic cleaners were used for efflorescence in Phase 1, neutralize the substrate pH before sealing. A neutral pH ensures stable chemical bonding. Sealers applied to acidic or alkaline substrates blush or fail to adhere.
Phase 3: Selecting the Right Sealer
The sealer choice defines the project outcome — not just the look, but the long-term structural health of the installation. The decision comes down to two categories: film-forming and penetrating. Each serves a different purpose, and picking wrong means callbacks.
Acrylic Film-Forming Sealers
Acrylics sit on top of the substrate, creating a physical barrier. They're available in gloss, semi-gloss, and matte finishes. The major advantage is joint stabilization — the resin binds the polymeric sand and locks it in place, preventing washout and weed infiltration. Ultra-Wet-Look delivers a high-shine finish with joint-locking performance, while Natural Luster provides a subtler sheen with the same stabilization.
The tradeoff: film-formers require re-coating every 2–3 years in high-traffic areas. Each re-coat demands a thorough cleaning of the previous layer for proper adhesion.
Silane/Siloxane Penetrating Sealers
Silane/siloxane formulations penetrate into the paver pores and create a hydrophobic barrier without changing the surface appearance. This "invisible" protection suits natural stone and areas with hydrostatic pressure, because the substrate remains breathable — moisture vapor escapes instead of getting trapped and causing efflorescence or sub-surface salt damage. Salt Shield Sealer is a penetrating option that protects against chloride intrusion and freeze-thaw cycles without altering the paver's look.
Penetrating sealers don't stabilize joint sand the way acrylics do, but they last 5+ years before reapplication. Choose based on the project: driveways and pool decks where breathability matters lean penetrating; decorative patios where the client wants color pop lean film-forming.
Phase 4: Precision Sealing Application
Application success hinges on environmental variables. The 48-hour rule is non-negotiable: the substrate must be completely dry. Ideal surface temperature sits between 50°F and 90°F. Above 90°F, the sealer flash-dries before penetrating. Keep humidity below 85% so the carrier agent evaporates at a controlled rate. Ignore these thresholds and you're looking at blushing, poor adhesion, or outright coating failure.
Polymeric Sand Installation
Install polymeric sand into the joints excavated during Phase 2 before applying any film-forming sealer. The sand must sit 1/8" below the chamfer edge. Broom the sand in, then run a plate compactor with a protective mat to vibrate it to the bottom of the joints. Remove all surface dust with a blower on low idle before activating with a fine water mist. Residual dust creates a permanent white haze once the sealer goes on.
Spraying and Back-Rolling Technique
Use an HVLP sprayer or a solvent-rated pump sprayer with Viton seals for the initial coat — this delivers consistent, measurable coverage. A 2-gallon acid-resistant pump sprayer handles solvent-based sealers without melting gaskets. For larger projects, a Seal n Lock Bucket Sprayer mounted directly on a 5-gallon pail speeds up coverage significantly.
Spraying alone isn't enough for a high-end finish. Back-roll the wet sealer with a slit foam roller. This pulls excess product out of joints and redistributes it across the paver face, preventing the heavy buildup that leads to peeling. If blushing appears — white spots from trapped moisture — a xylene-based restorer can re-emulsify the film.
Phase 5: Cure Window and Maintenance
The sealer may feel dry in hours, but full chemical resistance takes longer. Allow foot traffic after 24 hours; restrict vehicles for 48–72 hours. Tires on uncured film cause "hot picking" — literally peeling the sealer off the substrate.
Maintenance vs. Full Restoration
If the existing sealer is still bonded but dull from UV exposure, a light cleaning and single topcoat refreshes it. If you see peeling, blush spots, or significant wear, strip the old coating entirely with Stripacast Paver Stripper before resealing. Sealing over a failing film traps contaminants and guarantees delamination.
Annual Maintenance Schedule
Plan a low-pressure soft wash every 12 months to remove organic buildup before it degrades the film. Use a mild surfactant — ProTool Stick at low concentration works well — to emulsify dirt without stripping the coating. Spot-treat oil stains on driveways immediately with a degreaser like EBC to prevent penetration into the concrete.
Full clean-and-reseal cycles run every 3–5 years depending on UV exposure, traffic, and climate. Driveways and commercial walkways hit the shorter end; shaded patios last longer.
Equipment That Makes the Difference
Consumer machines don't have the GPM to flush silt properly or the chemical resistance to handle SH and acidic pre-treatments. A pressure washer rated at 5.5+ GPM paired with a properly sized surface cleaner is the baseline for paver work. Pair that with soft wash equipment for the chemical pre-treatment phase and you have a rig that handles the full restoration workflow without compromise.
Products Mentioned
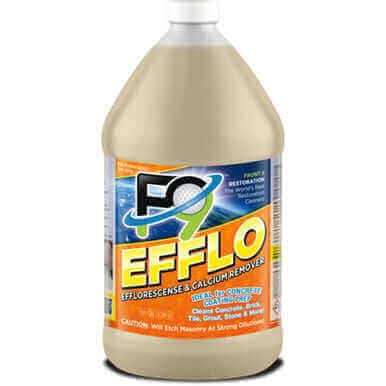 F9 Efflorescence/Calcium Remover Front9 Restoration SKU: 320-62M | 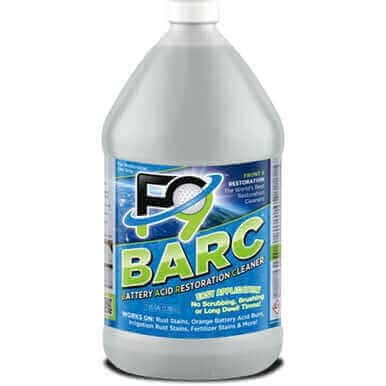 Front9 Restoration Rust Remover F9 B.A.R.C. SKU: 320-61M | 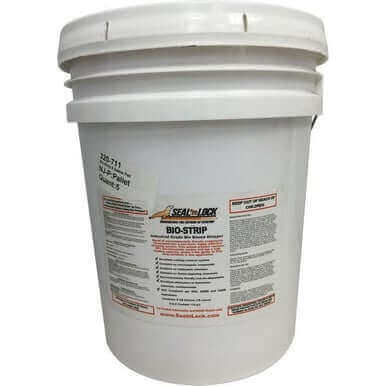 Bio-Strip 5 Gallon Pail SKU: 320-711 |
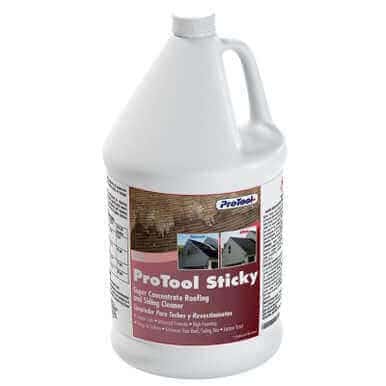 ProTool Sticky SKU: 83-07M | 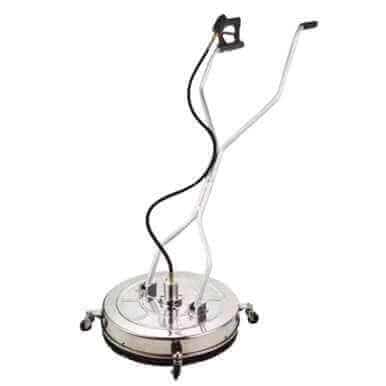 ProTool 24" Stainless Steel Surface Cleaner SKU: 74-3785 | 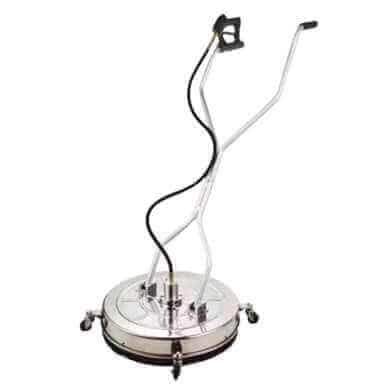 ProTool 30" Stainless Steel Surface Cleaner SKU: 74-3790 |
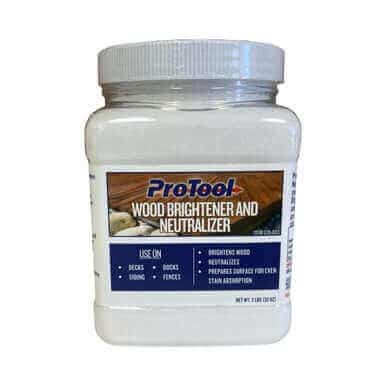 Protool Wood Brightener and Neutralizer SKU: 320-003 | 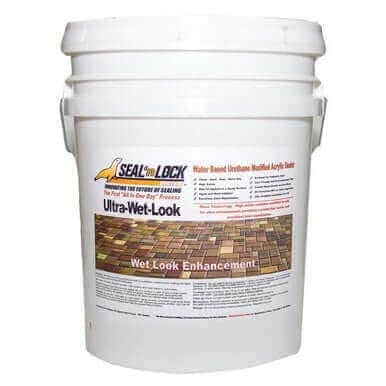 Ultra-Wet-Look 5 gallon pail SKU: 320-707 | 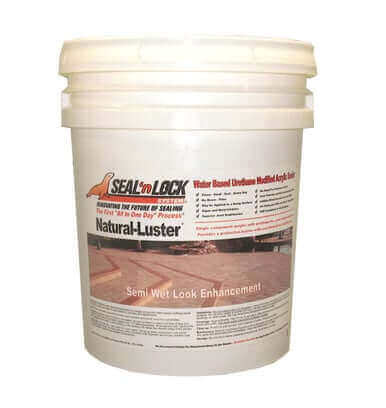 Natural Luster 5 Gallon Pail SKU: 320-703 |
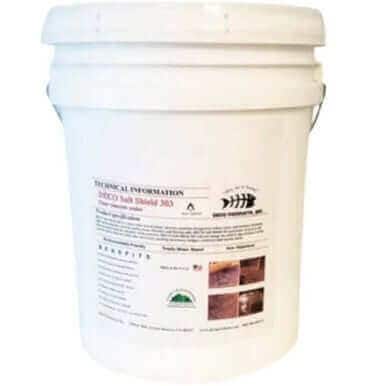 Salt Shield Sealer 5 Gallon Deco SKU: 320-720 | 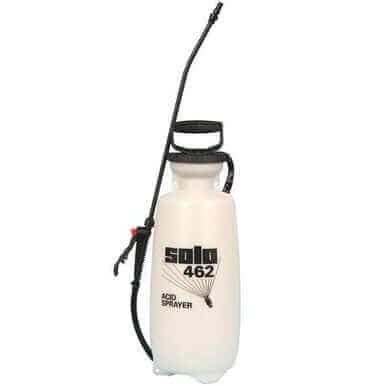 Pump Sprayer 2 Gal Acid Resistant Solo SKU: 515-045 | 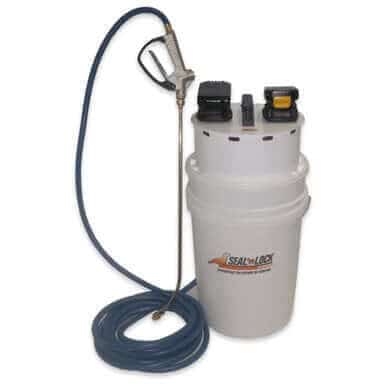 Seal n Lock Bucket Sprayer Dual Battery SKU: 515-701 |
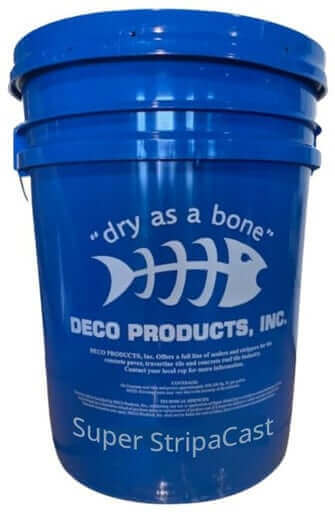 Stripacast Paver Stripper Deco SKU: 320-717 | 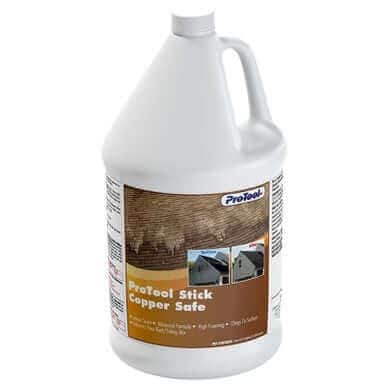 ProTool Stick SKU: 83-06M | 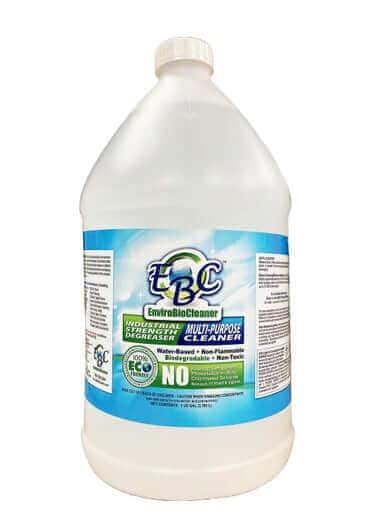 EBC Degreaser, Detergent SKU: 83-81M |