
Welcome to the J. Racenstein Learning Center—your go-to resource for professional cleaning knowledge. Here you’ll find in-depth articles, buyer’s guides, tutorials, and expert insights covering everything from pure water systems and cleaning skids to chemicals, tools, and techniques. Every piece of content is created to help professional cleaners work smarter, choose the right equipment, and get better results in the field.
Whether you’re researching new gear, planning an upgrade, or looking to improve your process, this hub is built to support real-world cleaning professionals with practical, proven information.
Drone Cleaning: The Ultimate Guide for 2026
Drone Cleaning

Porcelain Tile Driveway Cleaning Guide
Pressure Washer Nozzle Calculator
Soft Wash | Pressure Wash | Building Cleaning
Pressure Washer Surface Cleaner: A Guide to Faster, Streak-Free Cleaning
Pressure Wash
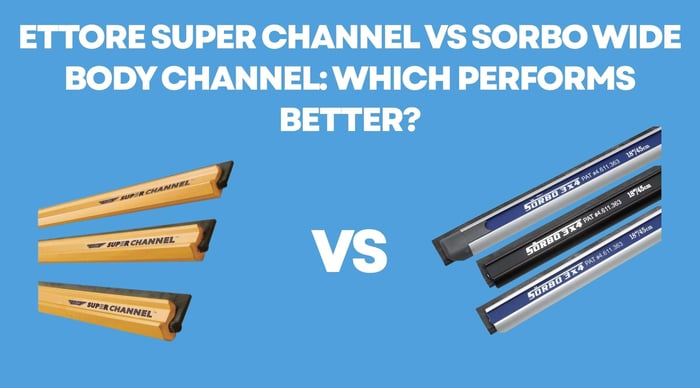
Ettore Super Channel vs Sorbo Wide Body Channel: Which Performs Better?
Window Cleaning
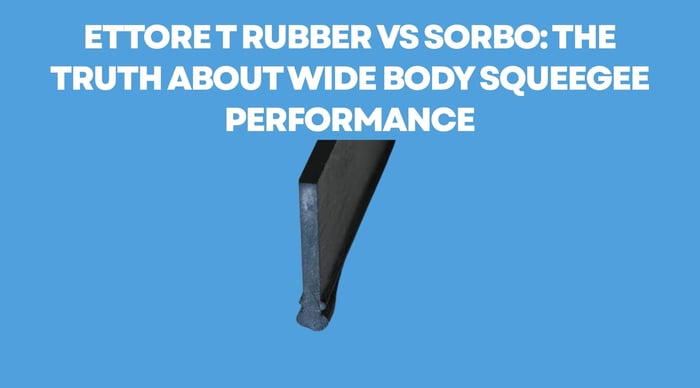
Ettore T Rubber vs Sorbo: The Truth About Wide Body Squeegee Performance
Window Cleaning
J Racenstein Affiliate Program
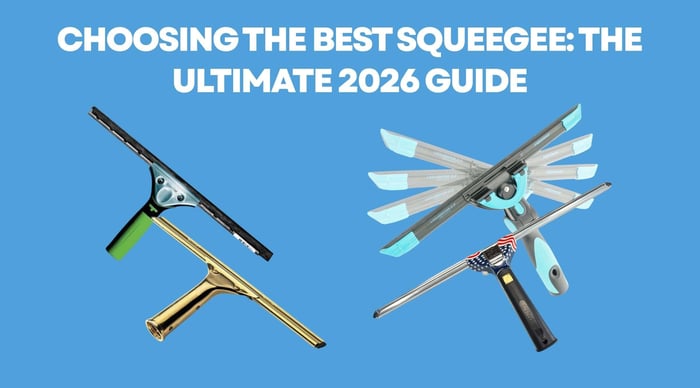
Choosing the Best Squeegee: The Ultimate 2026 Guide
Window Cleaning
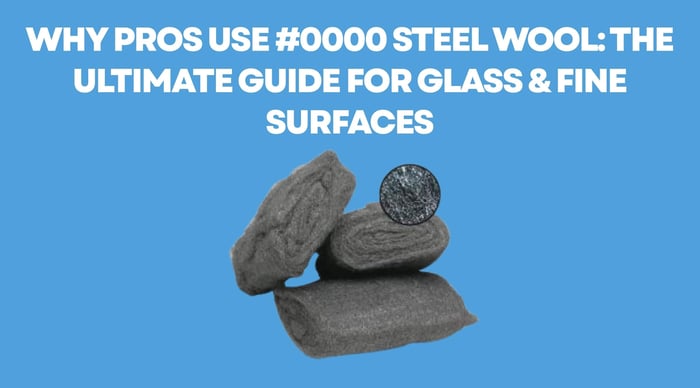
Why Pros Use #0000 Steel Wool: The Ultimate Guide for Glass & Fine Surfaces
Window Cleaning
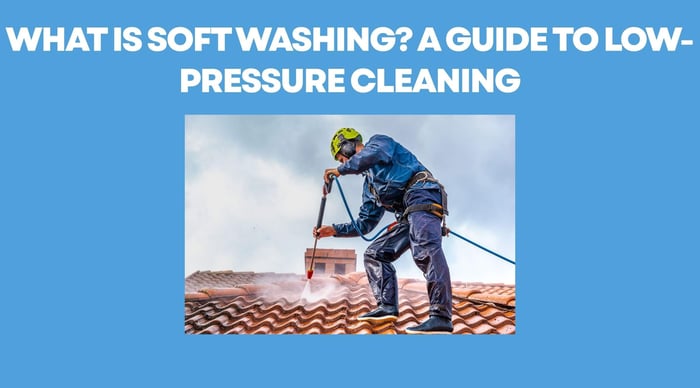
What Is Soft Washing? A Guide to Low-Pressure Cleaning
Soft Wash